 We are past the mid-point in winter and here in Colorado, it has been an exceptionally cold season, breaking and tieing decades-old records for low temps. Those cold days have had us inside more than we like. We even put our little one’s water table in the bathtub one day, just to shake things up. Snuggled under sweaters and blankets, we also had time to look at seed catalogs, make to-do lists, and dream a little bit about spring. We have several hopes and goals for the coming season.
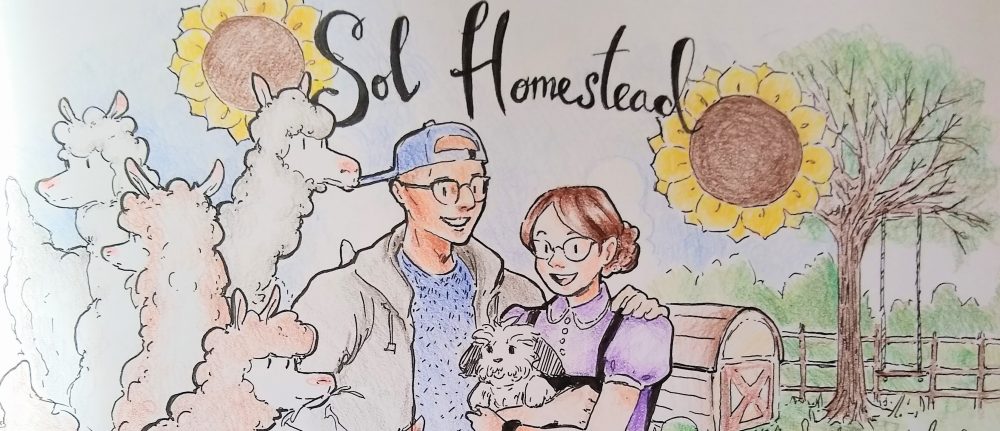
Garden
In the garden, I would like to keep things tidier. For my birthday, Julio’s parents gave me a beautiful seed box and a gardening ruler to help with that goal. I am also going to really focus on developing the flowerbeds around the run behind the barn. I started to get some growth there last summer, but this will be my third summer planting there and I am hoping that I will start to see perennials and bee-friendly flowers take over that space. A colorful border there would be a beautiful sight from our kitchen window. I am planting Busy Bee Sunflowers again because they did so well last year, but also trying Burpee’s new Crème Brûlée Sunflower variety. I also want to get Sweet Peas to grow up the old metal door that I have used as a trellis for twinkle lights.
In the pumpkin patch, I am going to try to grow Luffa squash again this year. Last year, none of my seeds germinated. If they take, however, they grow big fruit that can be dried and used as a bath sponge. I think that would be a cool offering for our market days.
I am also growing more Mashed Potato Squash, which I tried for the first time last year. It is delicious. I would happily not sell any and just eat them!
I hope to develop the tea garden more this year by expanding my chamomile planting. It did so well last year! I am also planting a couple of flavors of lemon balm to blend with the chamomile for an herbal tea.
 In the kitchen, I am growing baby houseplants for sale and microgreens to eat!
Alpacas & Chickens
Moira and Theodora are pregnant and due in mid-September. Our goal is to just take good care of everyone!
We would like to free-range the chickens more and maybe come up with a solution for letting them roam without the dog being stuck inside. It would be nice if they laid more eggs too, but for chickens, they are starting to get old.
Apiary
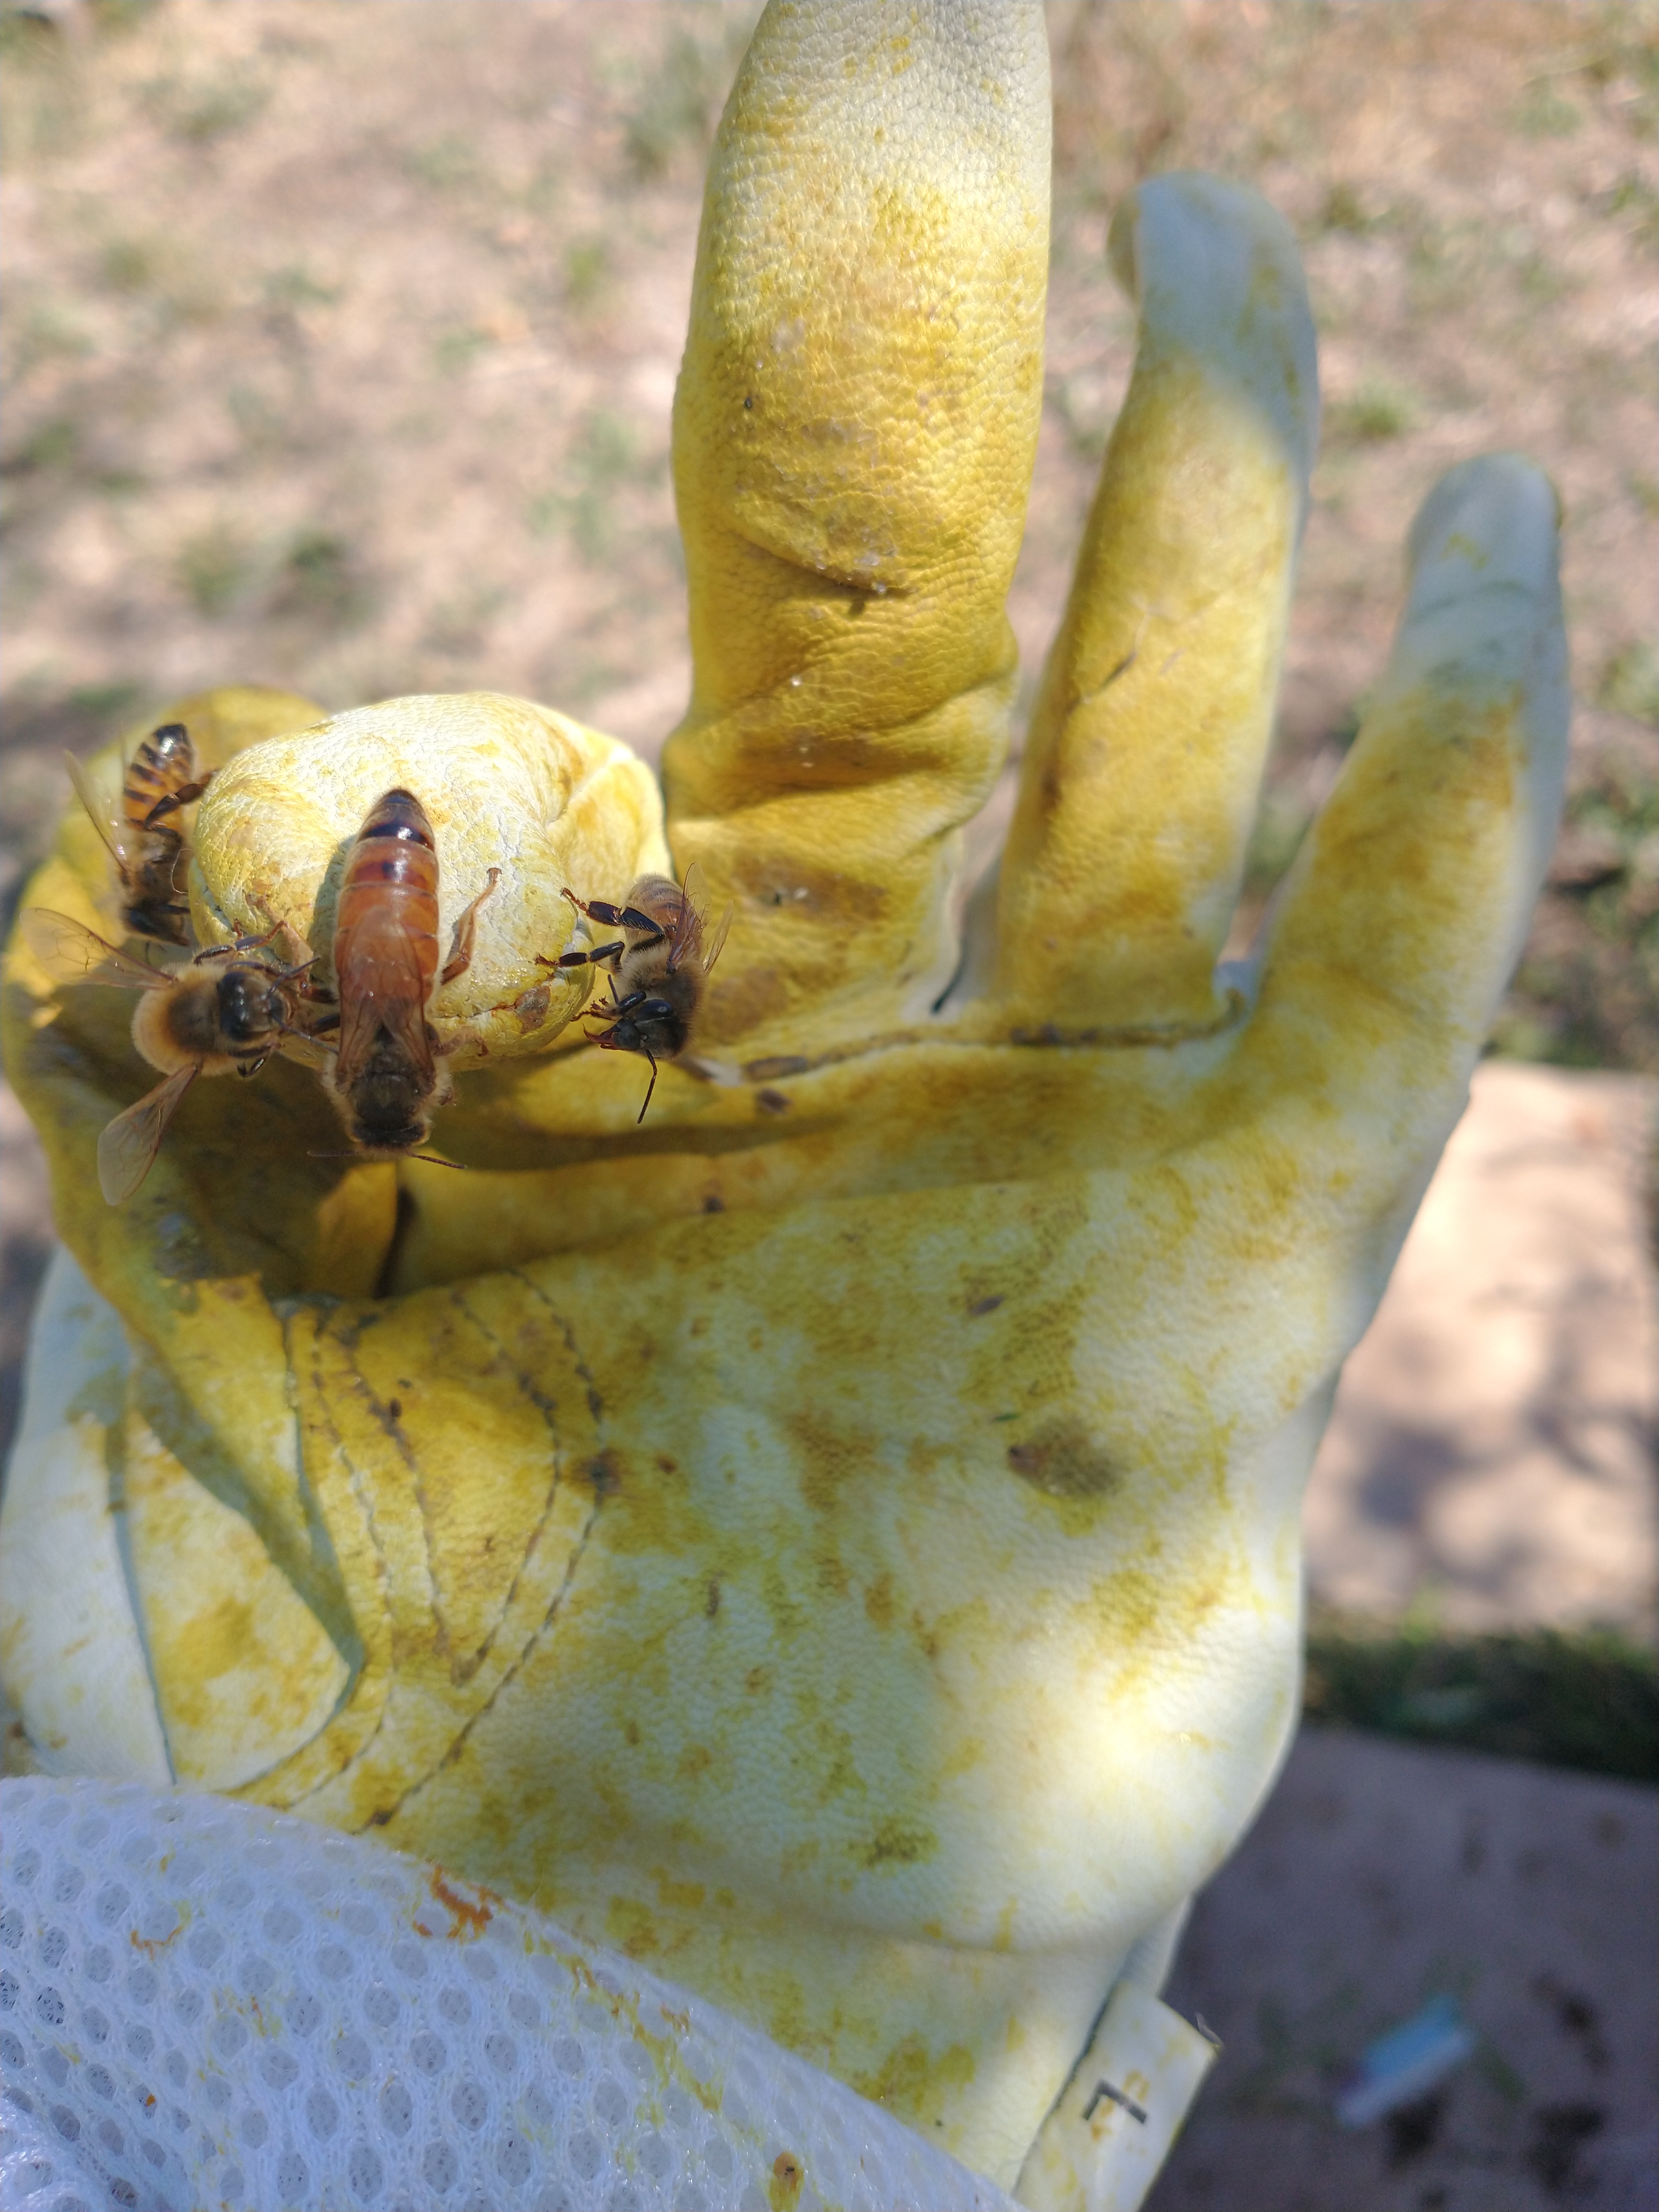
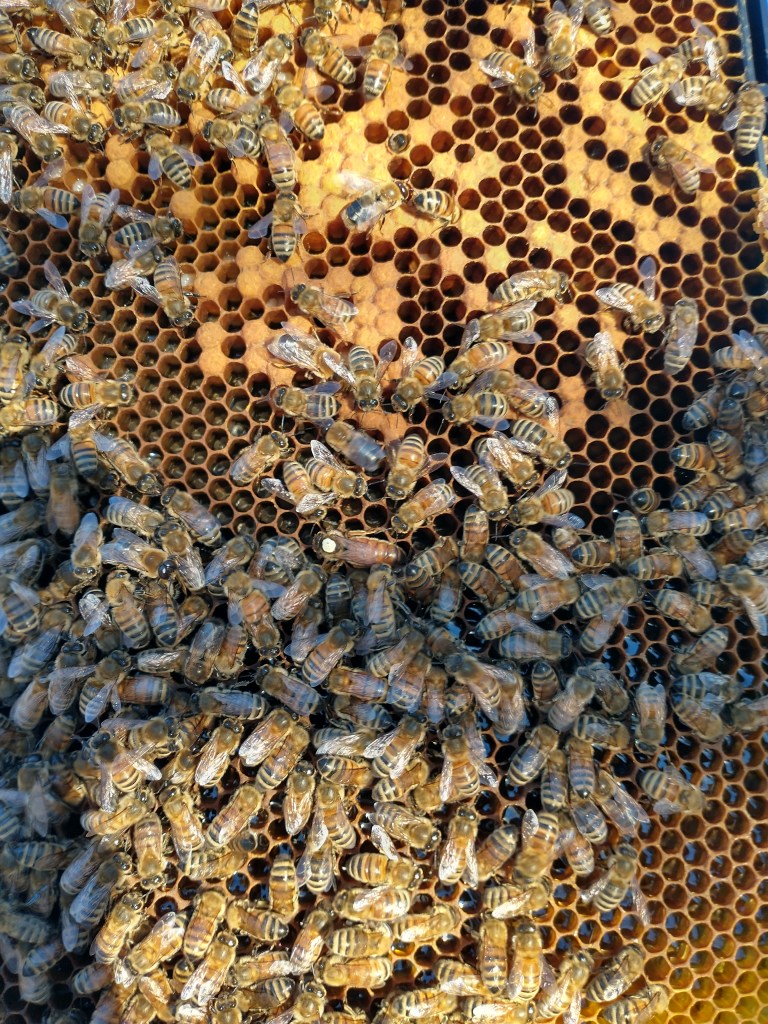
My bees have survived the winter so far, even that last cold snap. I feel so relieved and lucky. By now the queen will have started laying more eggs, building the colony for Spring. Spring bees are already being born. I snuck in on a warm day and gave them the rest of the honey out of storage and they still had plenty in the hive. I hope for a bigger honey harvest this year, and to that end, I am really debating whether to split them or just try to let them build up their population while otherwise preventing a swarm. I am not sure if I could pull the latter off, but I have plenty of frames of drawn wax in storage to help a split so they wouldn’t spend all summer building out the honey supers like last year. I don’t know. I’m thinking about it.
 Home
Home
I learned how to embroider this past weekend and I know it will be tempting to embroider everything. I learned using The Embroidered Closet, which I picked up at the library several times before actually checking it out. It turns out I love it and it is not nearly as time-consuming as some other hobbies. For now, I will stick to freshening up my closet, because I also need to keep working through the backlog of fiber from the alpacas.
I have not learned how to use the spinning wheel…yet. That is on the agenda for this year, but in the meantime, I am spinning with the drop spindle for at least 15 minutes a day. I plan to spend some time making dryer balls out of the second and third cuts from our girls that are tough to spin and to get good at carding fleece so that I can move on from practicing with merino wool to actually using the fleece from our herd.
Around the house, there are also some little projects I would like to tackle, like repainting our bathroom and finally getting a lattice under the deck, but for the most part, I am looking forward to getting back out on long walks and playing outside more.
What are your plans for spring!? -Kasey
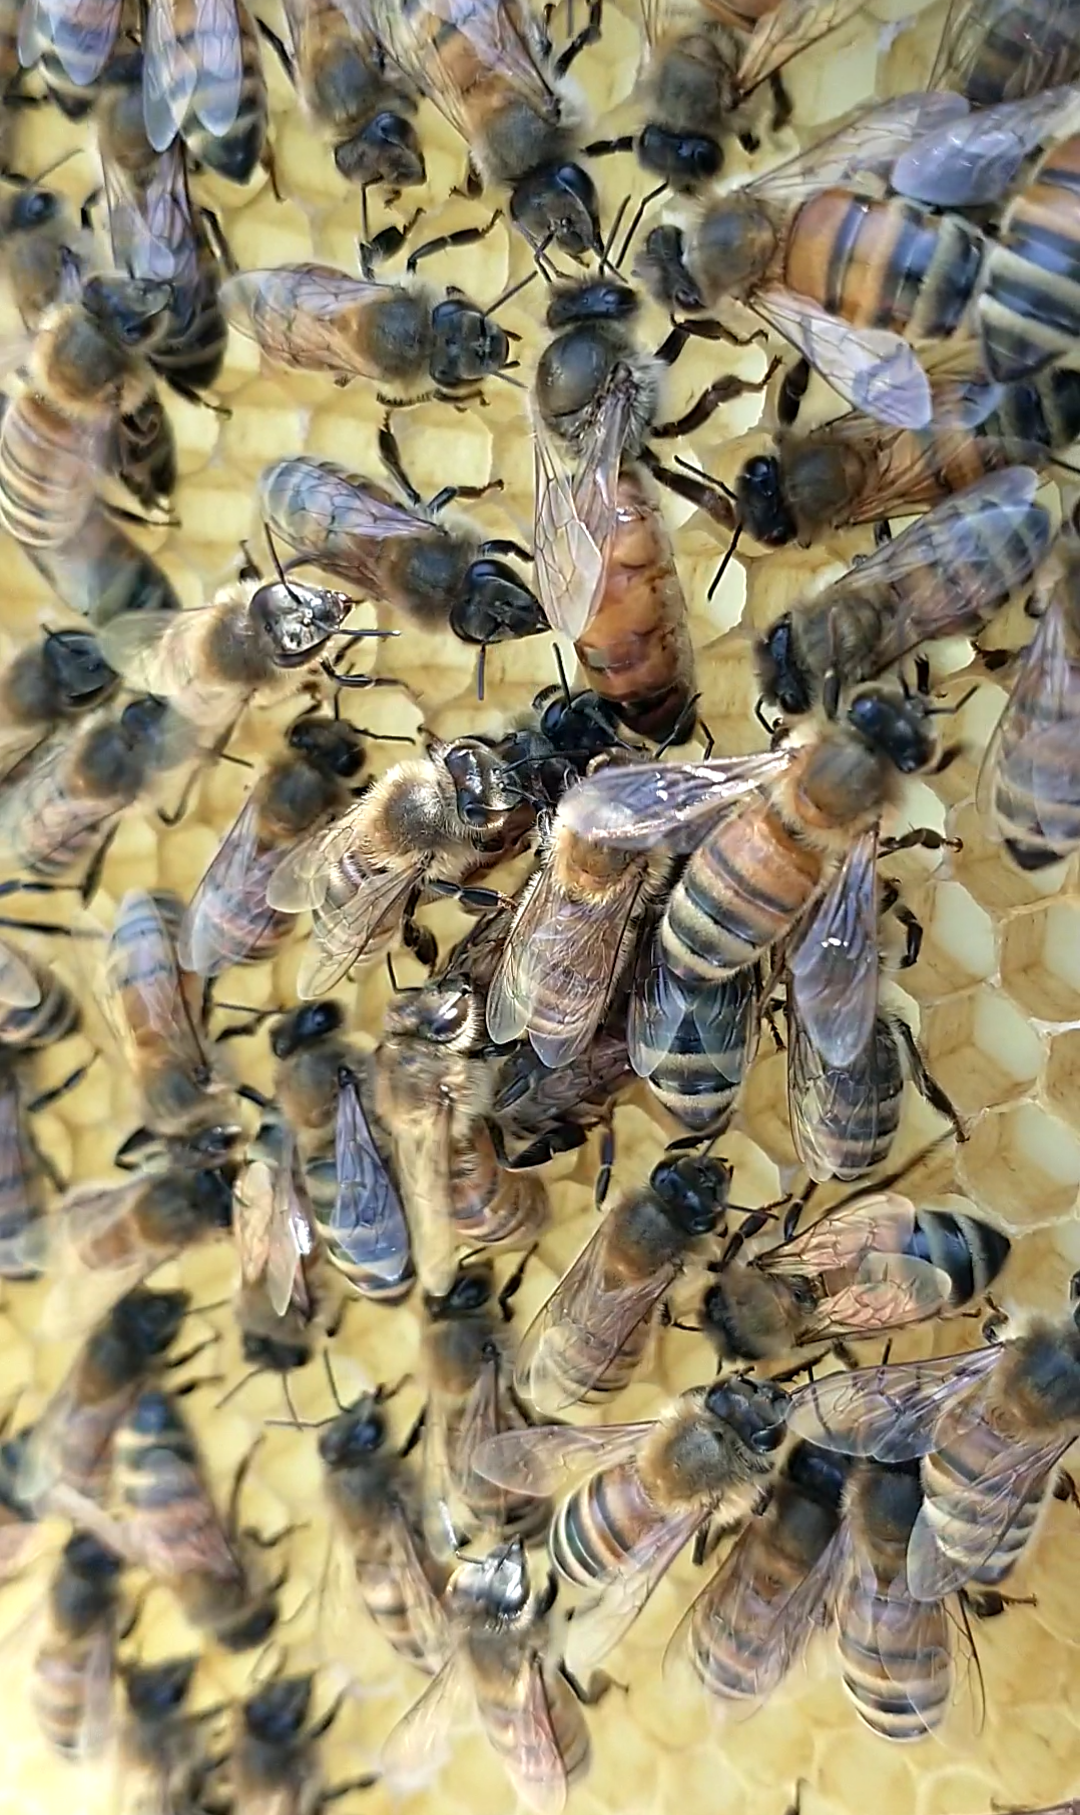
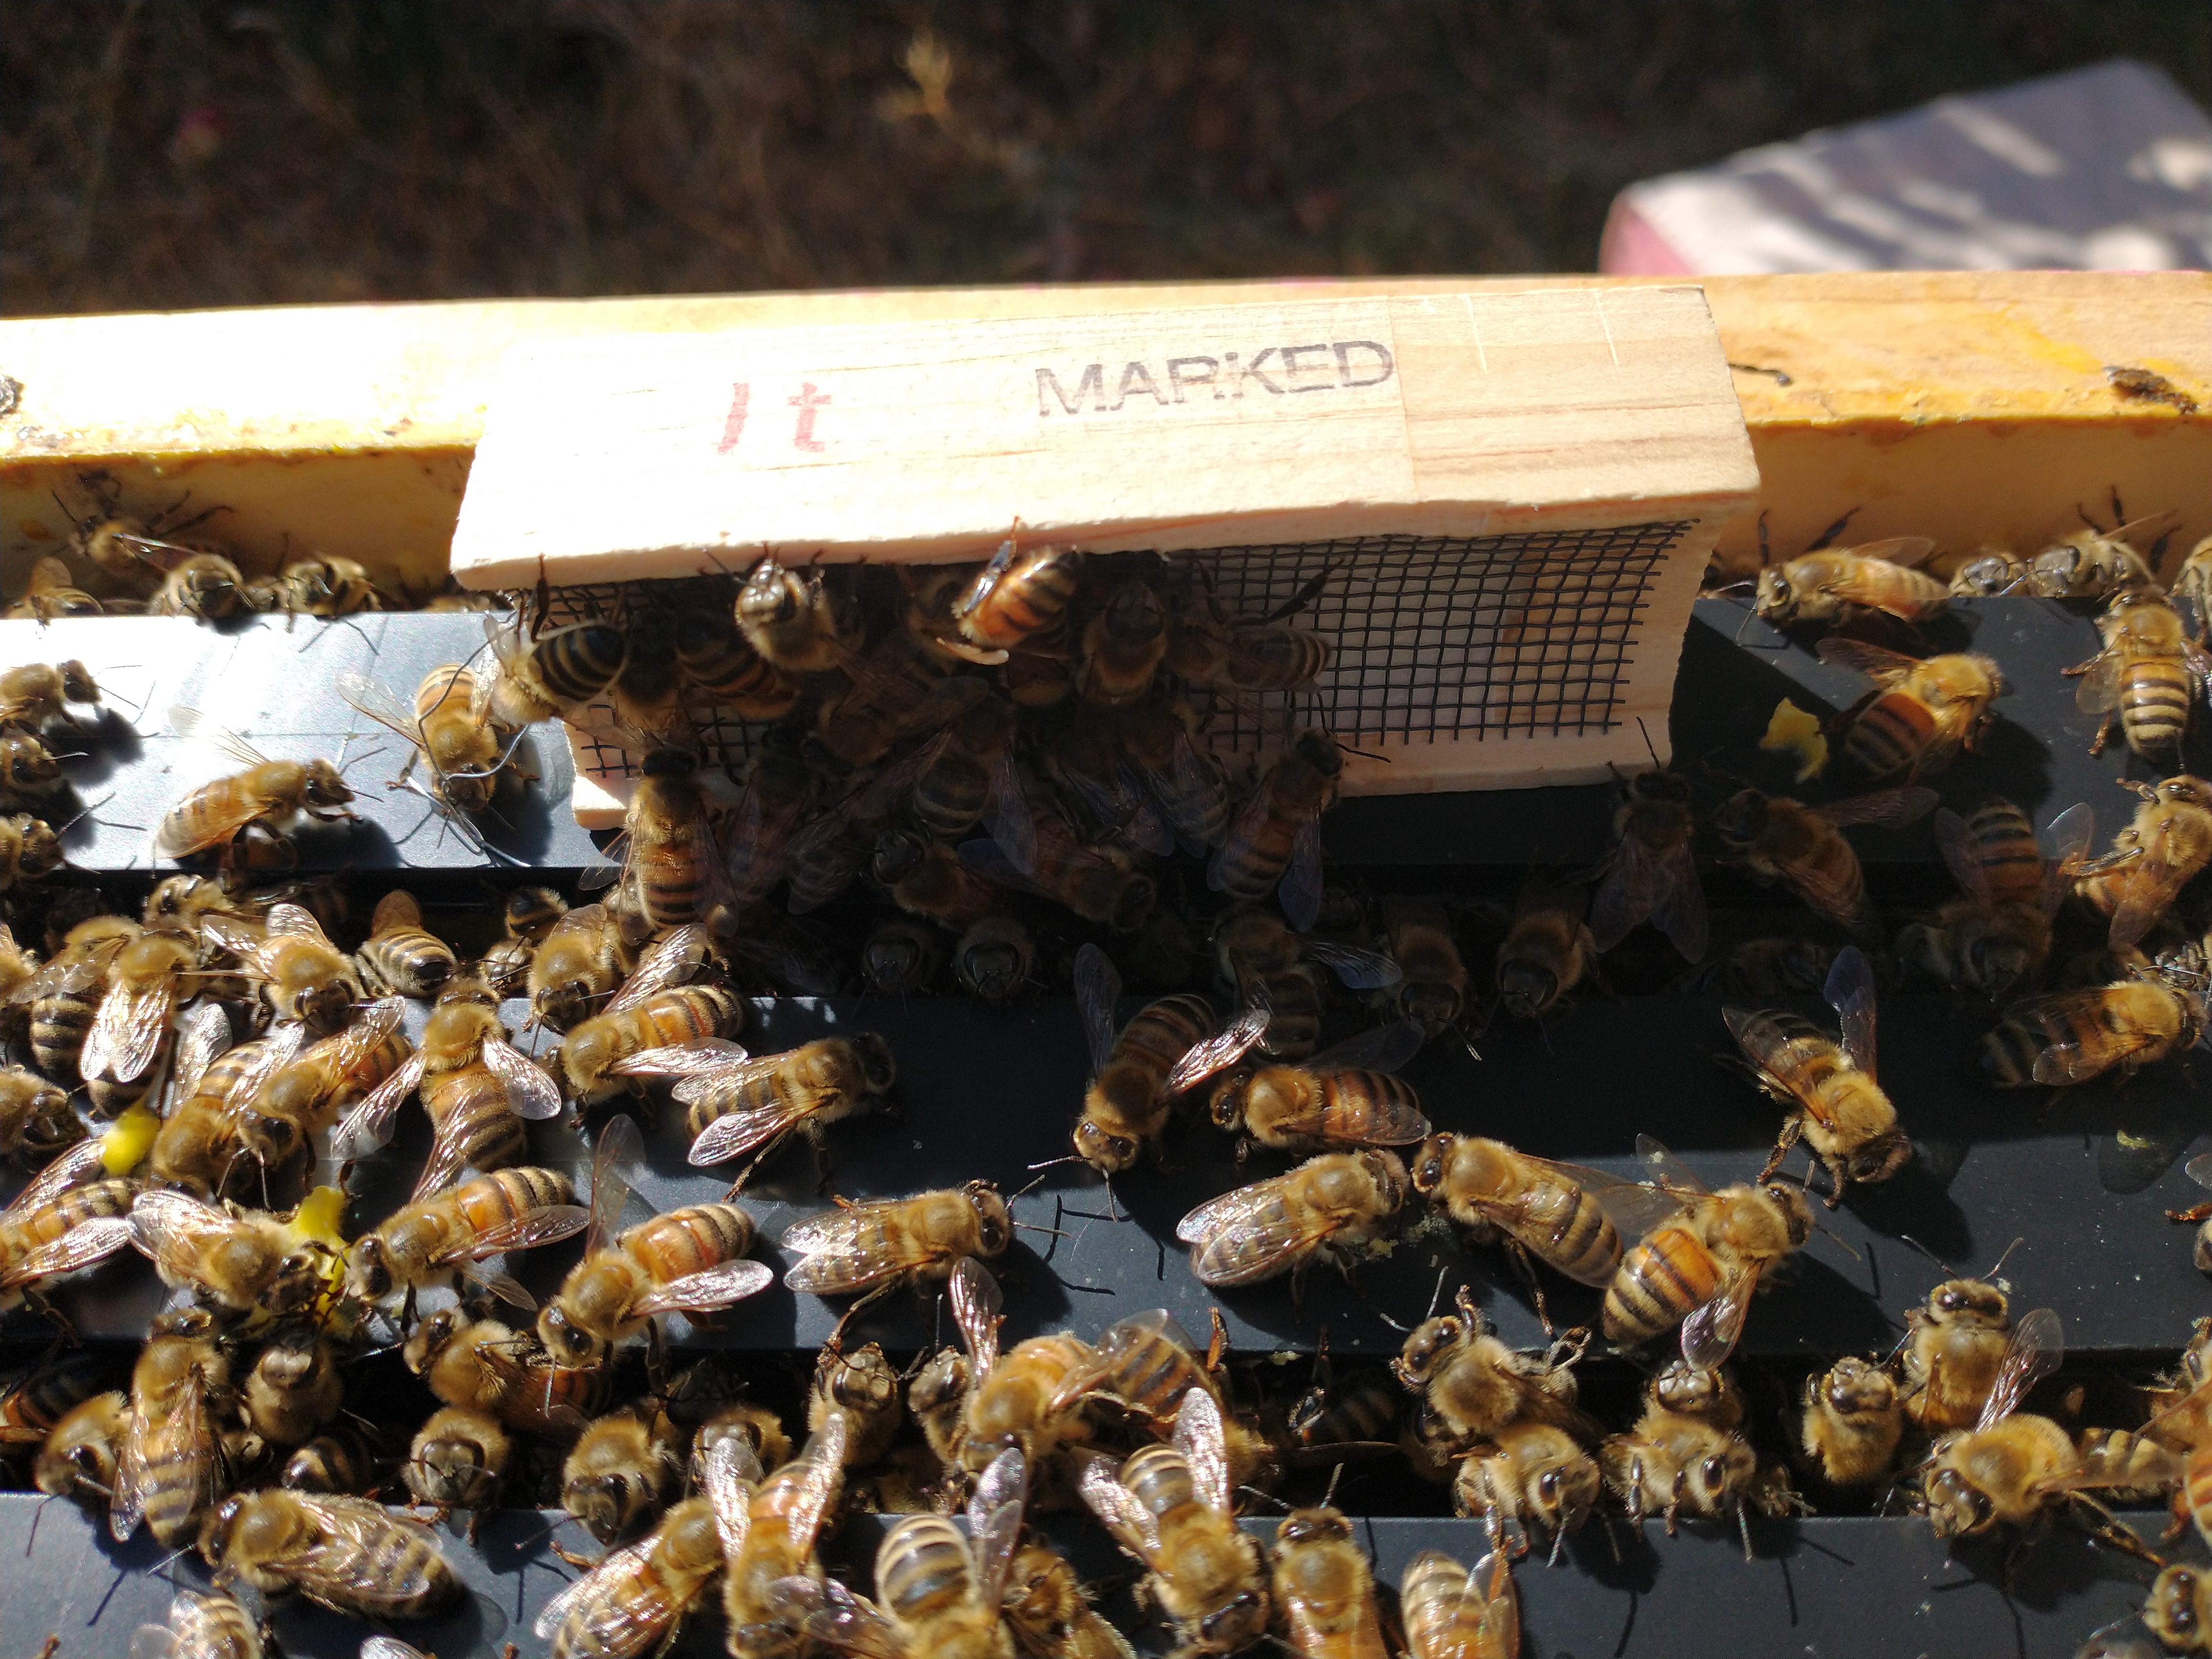
 The last time I posted about beekeeping, I wrote about making a split and watching the bees rear a new queen for a new colony. That queen, Queen Hippolyta I laid a ton of eggs all summer. Her bees seemed to be slightly meaner than Queen Leslie Knope II’s bees, but the colony was strong. I could hardly ever find Queen Hippolyta (named for Wonder Woman’s mother, by the way) in the hive, so I decided to try to mark her. Thus began a chapter of Queen Hippolyta I’s reign that has been, frankly, kind of unbelievable.
  Hippolyta Returns
 Queen Marked

 One way to prevent your bees from swarming is performing a split, which is essentially an artificial swarm. When I last posted about beekeeping I was on the fence about if/when to split my hive, but decided to do it after a nudge from our friend Rachele (thanks!). I would have liked to keep


 Garden
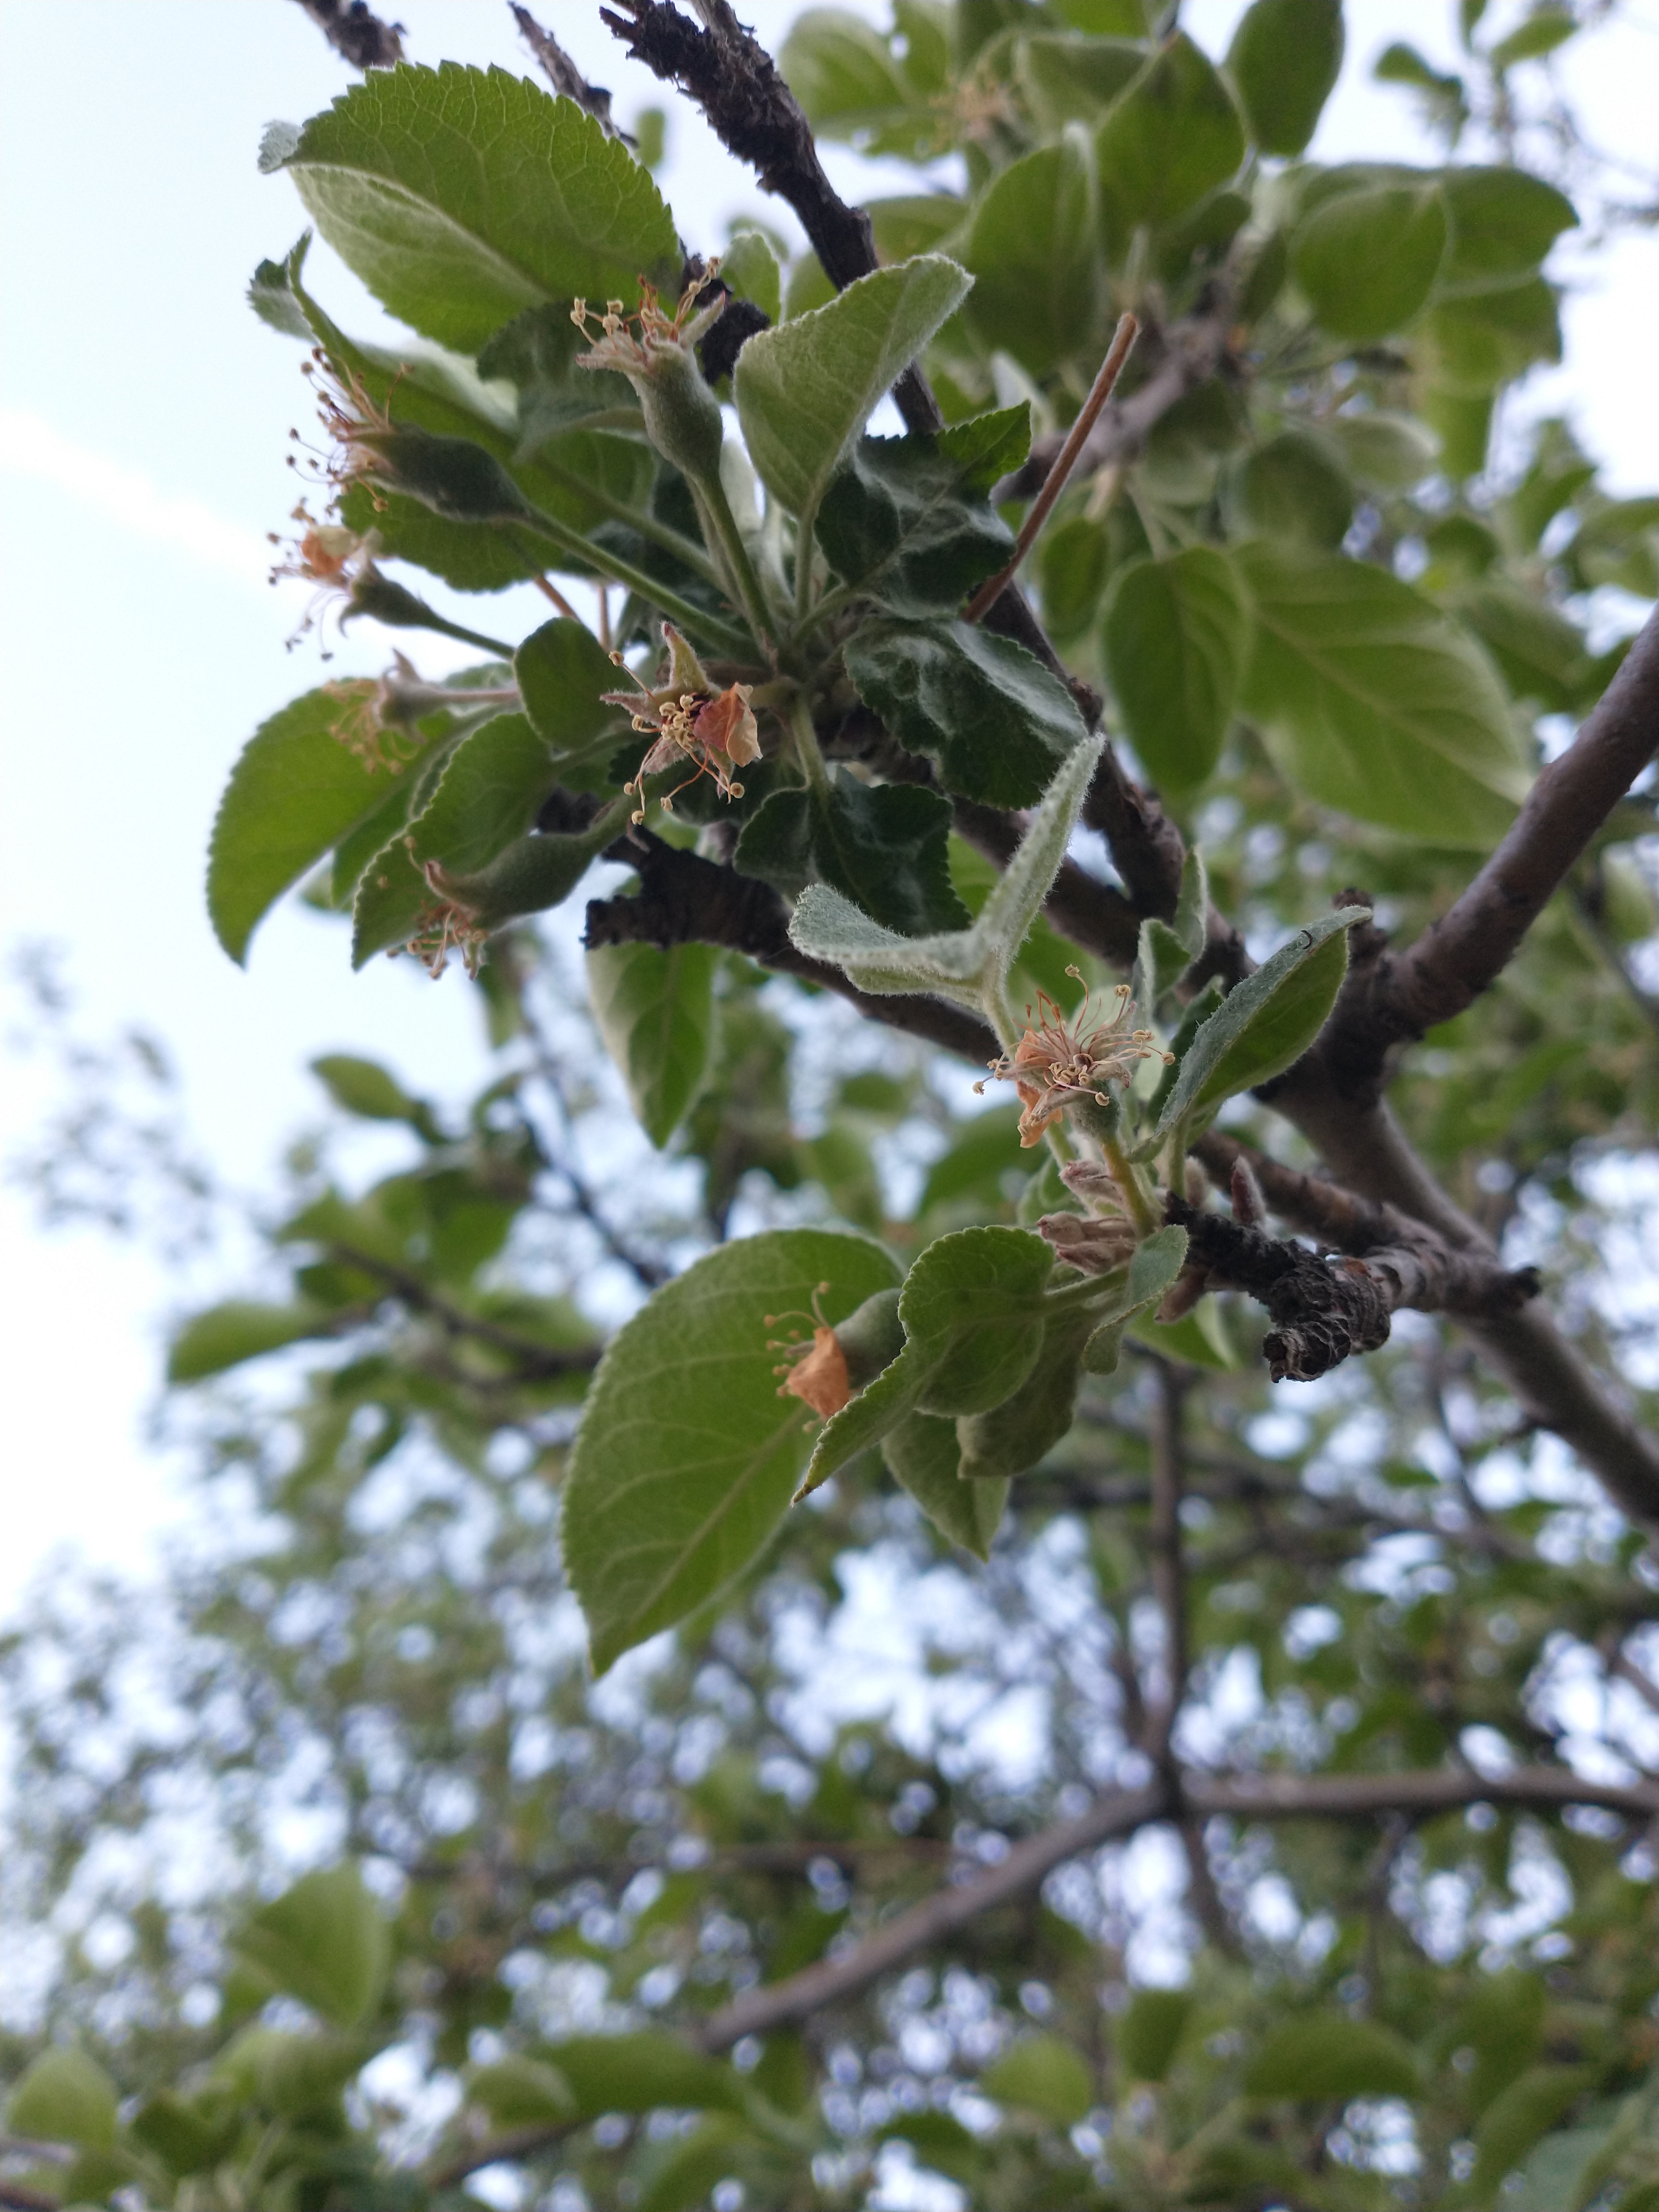 Orchard
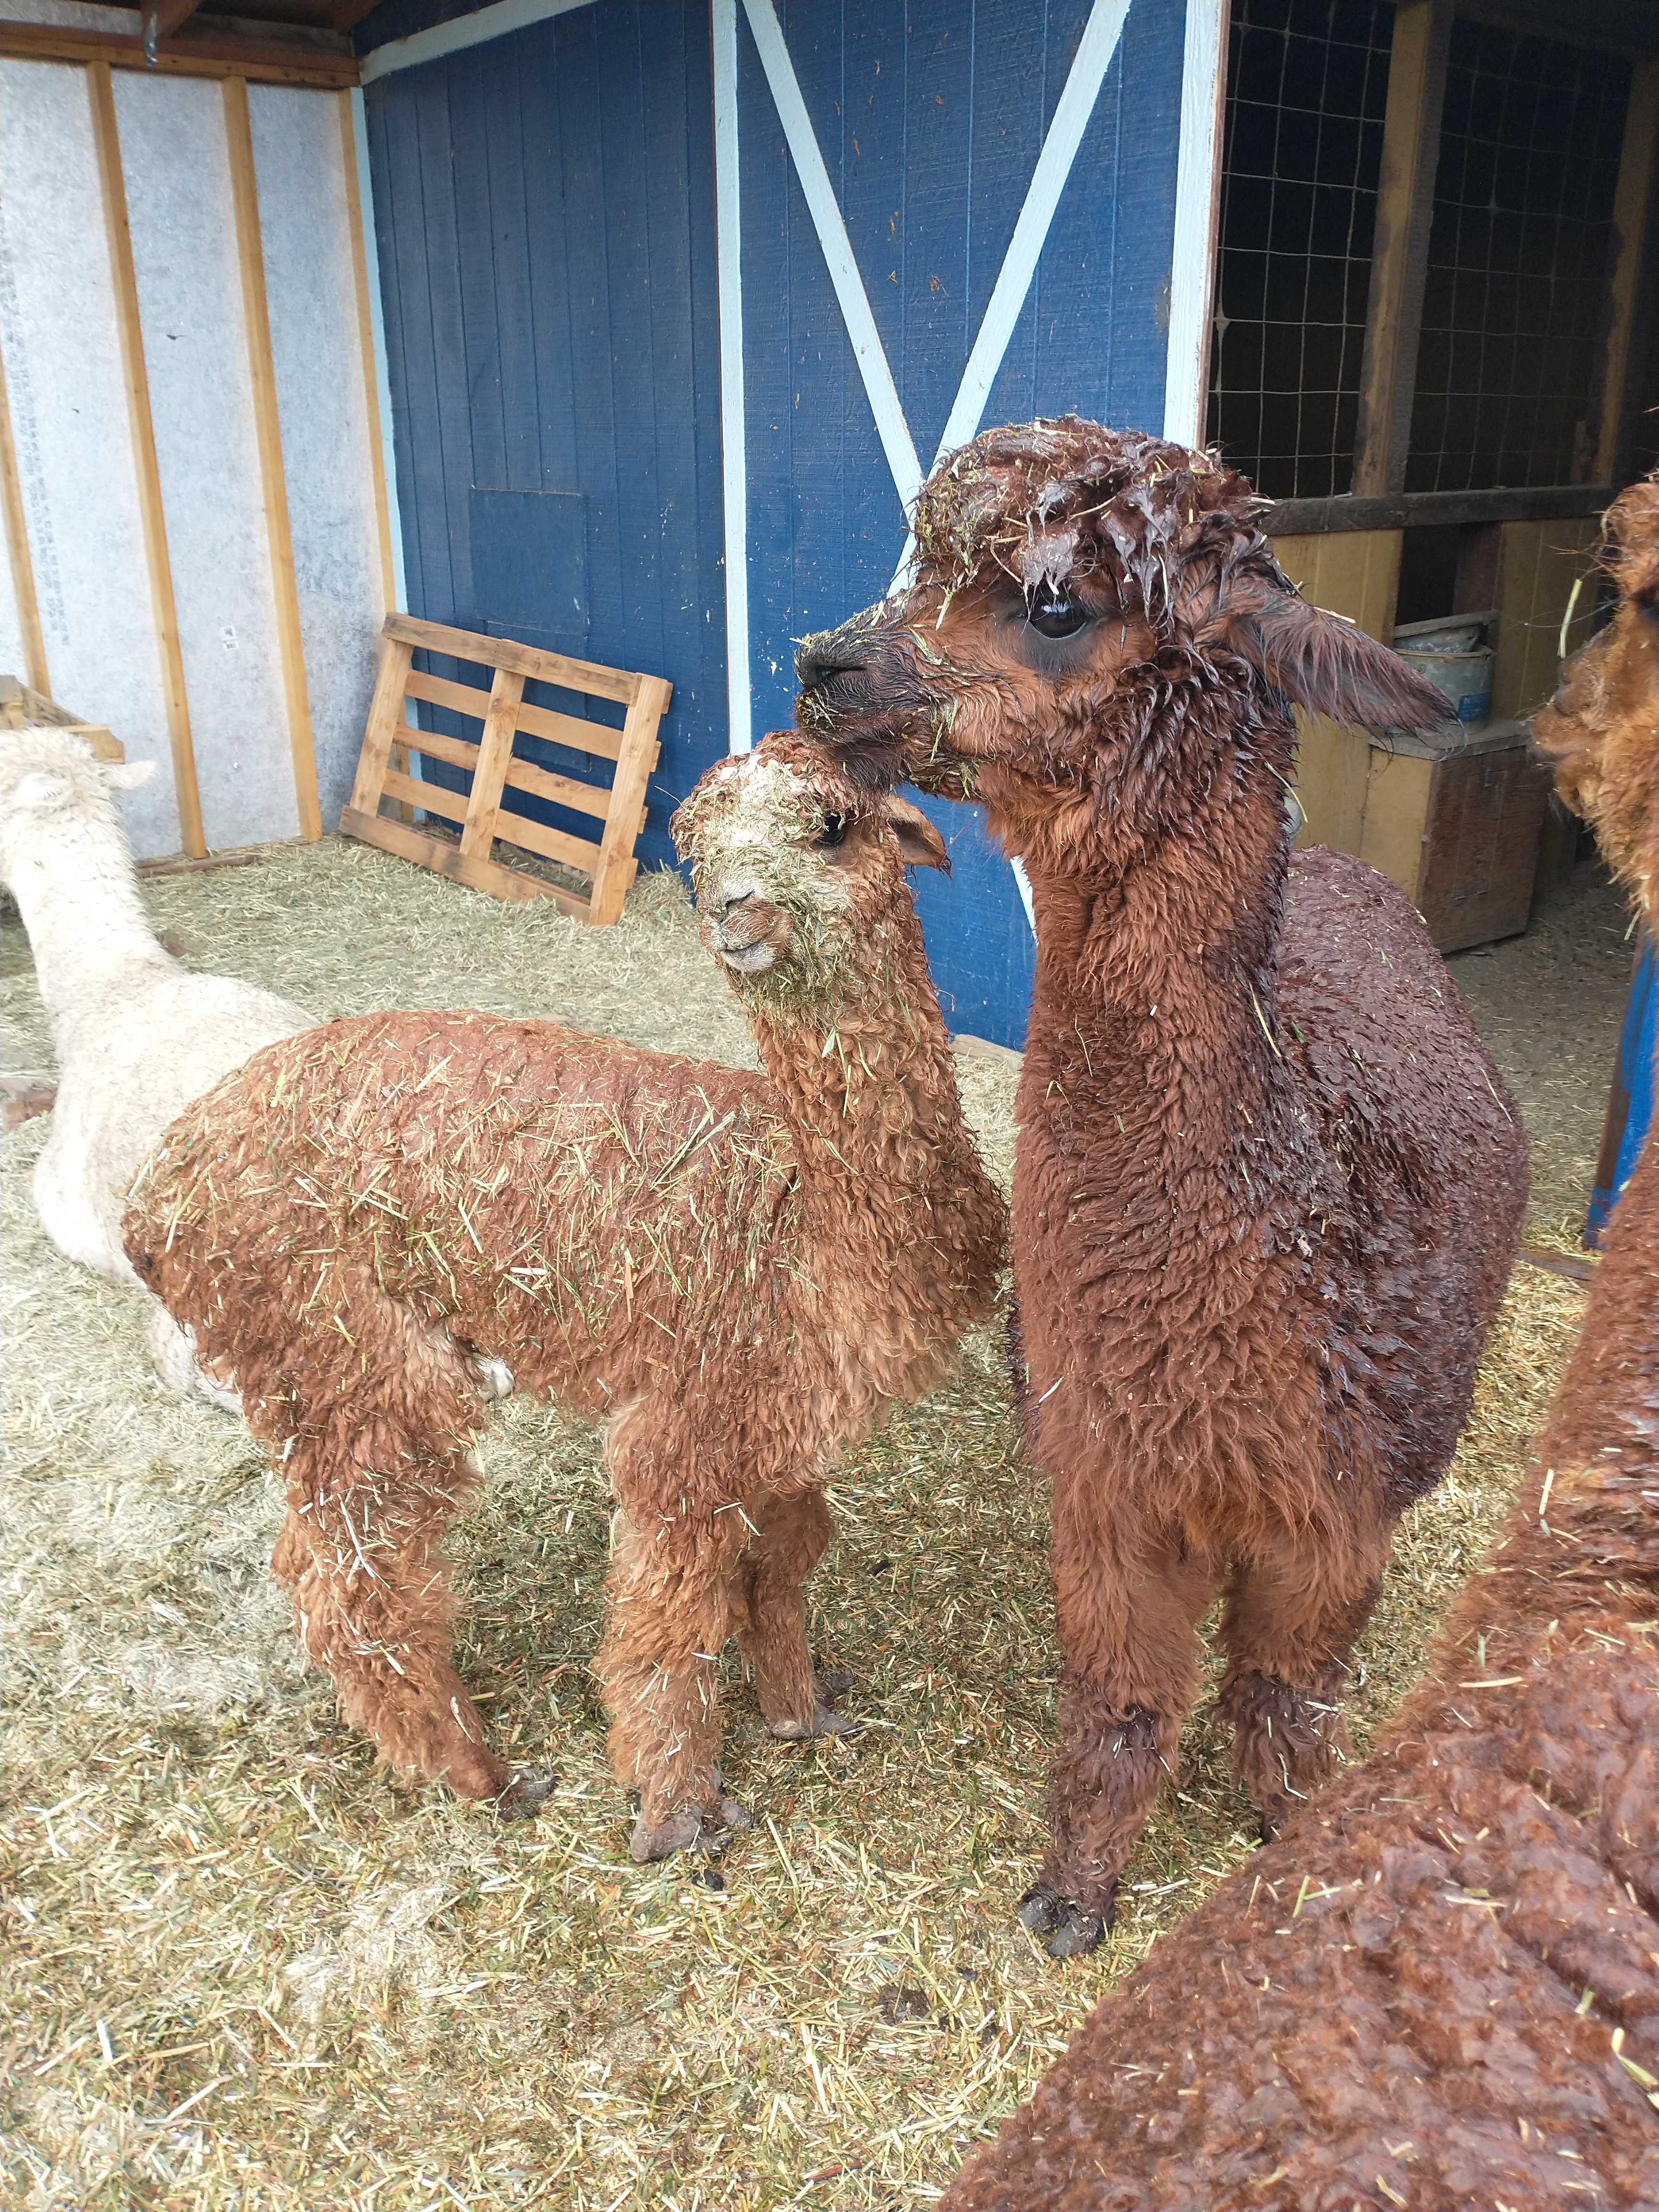 They’re wet, but probably enjoying a break from being hot. Alpacas can tolerate very cold temperatures, provided they have a windbreak.


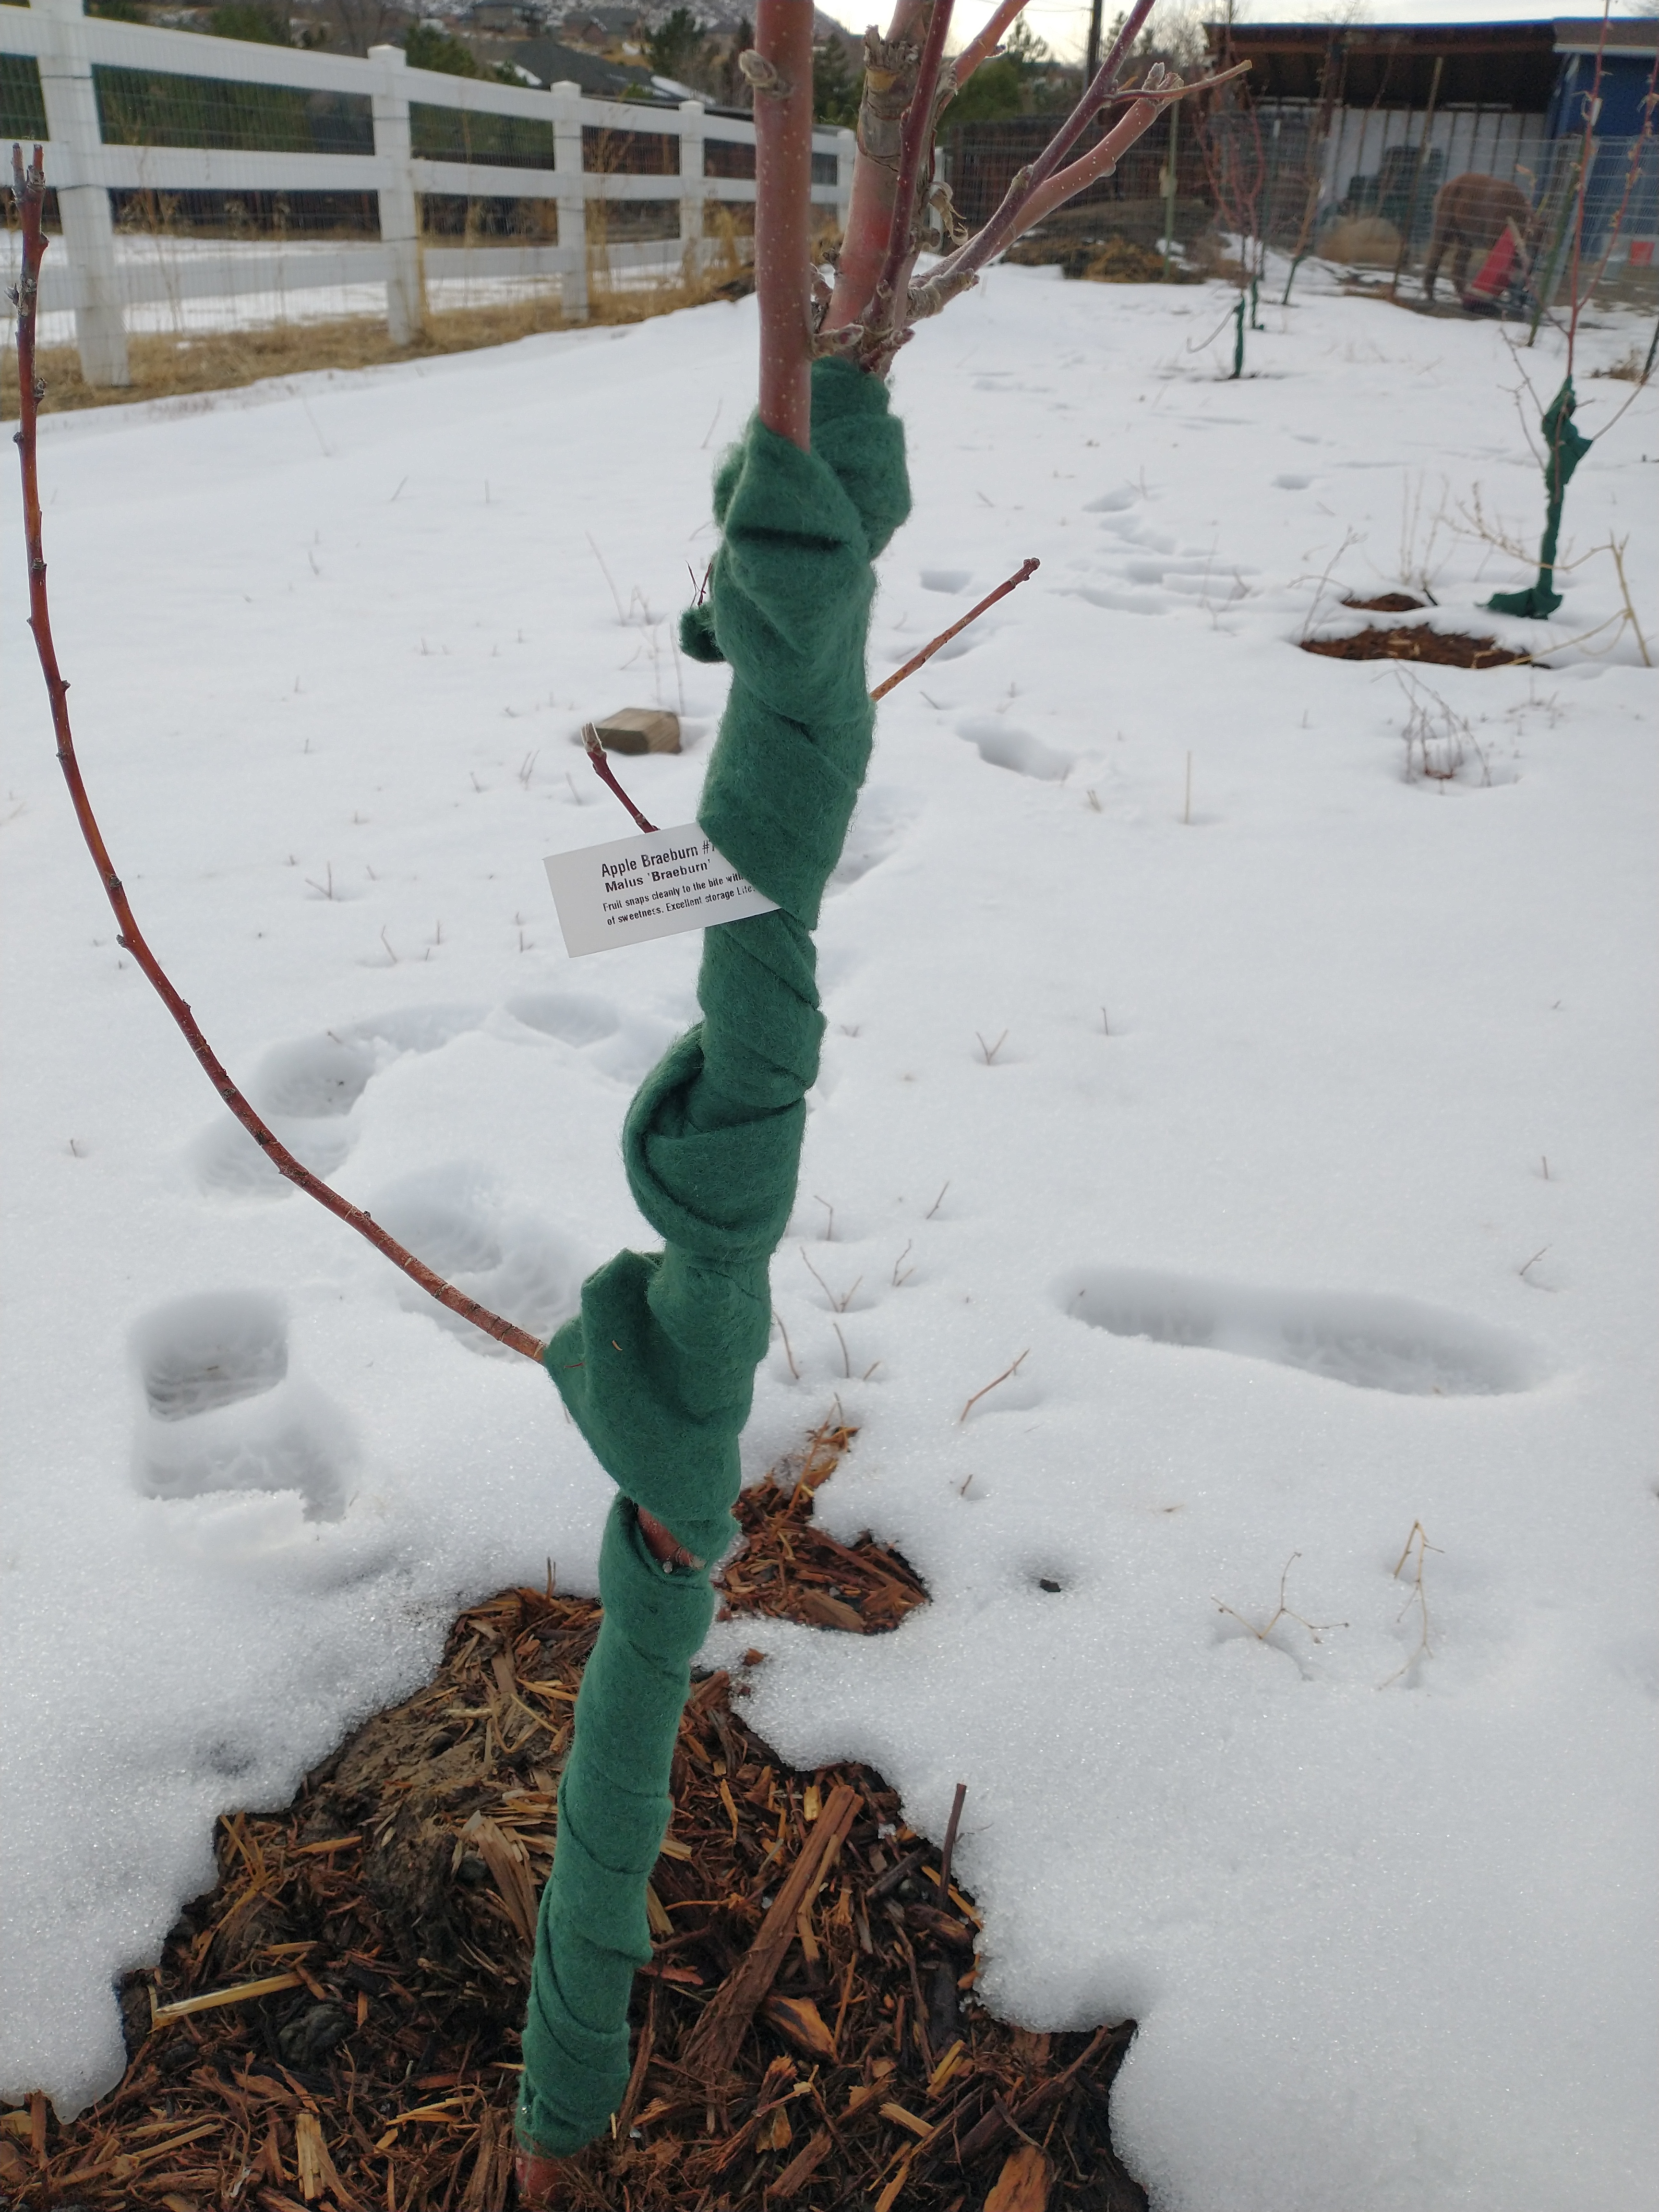 We are hoping to see more growth out of our orchard trees in the coming year now that they are fenced in and safe from alpaca attacks. We need to be more regular about watering them, but for now, the blanket of snow is taking care of that. Our little orchard trees have stood up to some brutal winds this season, assisted by a slight windbreak created by the barn.
 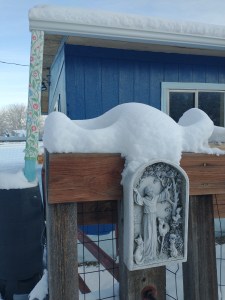 Garden


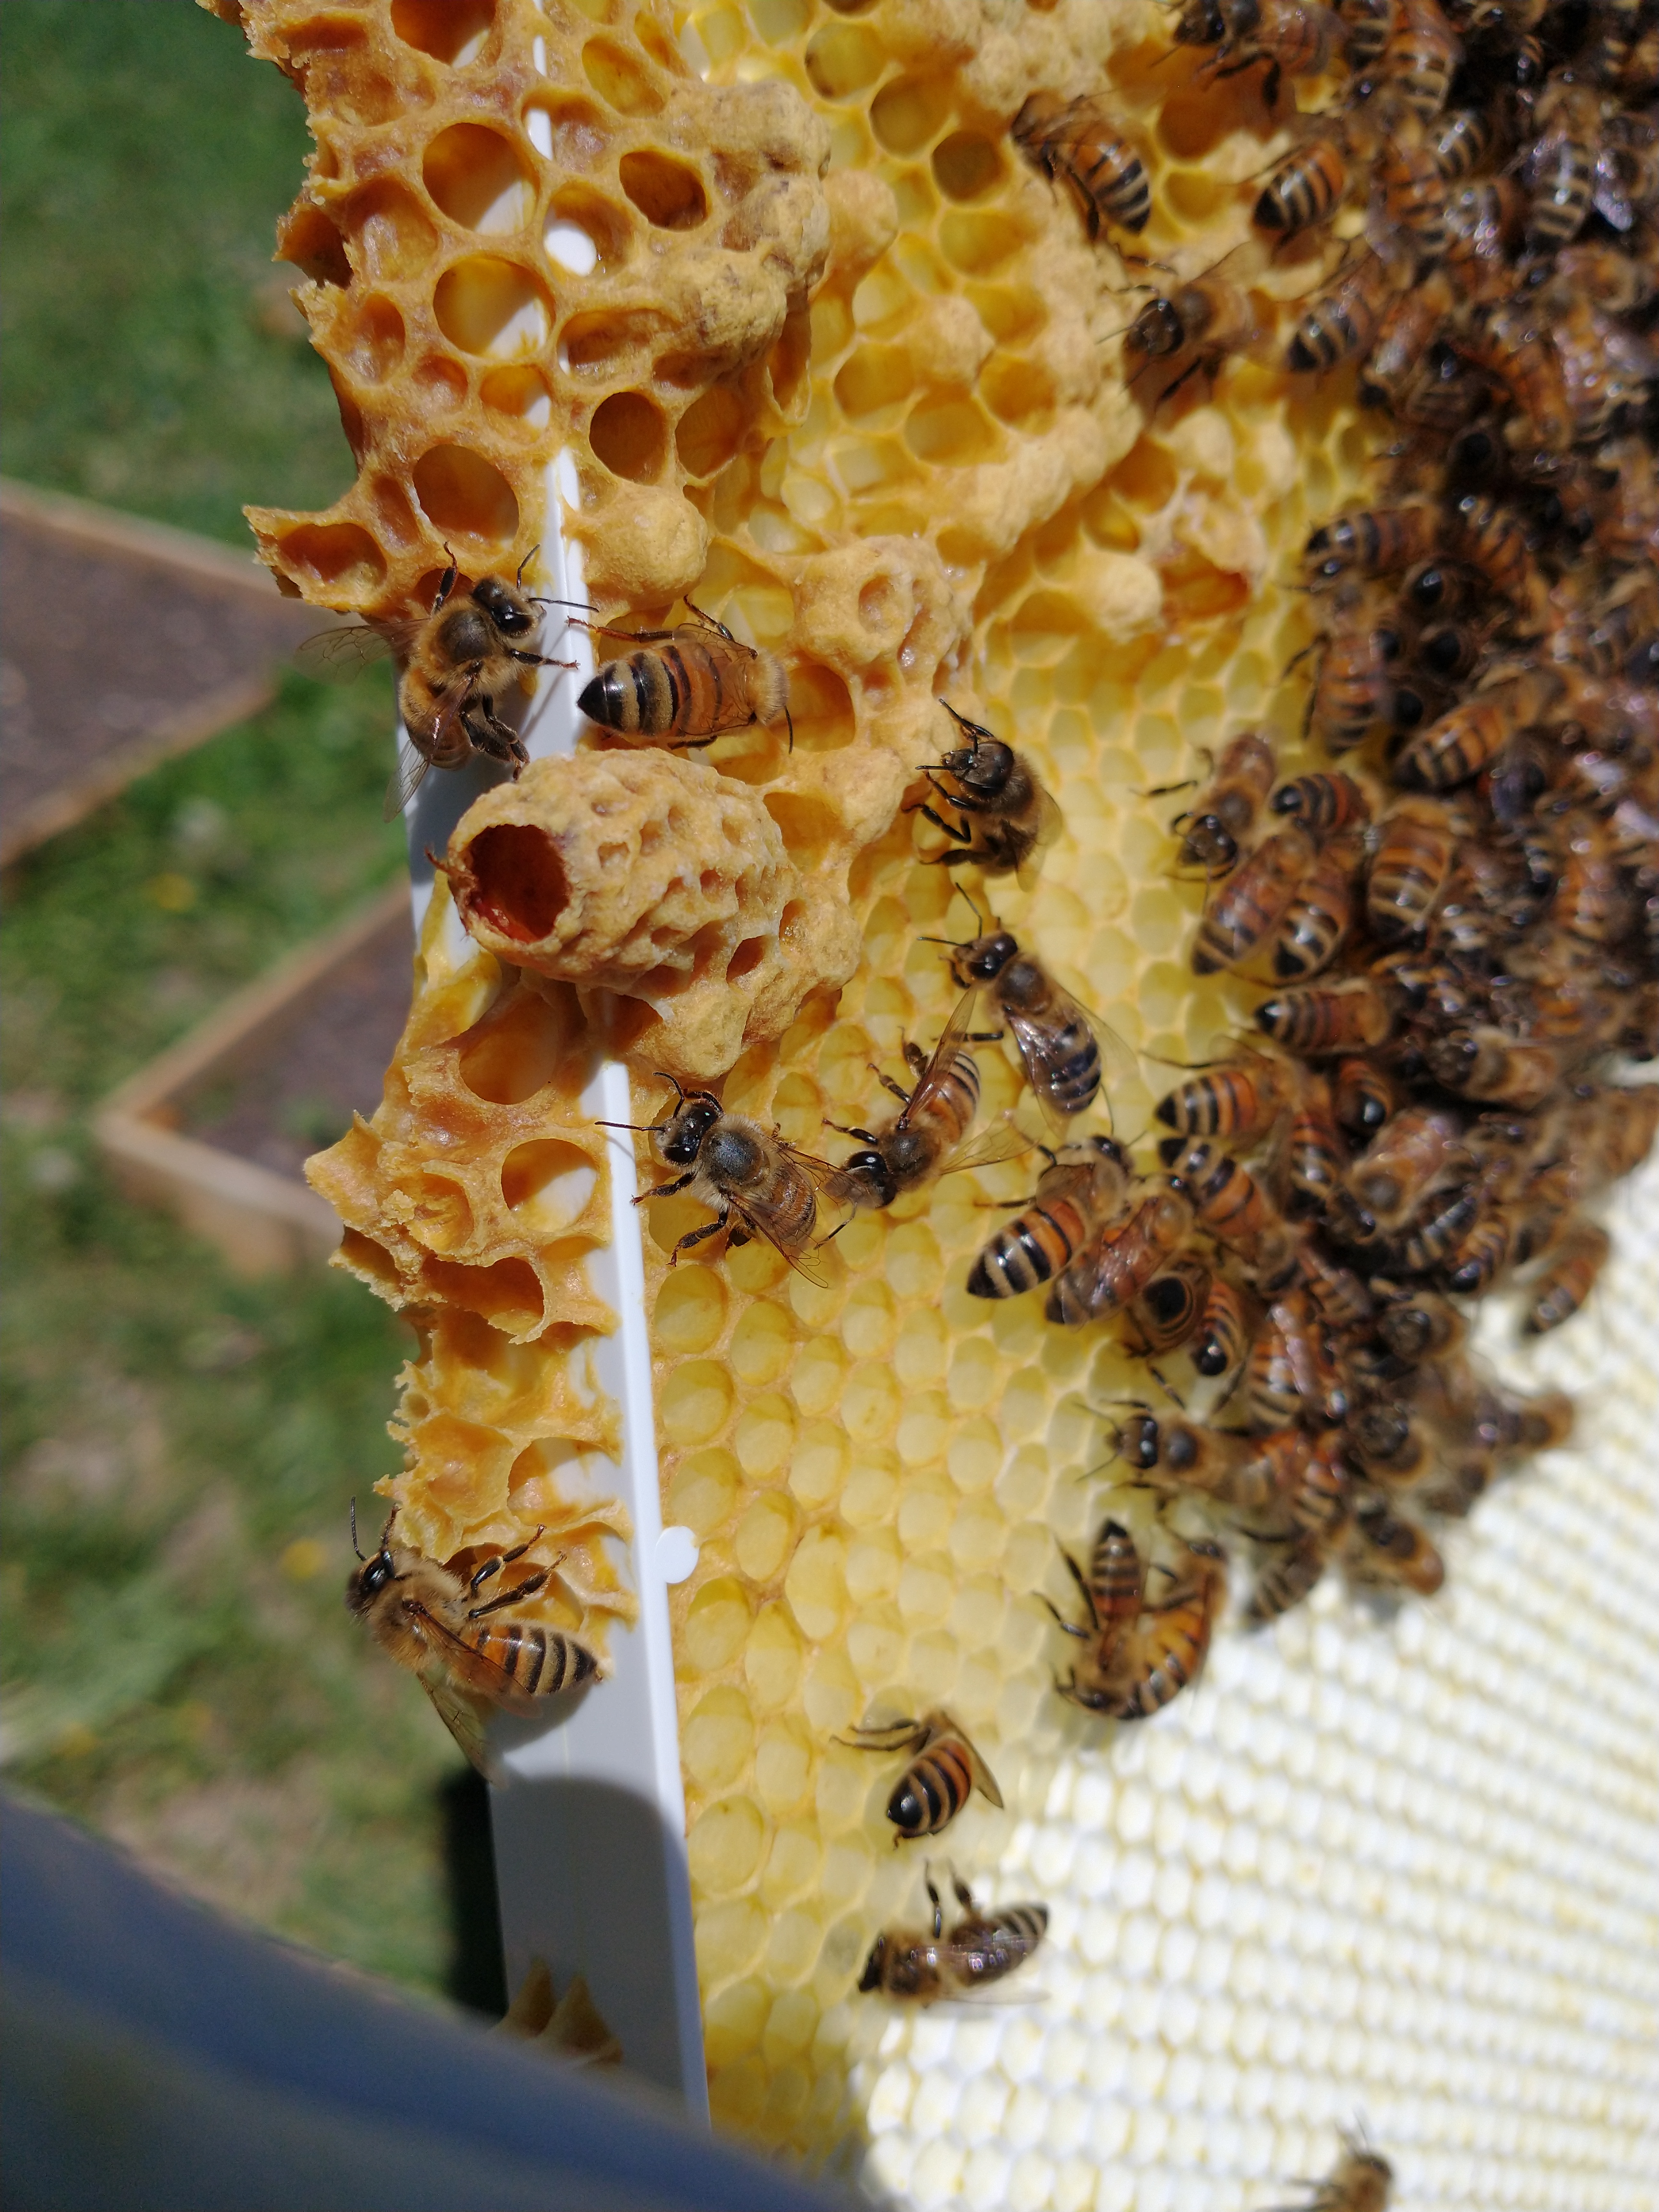
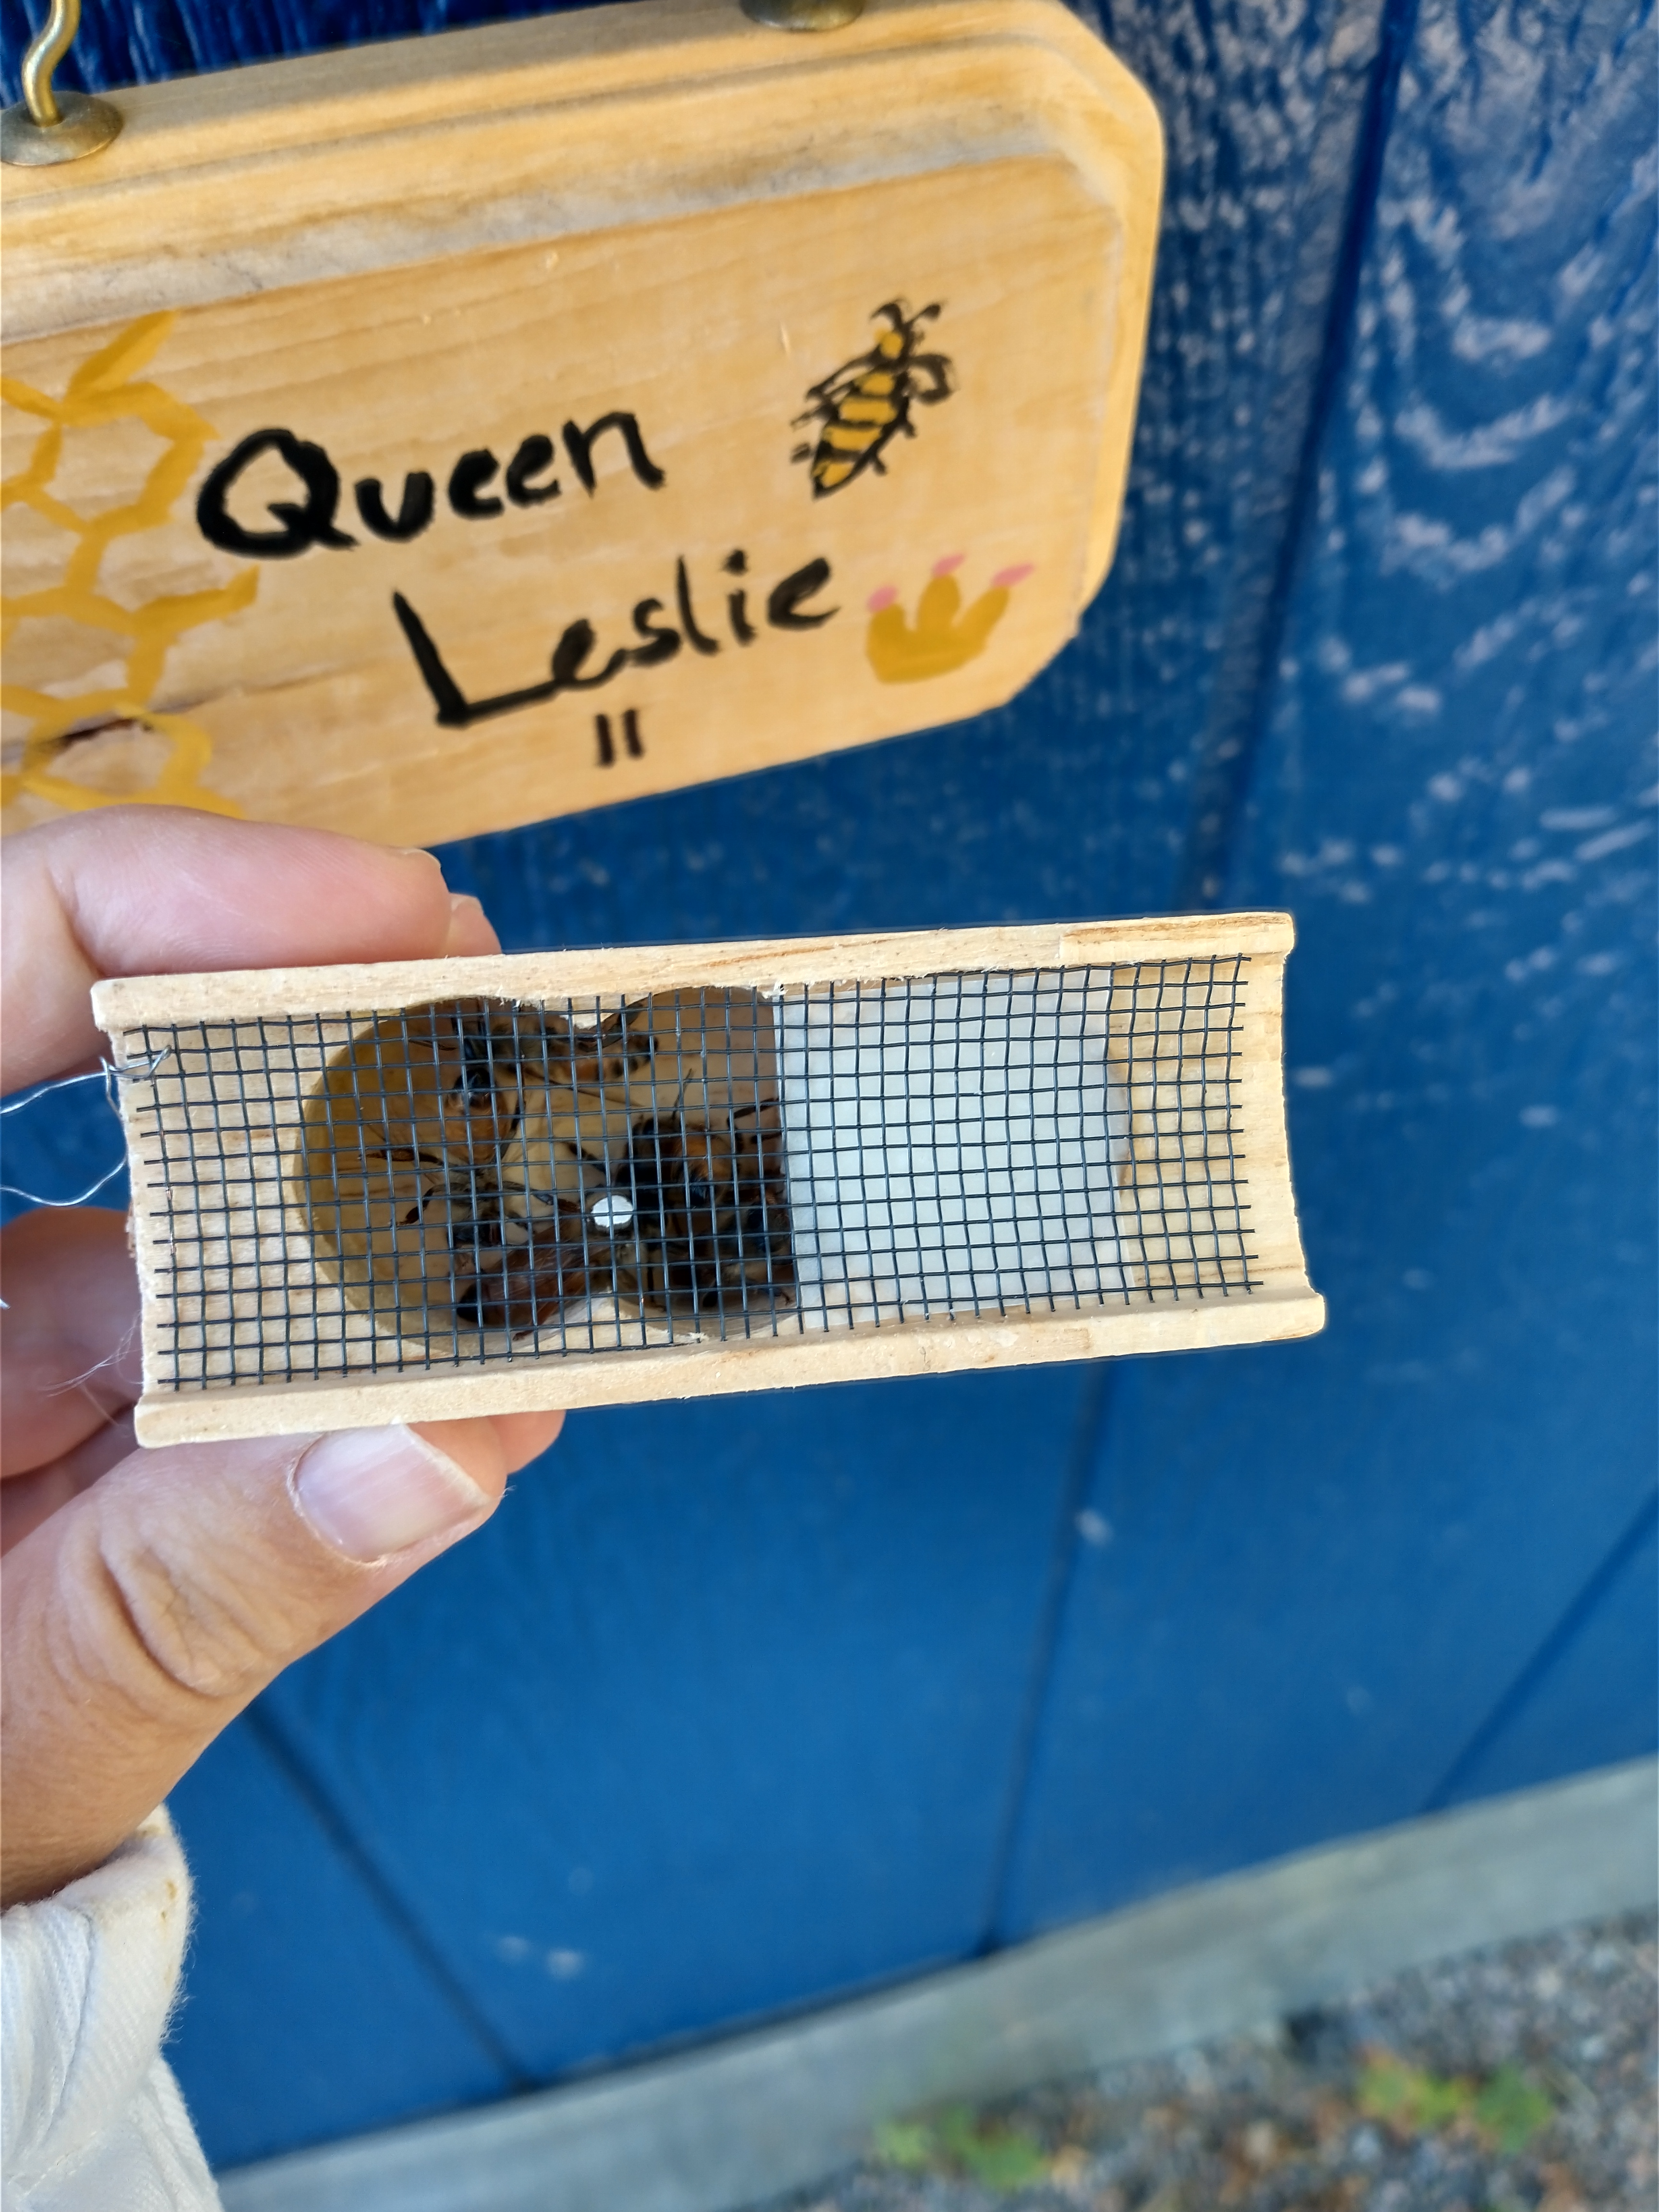 I mentioned briefly in an earlier post that my beehive lost its queen after a Formic Pro treatment. I had suspected for a few weeks prior that the queen was getting weak, but as it’s my first year, I wasn’t sure if she was slowing down because it was summer dearth or if it was a problem. The hive had made moves to replace her before, and I thwarted them. Because she was unmarked, I did not know how old she was. Looking back, I should have either requeened the hive earlier in the summer or let them requeen themselves. When I removed the Formic strips and did a hive inspection in the last week of September, I found many supersedure cells. I stopped counting at 12. That late in the season, however, it was too late for them to raise a new queen and get her mated. Thanks to the advice of a couple of other local beekeepers on Instagram (Thank you!), I moved quickly to find a new mated queen. I couldn’t find one locally anymore, so I was able to get one shipped from California. Thankfully, she arrived safely.
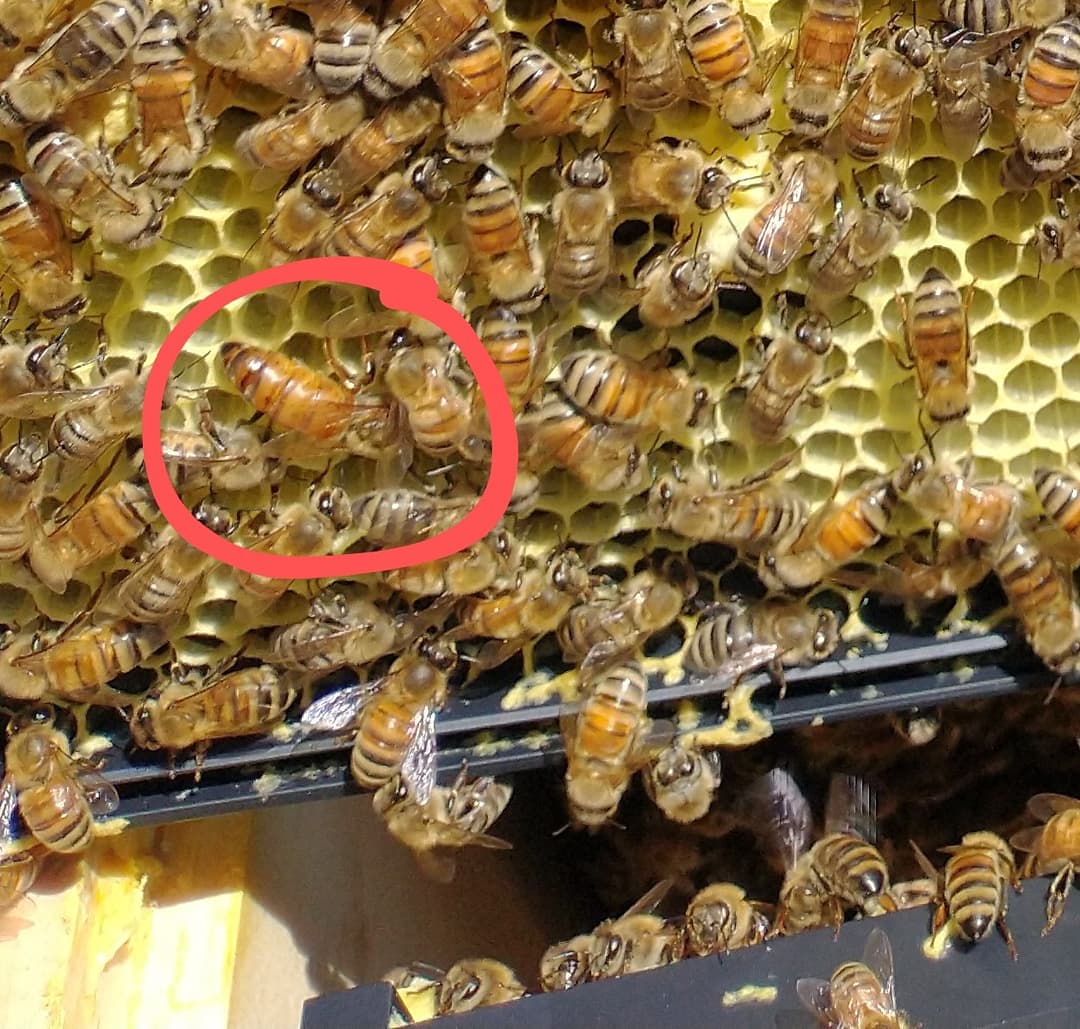

 By the time Queen Leslie II arrived, I was as confident as I could be that Queen Leslie I was no longer in the hive. Even still, I spent some time observing the bees’ attitude toward their new queen before I left her in the hive. When you order a new queen, she comes in a little cage with a few attendant bees who are there to care for her. One end of the cage has fondant for the bees to eat and the other has a candy plug that the bees will gradually eat through to release her into the hive. This slow-release mechanism allows the queen’s pheromones to circulate through the hive before she is loose, helping the hive to accept her as their queen, and not immediately
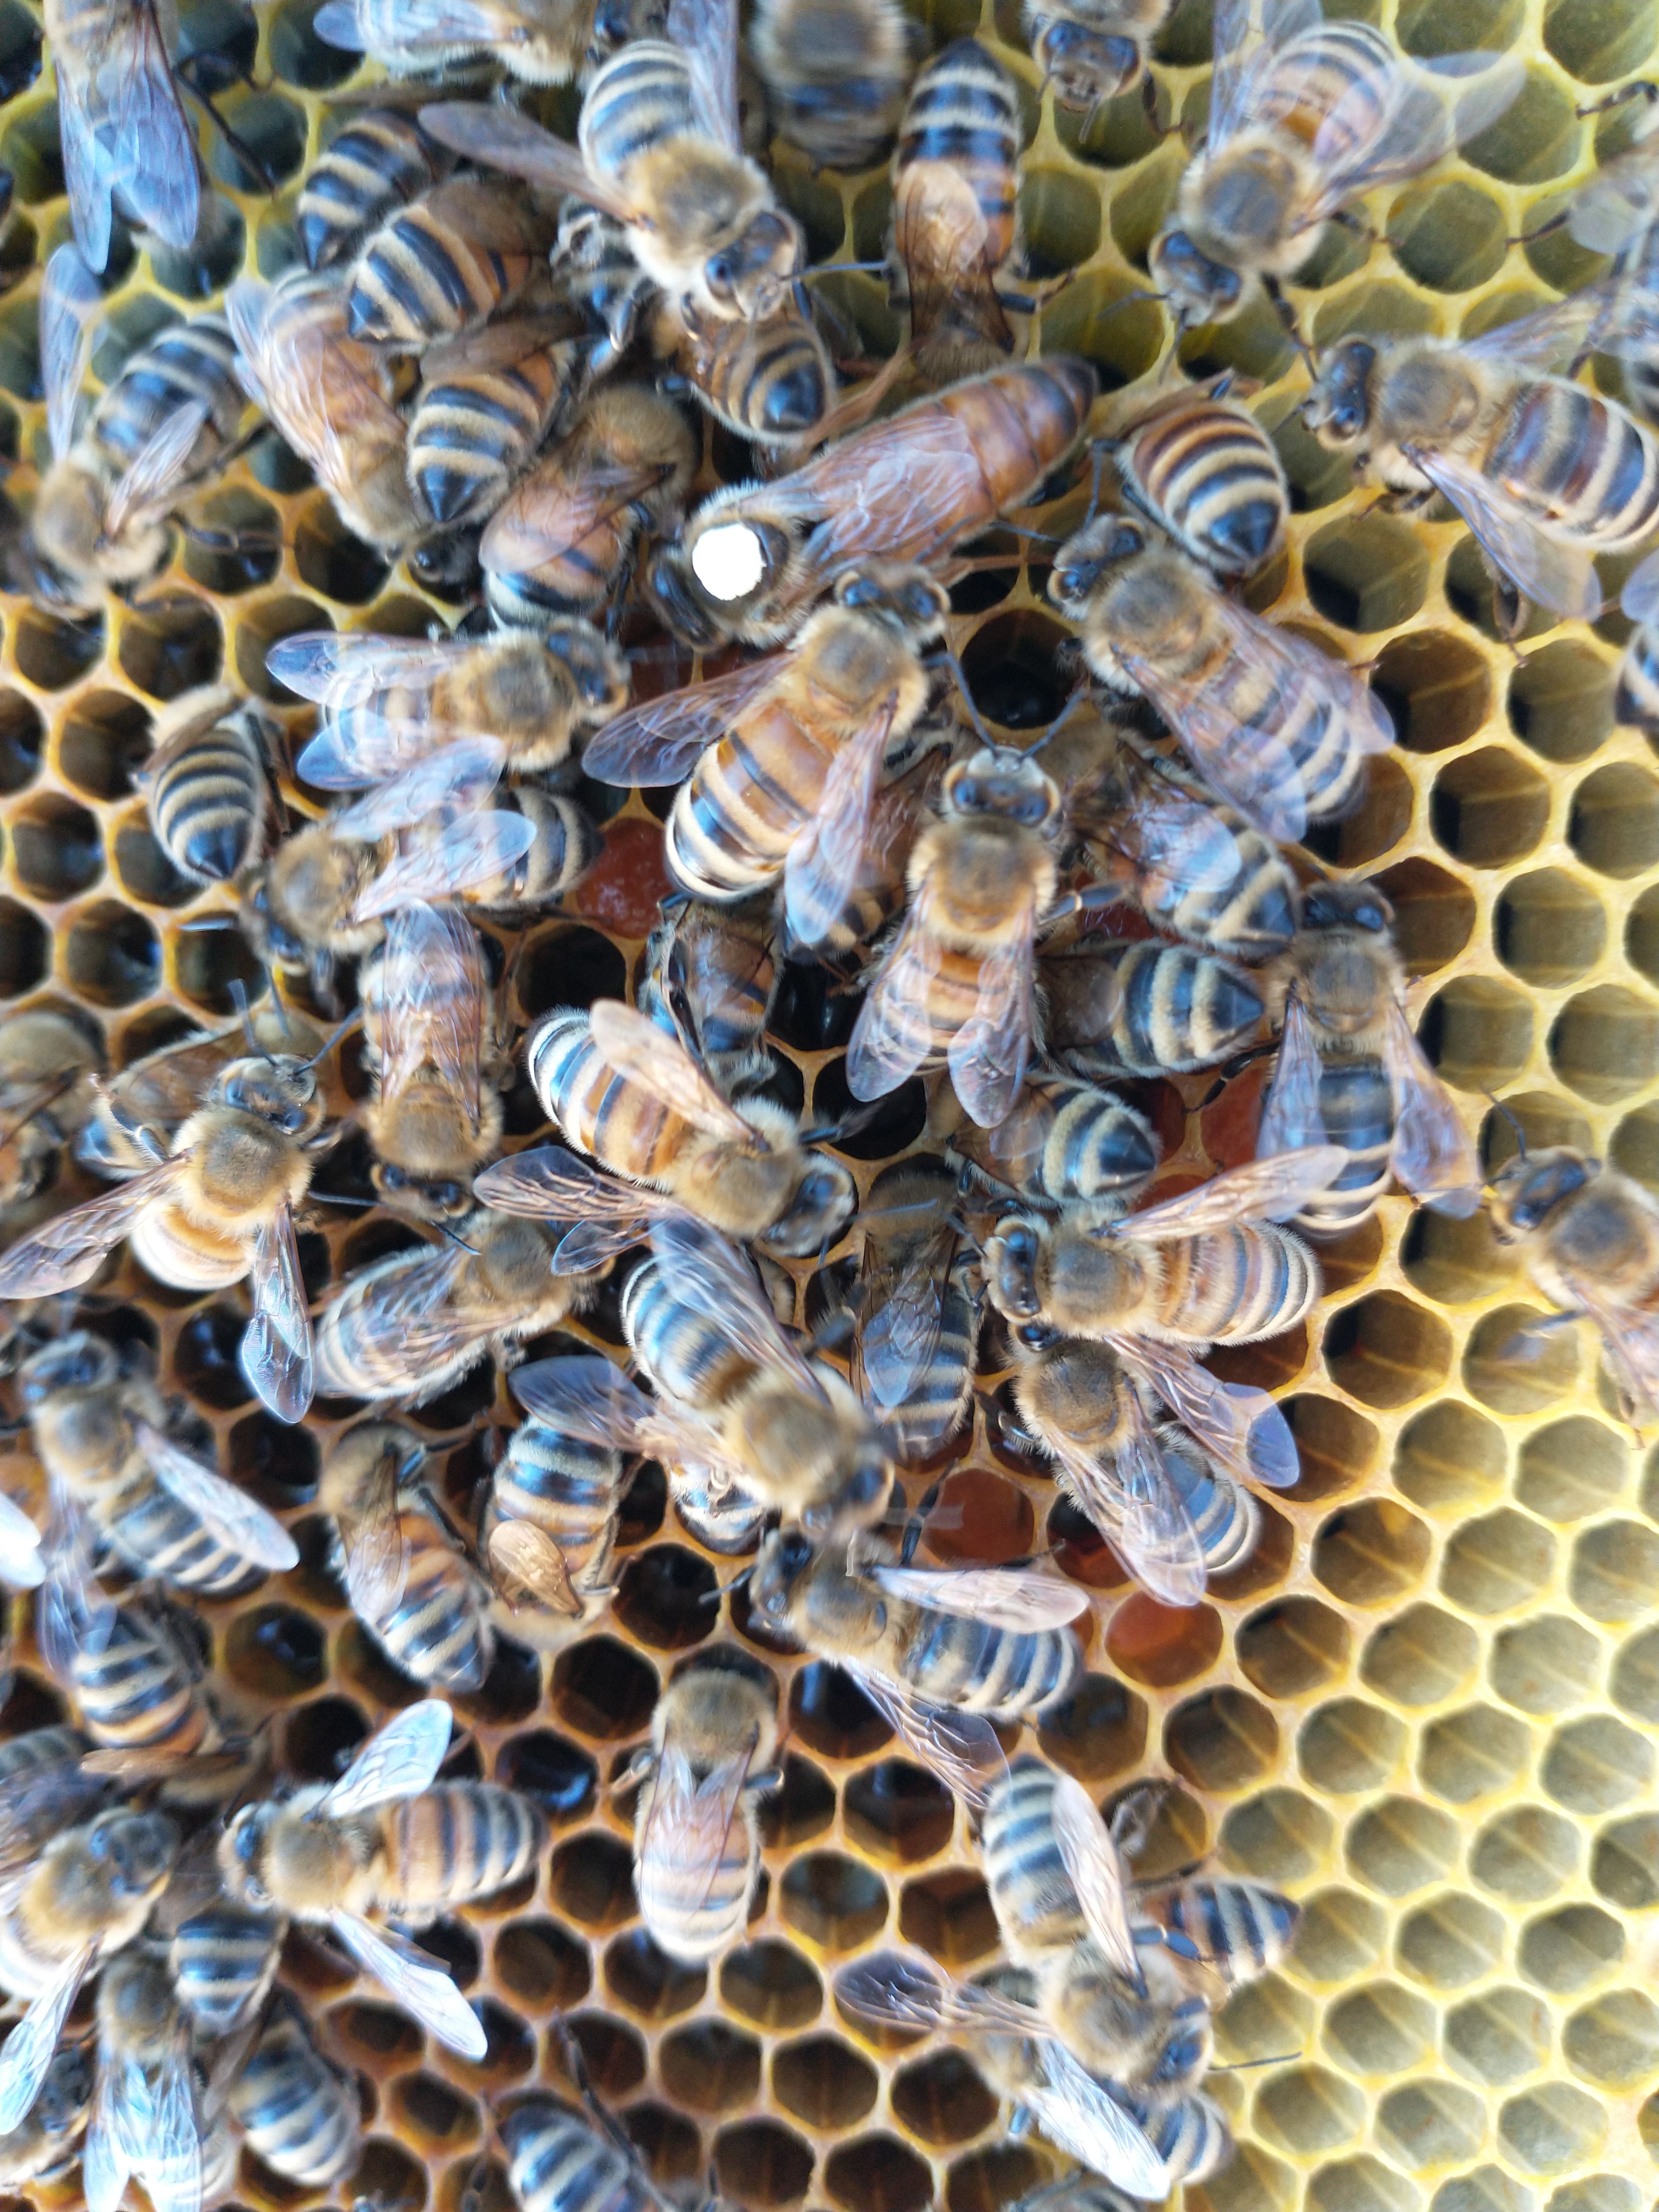
 It is not unusual for hives to try to replace a new queen. During that first hive inspection after installing her majesty, I again found supersedure cells. I cut them out, and scolded my workers a bit. During the first weekend of November, I was doing a hive inspection on an unseasonable 70-degree day, and found a swarm cell—with a larva in it—on the bottom of one frame. That there was only one, and that it was there so late in the season was confusing, and frustrating to me. Before I could even decide what to do, I accidentally smashed it while moving the box it was in. My latest, and last, hive inspection showed no signs of them trying to replace Queen Leslie II, who is still laying like a champ. I expect that as the temperature drops, she will slow down. In the meantime, it has been an absolute treat to have a marked queen. I can always find the queen now and I am delighted every time I see her.
 Brush the Alpacas Before Shearing Them
 One of the biggest disappointments we had this year had to do with the beehive. Kasey keeps our bees and this is her first year. She got the bees on May 2nd and now wishes that she had immediately tested the bees for mites and treated them, but she was new and nervous about it and it took a few weeks to get used to working with them before she was ready to check for mites. She did so the third week of May and the mite count was really high. If she had understood her options better, she probably would have used Formic Pro, but she didn’t understand that the temperature restrictions were just for the first three days. Knowing that it would soon be really hot, she instead used Apivar, adding it May 25 and removing it on July 20th.
  The garden grew SO. MUCH. BETTER. this year overall. We grew a delicious assortment of winter squash and pumpkins, patty pan squash, zucchini, greens, some tiny carrots, green beans. The Harvest Moon Squash was a variety we’d never tried before and it was delicious when stuffed and baked.
  When we cleaned out the barn, it produced a giant mound of old, old horse manure. We were able to give a lot of it away for people to compost, but Kasey also used a lot to create a base layer for flowerbeds around the edge of the horse run. The plan was to grow wildflowers there to support pollinators. Her dream is to have lush perennial wildflower garden that takes not that much maintenance. She planted lavender, sunflowers, apache plume, Veronicas, and cone flowers there. The lavender was really the only thing that grew. Everything else scorched. She needs to test the soil, but it seems like the soil is too hot. The plan is to mulch it over the winter to draw out some of the nitrogen, but it was a good lesson in checking soil PH.
  Now that summer dearth has settled in, I’ve had a lesson about honeybee psychology.
  I thought about the bees throughout my shift as a greeter at the Molly Brown House the next day, because I watched a single honeybee repeatedly fly around the front porch, where there were no plants, in search of nectar (I guess?). Bees checking and rechecking unusual places is one sign that dearth has set in. Later that night, I did some more research, deciding whether I needed 1:1 or 2:1 syrup for the hive and I asked Julio to make it for me. By the time our baby was asleep, it was almost 8:00 and, although the sun hadn’t set, it was probably too late to go into the hive. It’s fine, I thought, and besides, I didn’t even have to take off the inner cover to put the feeder in place.