Miss Firecracker
Winter is allegedly a quiet time, when the garden and apiary are done for the season and I am all cuddled up reading a mystery novel. There’s always something to do, though, between the toddler, the chores, and keeping all of us living things warm, fed, and growing.
Animals
The hens went on “sabbatical” for about six weeks and egg production is slowly ramping back up. They molted starting in November. When hens molt it can be a “hard” molting when they lose their feathers all at once and look awful for a minute before they grow back. Our hens did a “soft” molt. Aside from feathers blowing everywhere on the property and Eliza looking a little naked around her neck, you’d not really guess that they were molting. The energy needed to produce new feathers, plus the very short days probably caused them to stop laying eggs. Someone is also eating eggs if we don’t get to them soon enough. This would indicate that they might need a little more calcium in their diets. Oyster shell it is!

Freeloading chickens Angelica, Persephone, and Peggy
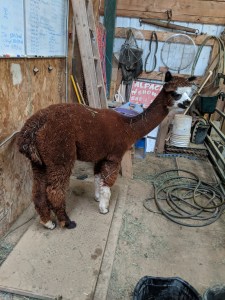
The alpaca herd is doing well and getting fluffier by the day. Little Luna has grown so much. She is four months old and almost as tall as her mama, Miss Firecracker. We didn’t really notice how much shorter Miss Firecracker is compared to the other girls until Luna started to catch up to her!
We still have two 200 yd 2-ply worsted weight skeins of Miss Firecracker’s yarn left for $35 each. Send us a note in the contact tab if you’re interested!
Bees
A couple of weeks ago, we had a three-day stretch of temperatures in the mid-50s, so I decided to get into the hive for a couple of quick chores. I had seen bees out flying occasionally and I could hear them when I put my ear to the hive, but still, I was nervous that when I opened it I would find that they had blitzed through their food or that there would be signs of too much moisture or too few bees. None of the above happened. I didn’t pull any frames out, but it looks like they have most of their honey left. I added sugar to the feeding shim just in case they do run out of food (the Mountain Camp Method), as I am not planning to open the hive again until spring. If they don’t use the sugar they will just haul it out eventually, but in the meantime it will help absorb moisture.

A big winter cluster still!
I also did a quick Oxalic Acid dribble just in case the previous mite treatments weren’t sufficient. I wanted to do it when it would be warm for a few days so that the moisture had time to dry out before it got cold again. I have read over and over that this year was an especially gnarly mite year. I think I got out there just as they were heading out for the day, which was the perfect time because they were still mostly in one place for the treatment. There was just one little hiccup. To dribble the OA in the lower deep box, I just tilted the top one up, as I was trying not to disturb the hive too much. Just as I was dribbling the solution along the last frame, the top box slipped and almost fell to the ground. It was heavy and I was holding it one-handed, but somehow I didn’t drop it or smash anyone.

An undertaker bee at work
Once I reassembled the hive, I brushed as many dead bees out from behind the mouseguard as I could and then watched the bees coming out to relieve themselves and do their chores. I got to watch some undertakers at work. I did help them by brushing the dead bees off the landing board before I left.
Overall, I am really encouraged by the size of the cluster and how tidy and well-stocked the Bee & Bee is looking. The average overwinter survival rate is ~40%, though, so I’m still keeping a close eye on the hive on sunny, warm days.
Orchard
 We are hoping to see more growth out of our orchard trees in the coming year now that they are fenced in and safe from alpaca attacks. We need to be more regular about watering them, but for now, the blanket of snow is taking care of that. Our little orchard trees have stood up to some brutal winds this season, assisted by a slight windbreak created by the barn.
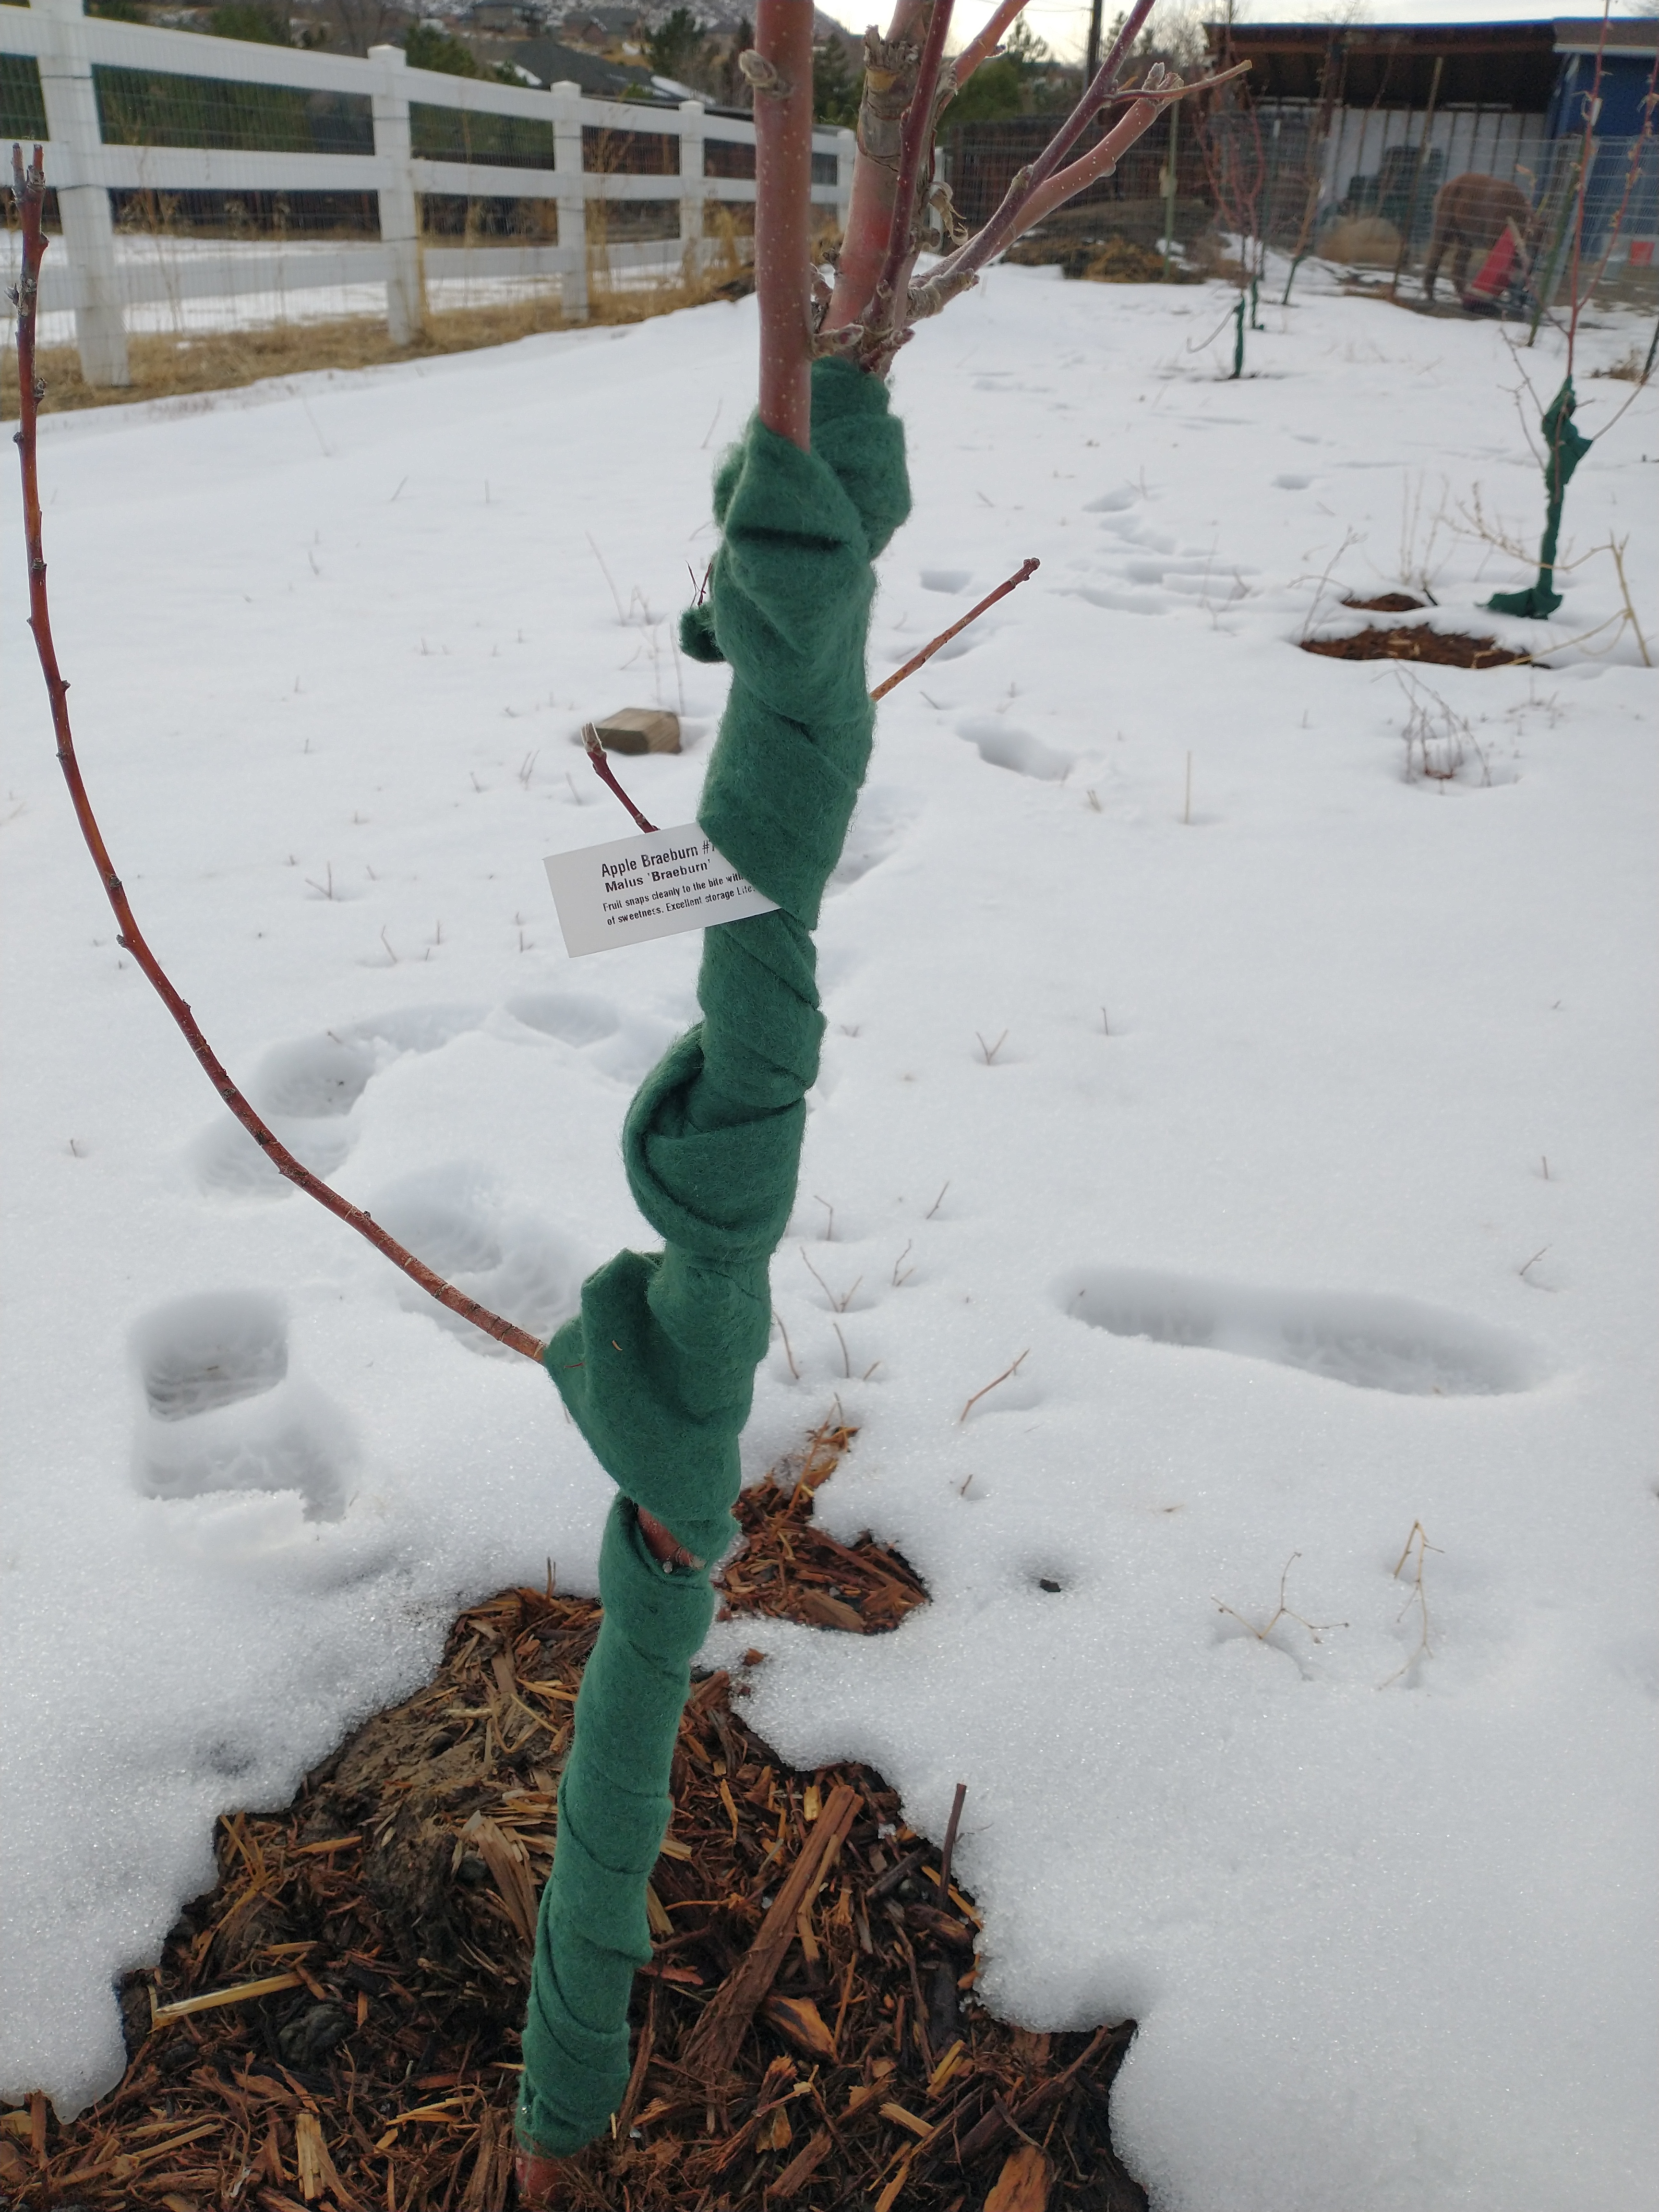
Ideally, I should have wrapped the trunks on the trees around Thanksgiving, but I got to it around New Year’s Day. Hopefully the little guys are okay. I wrapped each trunk in felt, which provides breathable protection from the harsh winter sun in the absence of leaves. They look like they are wrapped up in little scarves. I saw tiny buds on one of the trees when I was wrapping it, and that little glimpse of spring was encouraging. Colorado is not the easiest place to grow fruit trees.
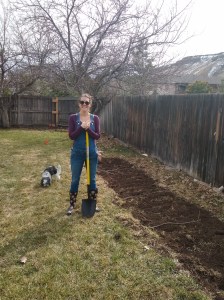
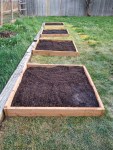
 Garden
I am getting ready to start seeds in about a month, and the first order of business was organizing the seeds I have left over and the new ones I ordered on sale last month. The result was too many seeds! My big goals are to expand the pumpkin patch and get the pollinator garden blooming this year. I think the soil was too hot last year, since the beds had a layer of old horse poo under them, so I put down a heavy layer of mulch to try to cool it down. In order to make everything fit, I am expanding the container garden on the patio, using some pots left by the previous owners. In terms of seed starting, last year was a total flop, so this year I am adding heating pads and humidity covers to try to get some little plant babies growing! These additions should be especially helpful for tomatoes, peppers, and eggplants. Any tips, master gardeners?

First attempts at spinning
Spinning
I am learning how to spin. After almost a year with little progress, I decided that I needed to put a deadline on myself to get the ball rolling, or the spindle spinning, rather. I decided to use the pretty merino fiber I had to make Christmas gifts for my grandparents. I was really pleased with how my first two yarns turned out, but I got less than a third of the way through knitting a cabled headband before I was out of yarn. That’s when I learned how to measure a skein using a niddy noddy, and discovered that I had only spun ~30 yds out of 4 oz of fiber. Yikes. I had to learn to spin thinner!

My first skein. So fluffy and pretty, but only 30 yds!
I eventually managed to spin three 2-ply 100 yd skeins of bulky weight yarn and I thought they turned out nicely. I know they are durable too, because I had to restart one knitting project three times due to some technical mistakes, and the yarn held up splendidly. Now, I am working on spinning thinner, more consistent yarn and finishing skeins so that they are not just usable, but saleable. A huge help in all of this was the book and DVD Respect the Spindle by Abby Franquemont and the Youtube channels MeganERisk Tutorials and JillianEve. I’m spinning every day now, for at least a few minutes and I’m enjoying it, which is a huge improvement from just a few months ago.
Home

Spinning thinner yarn with leftovers from Moira.
Aside from holiday festivities, things have been quiet around the house (knock on wood, throw salt over your shoulder, whatever it takes). We have been enjoying our repaired fireplace and trying out some new recipes. We are vegetarians, and each winter I am on the hunt for new veggie comfort food. This winter has had some real hits.
Some of our favorite new-to-us recipes this winter have been:
In a few weeks, we will be putting up a new fence, to provide some more privacy and deaden the road noise in the backyard and pasture. That, we hope, pray, cross our fingers, is our last big house project for some time.
What do you do during this winter season, for fun or around your own homestead? Let us know below. -Kasey


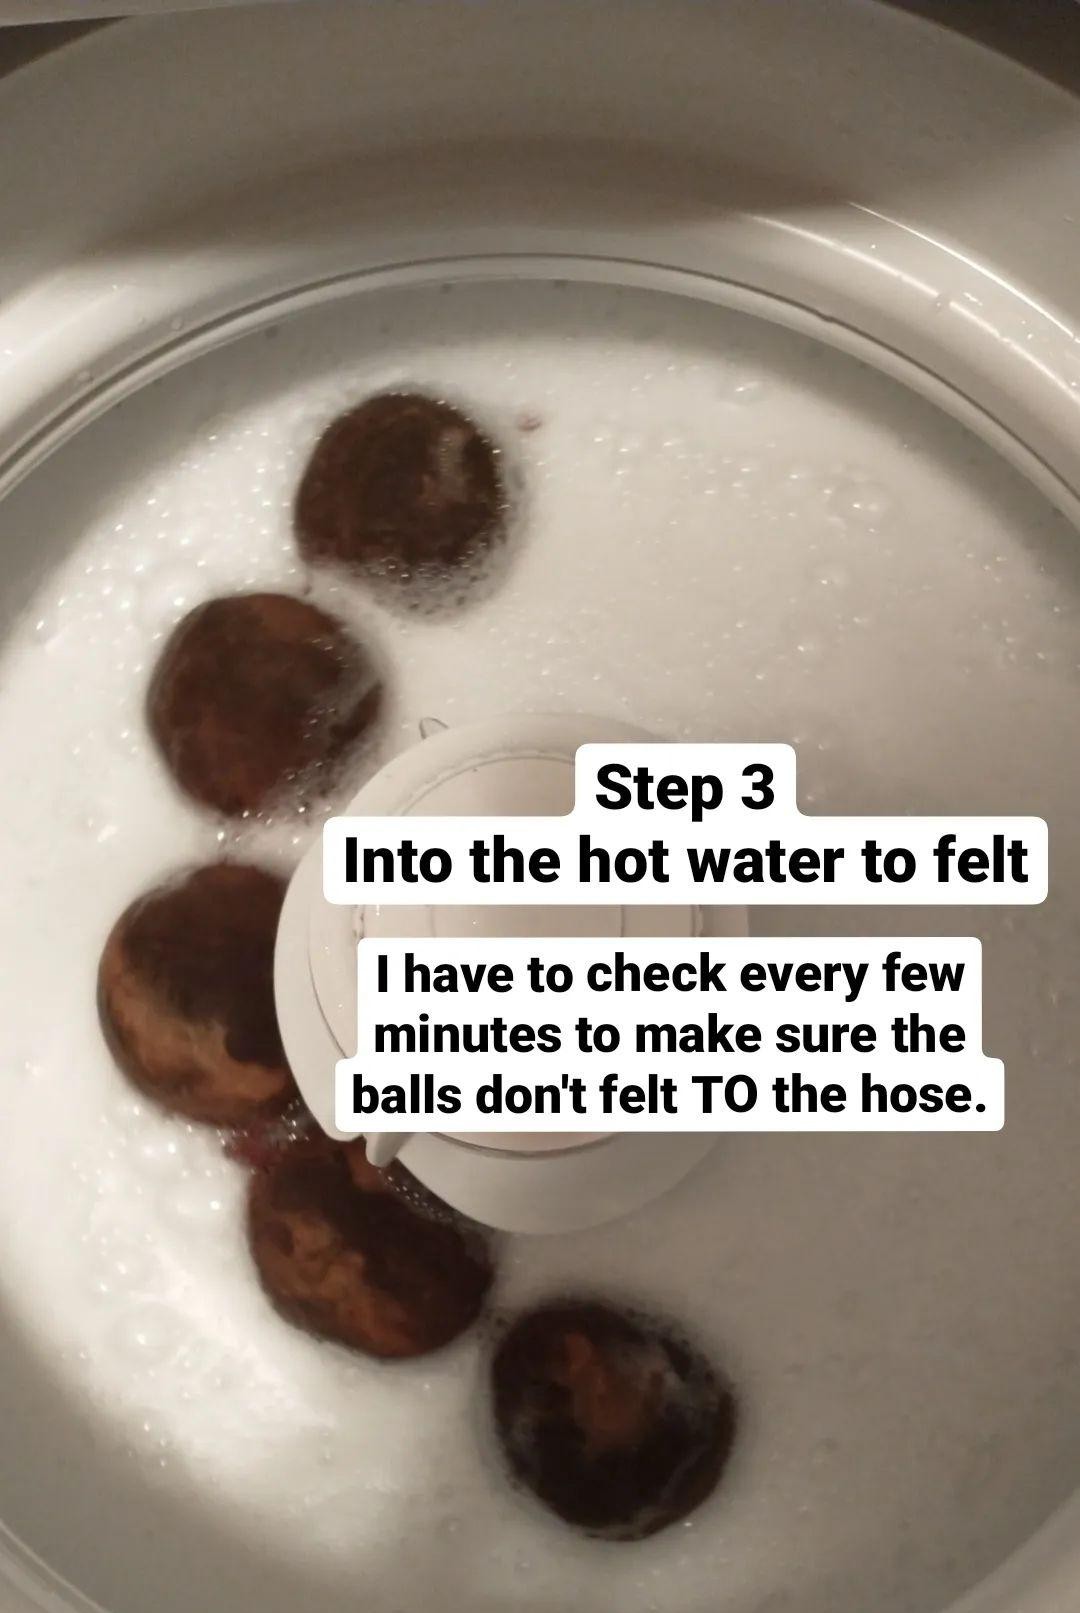
 Part 2 of Julio’s Series on Clean Energy at Sol Homestead
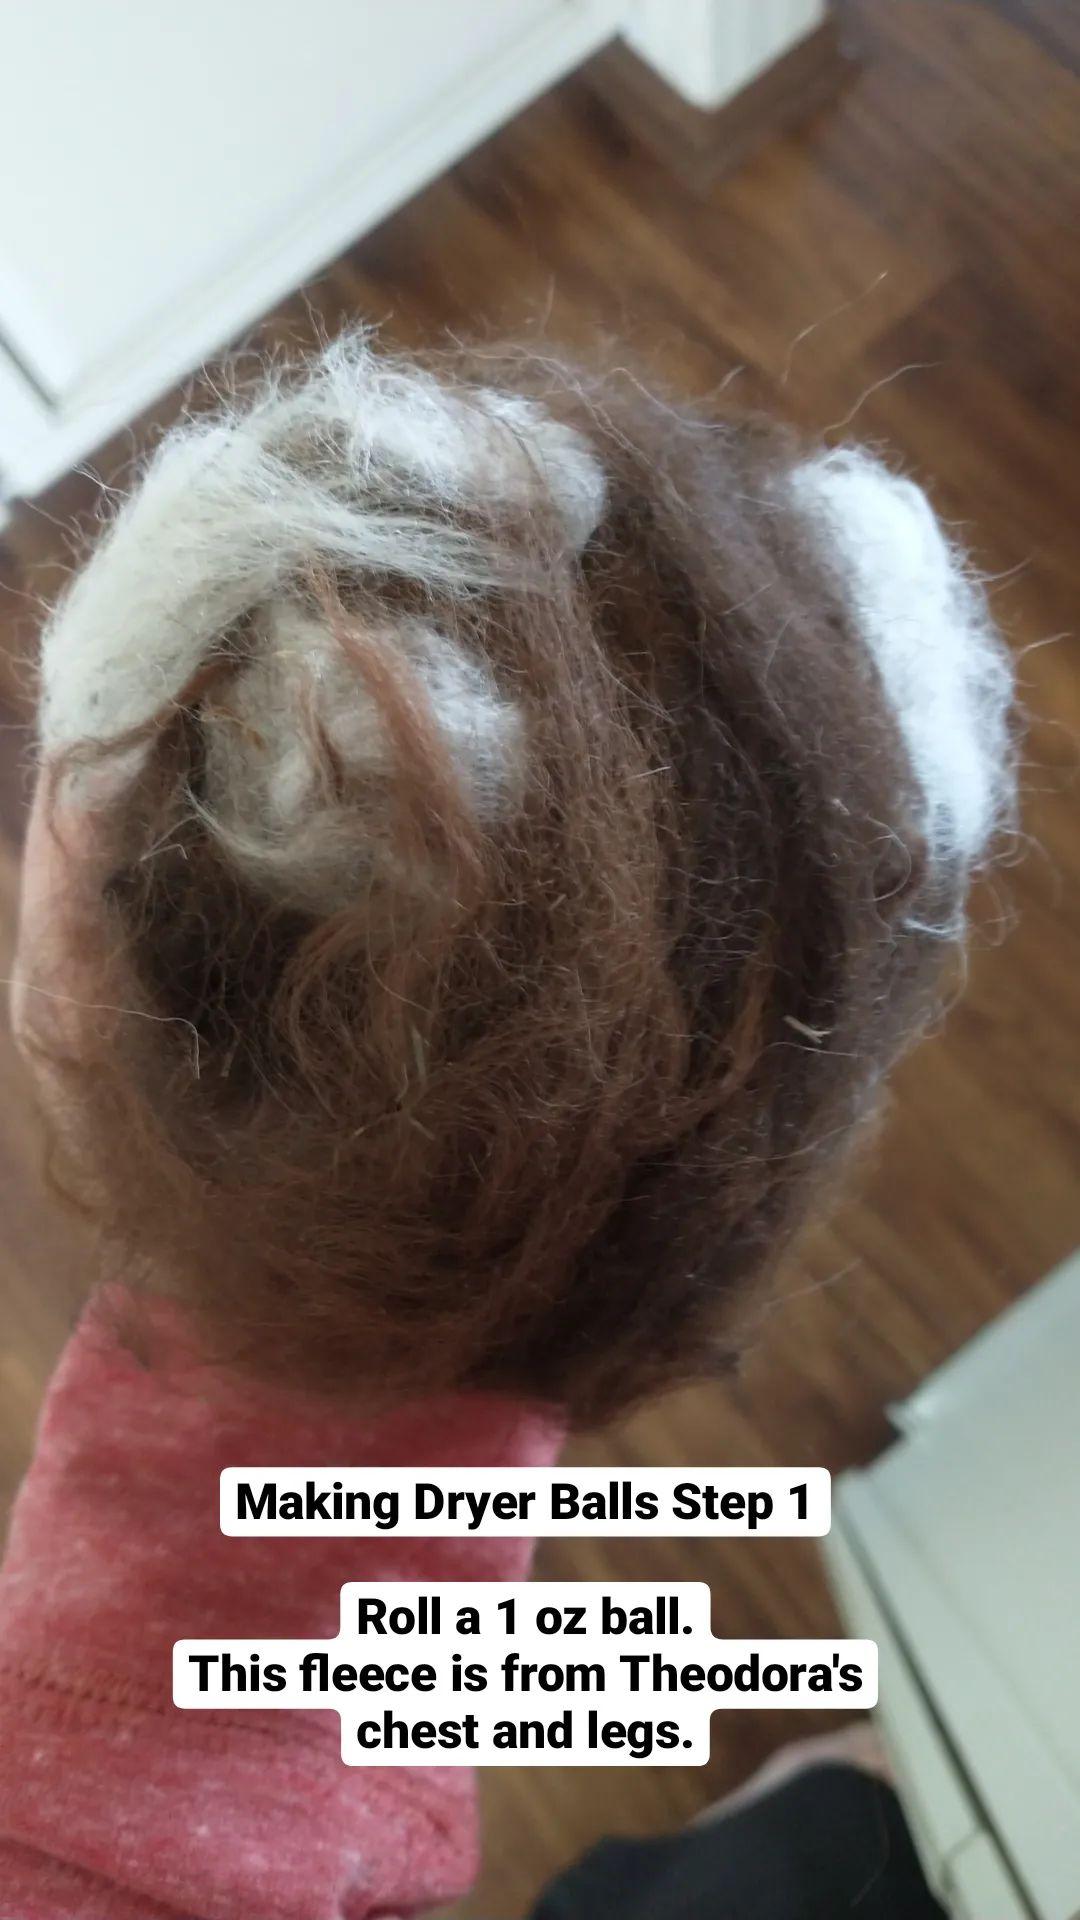 First, we wash the fleece. For this batch of dryer balls, I used Theodora’s seconds. I washed the fleece twice until the water ran clean, then plucked any remaining hay out with tweezers.
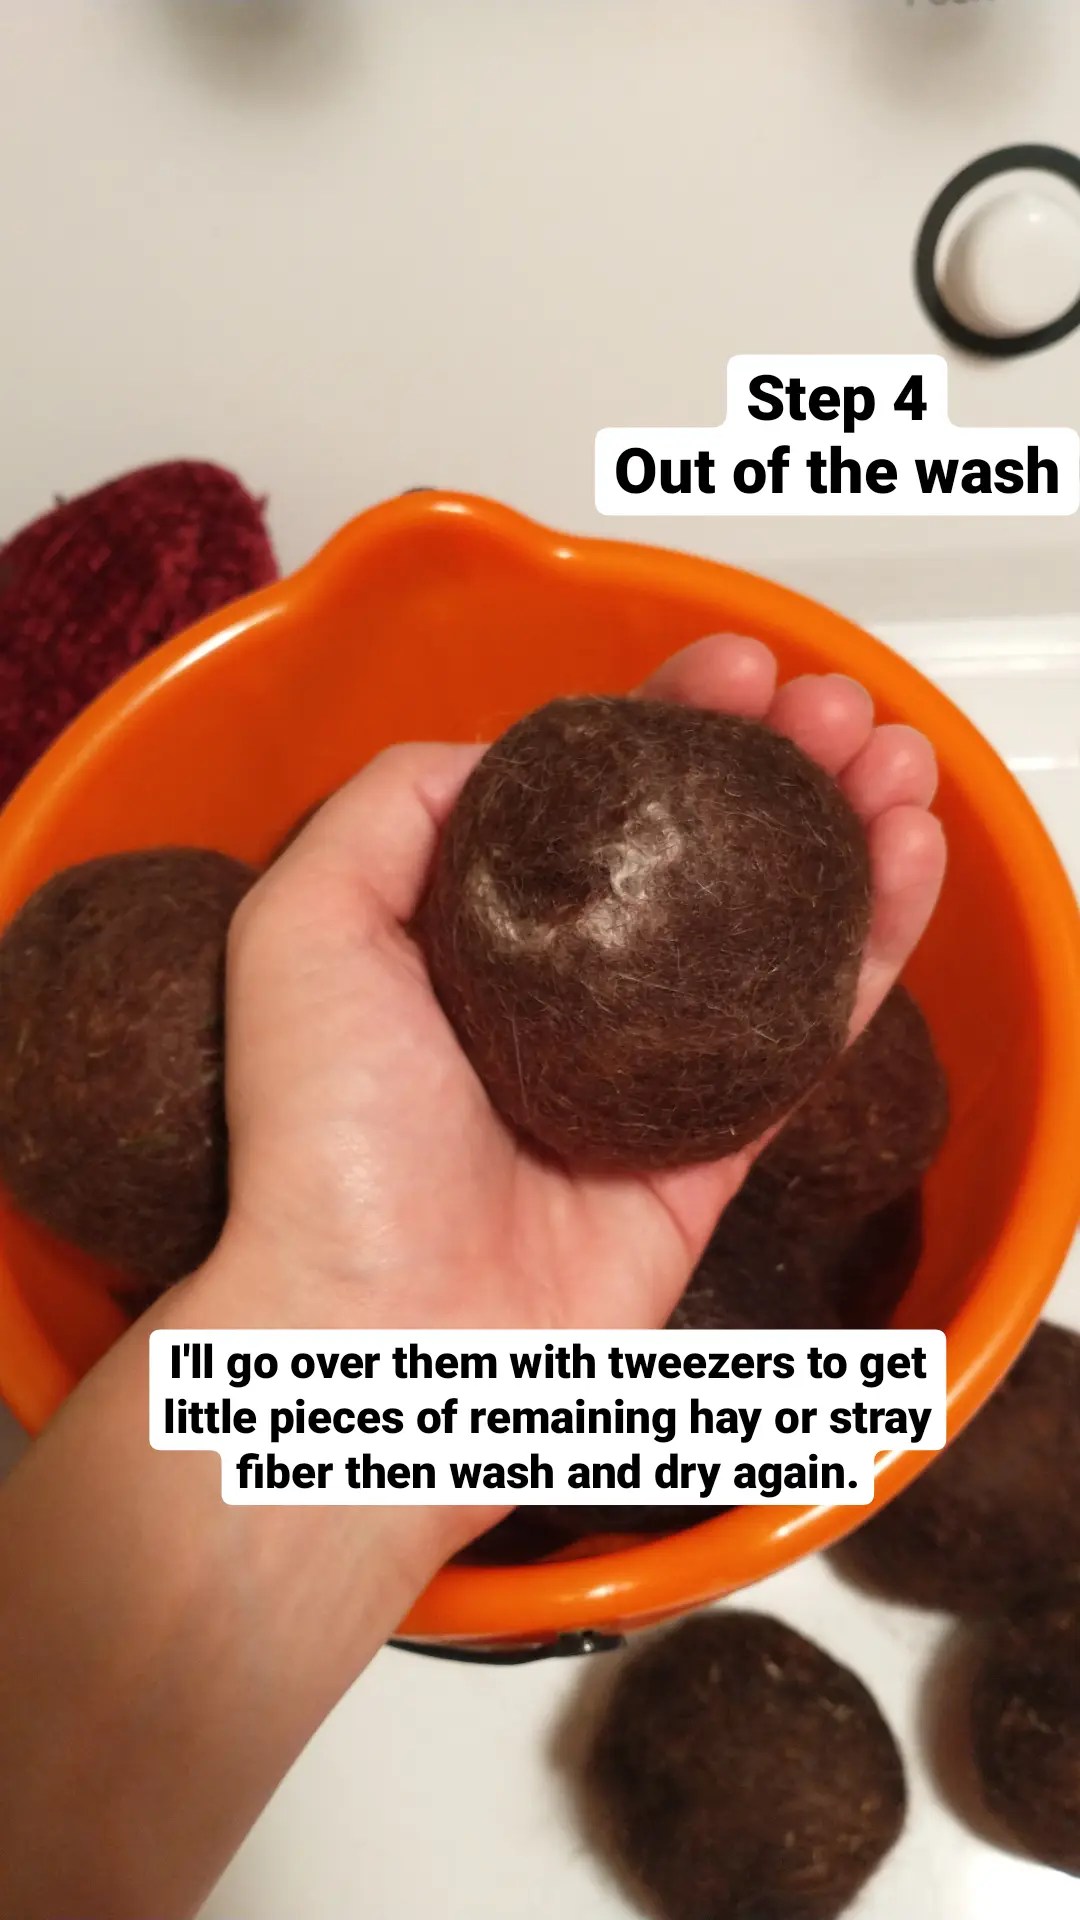 Alpaca Dryer Balls will be available at our market days for $15 for a set of three. Any balls that do not pass quality control will be available at a discounted $3/each. We think they’d make nice toys for your cats or dogs. Follow us on Instagram
  The first Father’s Day after my father died, I was having a low-key, but difficult day. Nothing dramatic, no great outpouring of grief, just a sad day spent mostly on the verge of tears that never really came. That afternoon, Julio went on an errand and came home with a Fiddle Leaf Fig that he named The Last One. I had been filing our apartment with houseplants and he had made me promise that I wouldn’t bring home anymore for a while, but I really wanted a Fiddle Leaf Fig. So here it was, the last houseplant. (Or so he thought.)
 I bought Fiddle Leaf Fig fertilizer, dutifully applying it once a month through the summer, and watered it exactly one Ball jar a week on Saturdays. I soon deduced that the humidifier was unnecessary, as it made no real difference in the humidity. I opted instead just to keep my tropical plants clustered together, sharing the sunlight and the moisture they “exhaled.” Over the summer and fall, the Fiddle Leaf Fig grew about a foot. I was delighted. I celebrated every new leaf that emerged, first as a tight coil, gradually unwrapping into a bright green, tiny leaf that, over time, grew and darkened into a deep green violin shape.
 In January, we moved to our house. I was prepared for the Fiddle Leaf Fig to drop some leaves in response to the change in environment as everything I read about the plant suggested that big changes could stress the poor thing out. At first, it seemed to be enjoying its new home next to a sunny South-facing window. Then, I came down one morning and leaves had dropped to the kitchen floor. They were weirdly far away from the plant, but I thought the dog must have accidentally dragged them away with her tail.
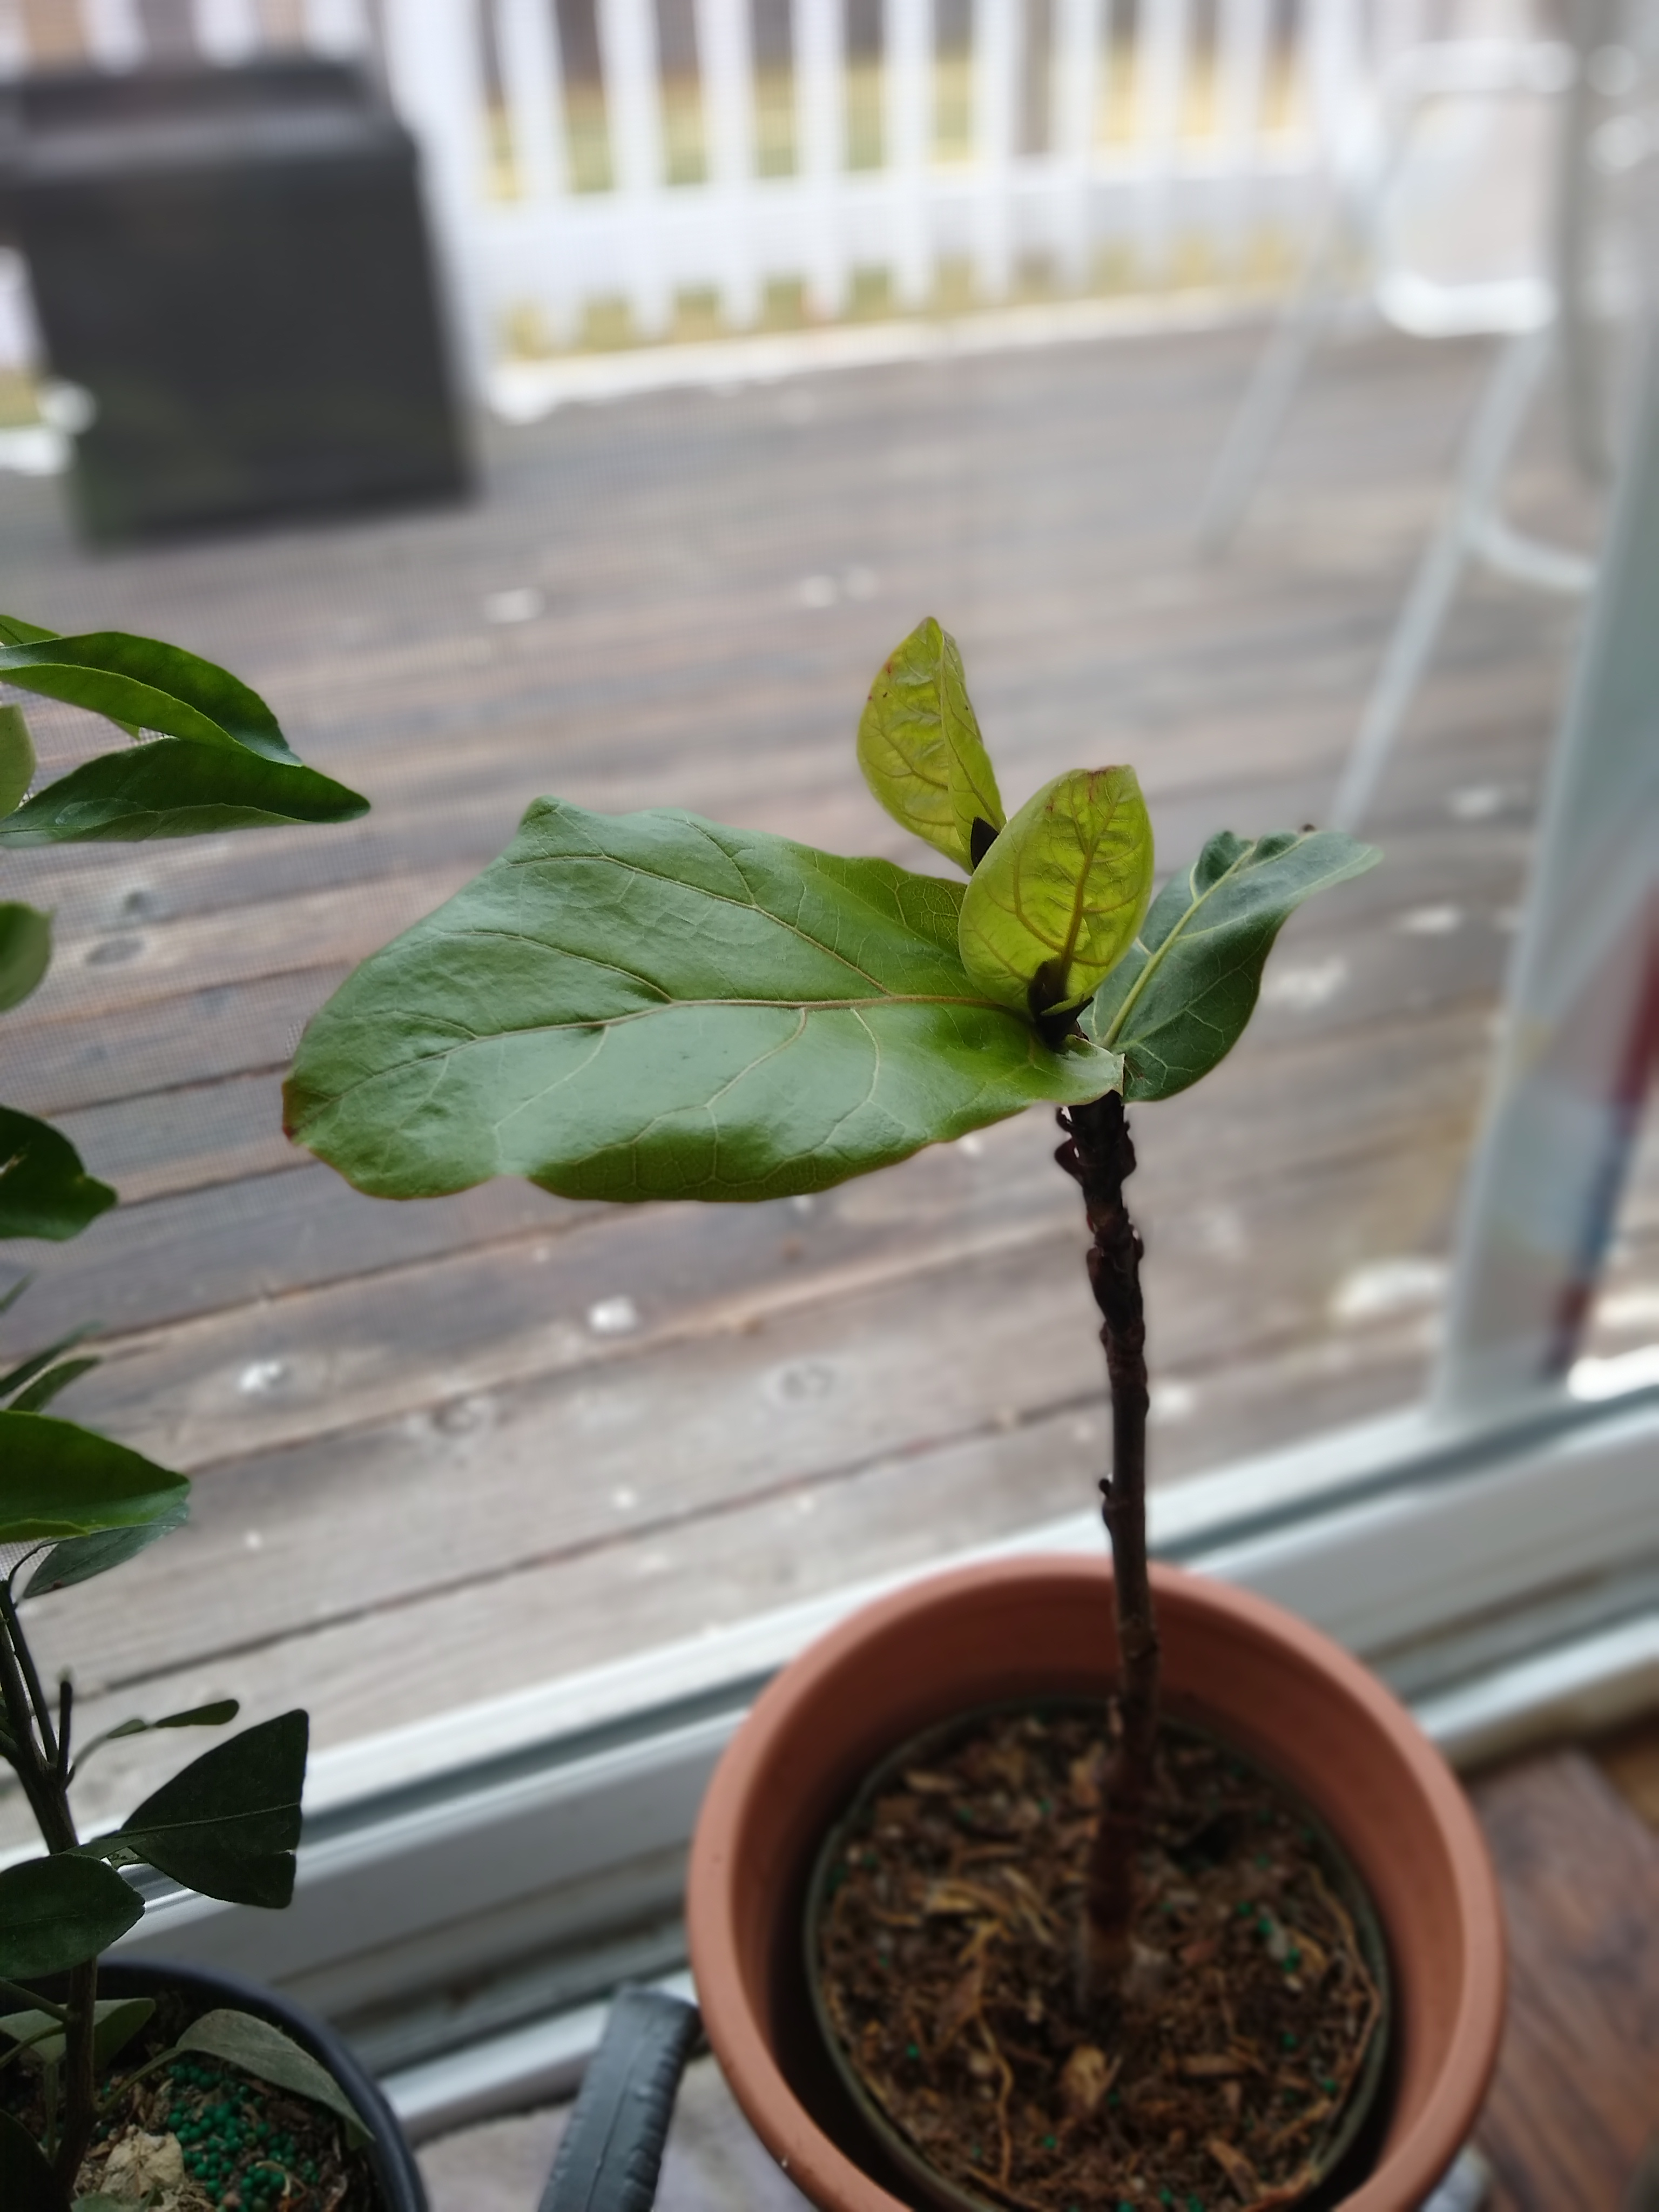 Getting rid of the packrat that was breaking into our home each night through a gap under our balcony was a long process and a different story, but now I had an answer on the plant. It wasn’t dying; it had been robbed. I moved The Last One and the small orange tree we were given as a housewarming gift to the west-facing window in our bedroom and leaves and fruit stopped disappearing. A month later, the Fiddle Leaf Fig had a handful of tiny leaves. It kept growing and I kept fertilizing it once a month and watering it deeply once a week. A year later, I repotted it into a bigger pot. Almost two years later, it is hip-height and still thriving.
 I watched the resurgence of The Last One with awe and amusement. I am generally pretty successful with my houseplants. I only lost one, a pothos, to the move, and I subsequently killed a young Parlour Palm because I couldn’t find the right spot or the right watering routine. Other than those losses, however, my little indoor jungle has done pretty well. None, however, have thrived like The Fiddle Leaf Fig who could. This plant, known for being easy to kill, so challenging to keep that Julio joined a Fiddle Leaf Fig support group on Facebook when he brought it home, has proved itself resilient beyond what I thought possible. I do not exaggerate when I say it was at one point a potted stick. The rat took all of the leaves and the young portion of the trunk. I couldn’t imagine that it would start producing leaves again without any way to take in sunlight. I am thankful that I neglected the plant in those first days after its losses, too distracted by another new life to count the plant as a loss. That pause gave it time to start again, growing back with vigor. Fickle who? -Kasey
 Repot the plant once it is rootbound. One way to tell is if roots start to come out of the drainage holes in the grower pot. Make sure the new pot has adequate drainage. Choose a new pot that is one size up from the current pot. For example, an 8” pot after a 6” pot.

 Brush the Alpacas Before Shearing Them
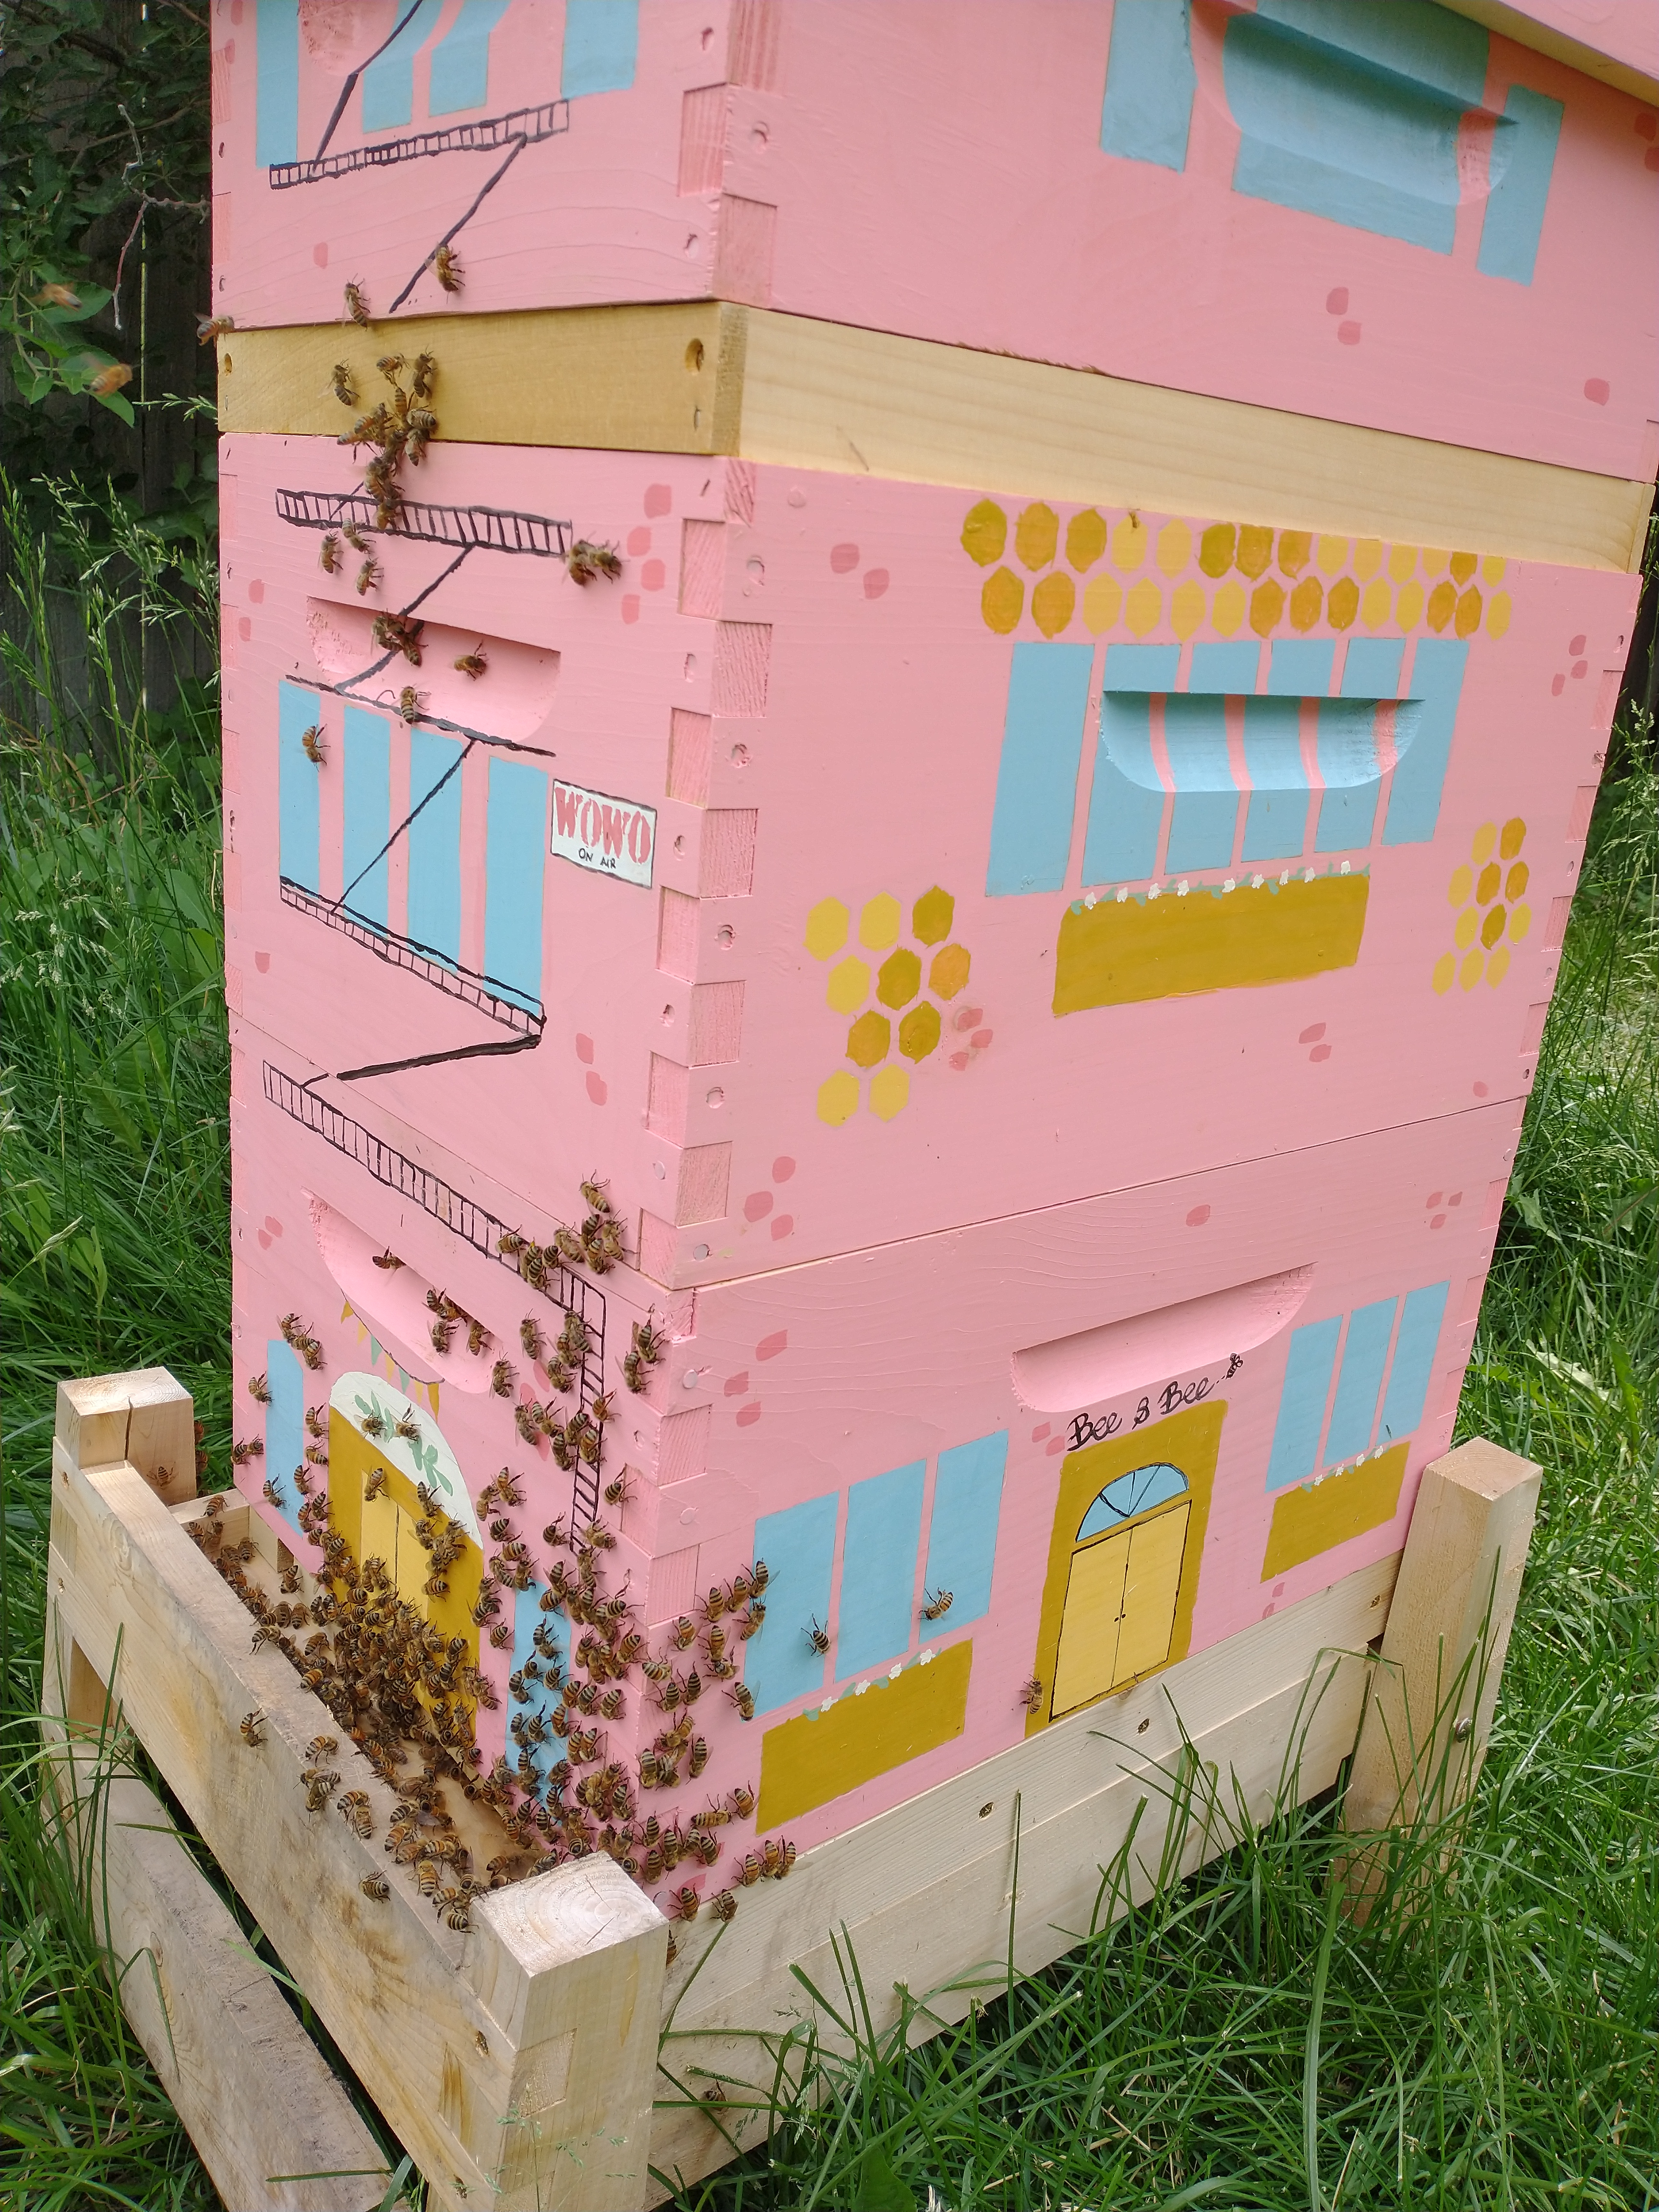 One of the biggest disappointments we had this year had to do with the beehive. Kasey keeps our bees and this is her first year. She got the bees on May 2nd and now wishes that she had immediately tested the bees for mites and treated them, but she was new and nervous about it and it took a few weeks to get used to working with them before she was ready to check for mites. She did so the third week of May and the mite count was really high. If she had understood her options better, she probably would have used Formic Pro, but she didn’t understand that the temperature restrictions were just for the first three days. Knowing that it would soon be really hot, she instead used Apivar, adding it May 25 and removing it on July 20th.
  The garden grew SO. MUCH. BETTER. this year overall. We grew a delicious assortment of winter squash and pumpkins, patty pan squash, zucchini, greens, some tiny carrots, green beans. The Harvest Moon Squash was a variety we’d never tried before and it was delicious when stuffed and baked.
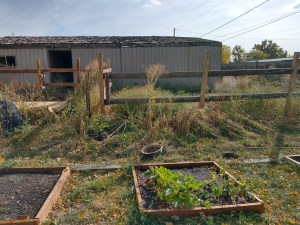
  When we cleaned out the barn, it produced a giant mound of old, old horse manure. We were able to give a lot of it away for people to compost, but Kasey also used a lot to create a base layer for flowerbeds around the edge of the horse run. The plan was to grow wildflowers there to support pollinators. Her dream is to have lush perennial wildflower garden that takes not that much maintenance. She planted lavender, sunflowers, apache plume, Veronicas, and cone flowers there. The lavender was really the only thing that grew. Everything else scorched. She needs to test the soil, but it seems like the soil is too hot. The plan is to mulch it over the winter to draw out some of the nitrogen, but it was a good lesson in checking soil PH.
  It is autumn and we have pulled up the last of our tired squash vines. The pots and garden tools are tucked away in the tack room and Julio is busy getting the barn ready for our herd of alpacas. 2020 has been a wild, difficult year in many respects, but here on Sol Homestead, we have so much to be thankful for. Our first year produced a puny harvest from the garden, but our family and our homestead still grew and we have a better idea of what we need to do to succeed next year.