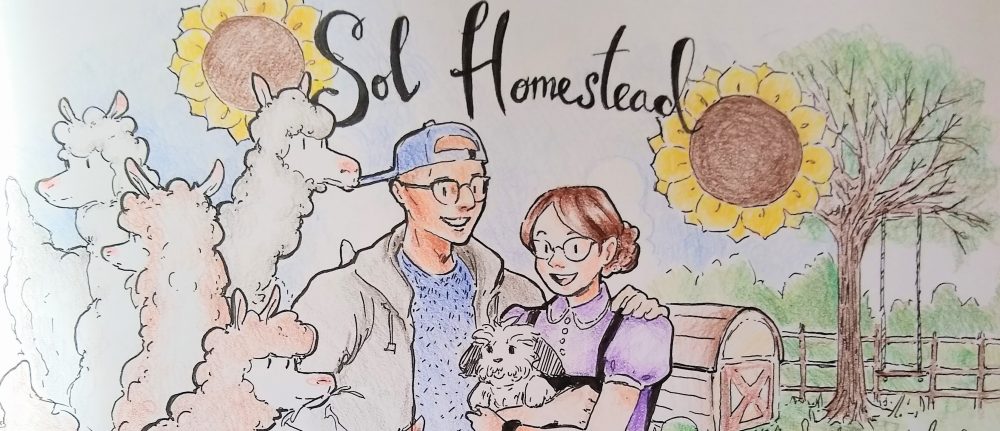
 Soon the dandelions will be in bloom all over the lawns of America’s suburbs, and they present an opportunity for you. The blossoming of these little yellow flowers is your chance to help the pollinators without spending one cent or, in fact, doing anything at all. You can be a rebel, a little bit countercultural, and support the health of pollinators in the ecosystem that sits right outside your home.
As much as people like to prune and tame and labor over manicuring their lawns, they are actually part of an ecosystem, and our human activity can either coexist with the creatures there or work against them. In the spring, dandelions are one of the first food sources for bees coming out of hibernation. Cutting down those dandelions deprives the bees of that meal. Worse, spraying the dandelions with chemicals can kill the bees outright. For the sake of the native bees or your neighborhood beekeeper, please PLEASE do not spray the dandelions. Even better, leave them to grow.
 Dandelions aren’t just good for the bees; they’re also beneficial to your lawn and the other plants you grow. The taproot of the dandelion helps to draw nutrients in the soil upward, making them more readily available to green things growing nearby. If you’re feeling adventurous, you can eat the dandelions in a salad or make tea out of them (LawnStarter). They have a wide variety of nutrients, which is why they used to be considered valuable, not a weed to dispose of.
The humble dandelion is a good example of how the rise of lawn culture put our ecosystems and our relationship with nature out of balance. It used to be that owning land was valuable because of what land provides—a space for growing food. Certainly, land ownership offers other cultural and ecological benefits, but the idea that you would own land, however much, and work hours each week to grow an invasive crop that takes an obscene amount of water and chemicals to maintain, and out of the bargain you got—what—a sense of fitting in? That nonsense, my friends, is a bourgeois display that says you can afford to waste precious natural resources. It all goes back to the French aristocracy (the ones who eventually were beheaded when the people couldn’t afford bread) (Medium). We really can’t afford to waste these resources, either. There are 40 million acres of lawns in America (Salon). Imagine if we did something healthier and more useful with even half of that land.
Lawn culture is an expensive waste of time, energy, and water. I’d be thrilled if we did away with it entirely, personally. I’m going to tell you why. And then I’m going to give you some ideas of what to do instead.
Why Manicured Lawns are Bad for the Environment
- The carbon emissions from gas-powered lawnmowers, leaf blowers, trimmers, etc. are super wasteful (The Week). We have an electric lawnmower and tools from Ryobi that we are happy with.
- Grass lawns are a monoculture of a non-native species that does not support the biodiversity needed for healthy ecosystems (Discover Magazine).
- Fertilizers used on grass are terrible for the ecosystem. They are very high in nitrogen which throws the soil’s nutrients out of balance. If you live on or near water, those chemicals wash into the water, causing an algae bloom which chokes out the sunlight, damaging the biodiversity and health of the plant and animal life meant to live in the water. (Greater Greater Washington)
- All this grass is potentially very flammable in areas prone to wildfire, especially in drought, which is increasingly everywhere (PBS).
What to Do Instead of Mowing Your Lawn
- A recent study showed that mowing your lawn every two weeks instead of every week was beneficial to the bees. So a middle road is possible! Just mow less frequently. (USDA)
- Build some garden beds for wildflowers or a vegetable garden, or plant some trees. Adding diversity to the plants in your yard will boost the ecosystem, especially if they are plants native to your area. Less square footage to mow, too.
- Don’t use chemicals. Period. Your lawn might not look perfect. And I’m sorry, I don’t actually care. Grass gets brown when it’s dry out and then greens up again when there’s moisture. That’s how the plant works.
- You could also grow a ground cover other than grass. There are plenty of species that require a lot less water, grow slower, and provide food and shelter for insects and creatures. Less maintenance, more biodiversity. Finding the right ground cover for your area will take a bit of research and work, but that’s just time you’d be mowing your lawn, anyway.
- Read a book.
- Take a walk.
- Make a jar of “wishes” for your favorite young (or young at heart) person using the puffy seed balls of your dandelions.
- Make a cute “Pardon the Weeds. I’m Feeding the Bees” sign.
- Save money.
- Take a nap.
Lawn culture comes with a lot of baggage in American life. It’s tied up with ideas about prosperity, hard work, good civics, being a good neighbor, sometimes the actual law (The Atlantic). If you have an HOA, there might be little you can do to buck this bologna, aside from mowing every other week. Really, though, it’s all so unbelievably wasteful.
But, Kasey, you might say, you have a half-acre of…dirt. And that is true. The alpacas eat everything before it can grow much. But in our back yard, we keep it low-maintenance, mowing about once a month, letting the alpacas eat the grass, not wasting water on it, and focusing our energy instead on the pollinator and vegetable gardens. We have a lot going on on the homestead, and, frankly, not spending a lot of time tending to the grass—easily the least useful plant we grow—is a relief.
Join us, won’t you: let the dandelions grow, mow your lawn less, and have a beer instead, you rebel, you.
 If you’re in our area, you’re welcome to pull over and say hi to the alpacas at the gate. They spend a lot of the day behind the barn eating, but if they’re out, Theodora and Clementine are likely to greet you. We have some tips to help you not scare them off.


 We are hoping to see more growth out of our orchard trees in the coming year now that they are fenced in and safe from alpaca attacks. We need to be more regular about watering them, but for now, the blanket of snow is taking care of that. Our little orchard trees have stood up to some brutal winds this season, assisted by a slight windbreak created by the barn.
  Garden


 The first Father’s Day after my father died, I was having a low-key, but difficult day. Nothing dramatic, no great outpouring of grief, just a sad day spent mostly on the verge of tears that never really came. That afternoon, Julio went on an errand and came home with a Fiddle Leaf Fig that he named The Last One. I had been filing our apartment with houseplants and he had made me promise that I wouldn’t bring home anymore for a while, but I really wanted a Fiddle Leaf Fig. So here it was, the last houseplant. (Or so he thought.)
 I bought Fiddle Leaf Fig fertilizer, dutifully applying it once a month through the summer, and watered it exactly one Ball jar a week on Saturdays. I soon deduced that the humidifier was unnecessary, as it made no real difference in the humidity. I opted instead just to keep my tropical plants clustered together, sharing the sunlight and the moisture they “exhaled.” Over the summer and fall, the Fiddle Leaf Fig grew about a foot. I was delighted. I celebrated every new leaf that emerged, first as a tight coil, gradually unwrapping into a bright green, tiny leaf that, over time, grew and darkened into a deep green violin shape.
 In January, we moved to our house. I was prepared for the Fiddle Leaf Fig to drop some leaves in response to the change in environment as everything I read about the plant suggested that big changes could stress the poor thing out. At first, it seemed to be enjoying its new home next to a sunny South-facing window. Then, I came down one morning and leaves had dropped to the kitchen floor. They were weirdly far away from the plant, but I thought the dog must have accidentally dragged them away with her tail.
 Getting rid of the packrat that was breaking into our home each night through a gap under our balcony was a long process and a different story, but now I had an answer on the plant. It wasn’t dying; it had been robbed. I moved The Last One and the small orange tree we were given as a housewarming gift to the west-facing window in our bedroom and leaves and fruit stopped disappearing. A month later, the Fiddle Leaf Fig had a handful of tiny leaves. It kept growing and I kept fertilizing it once a month and watering it deeply once a week. A year later, I repotted it into a bigger pot. Almost two years later, it is hip-height and still thriving.
 I watched the resurgence of The Last One with awe and amusement. I am generally pretty successful with my houseplants. I only lost one, a pothos, to the move, and I subsequently killed a young Parlour Palm because I couldn’t find the right spot or the right watering routine. Other than those losses, however, my little indoor jungle has done pretty well. None, however, have thrived like The Fiddle Leaf Fig who could. This plant, known for being easy to kill, so challenging to keep that Julio joined a Fiddle Leaf Fig support group on Facebook when he brought it home, has proved itself resilient beyond what I thought possible. I do not exaggerate when I say it was at one point a potted stick. The rat took all of the leaves and the young portion of the trunk. I couldn’t imagine that it would start producing leaves again without any way to take in sunlight. I am thankful that I neglected the plant in those first days after its losses, too distracted by another new life to count the plant as a loss. That pause gave it time to start again, growing back with vigor. Fickle who? -Kasey
 Repot the plant once it is rootbound. One way to tell is if roots start to come out of the drainage holes in the grower pot. Make sure the new pot has adequate drainage. Choose a new pot that is one size up from the current pot. For example, an 8” pot after a 6” pot.
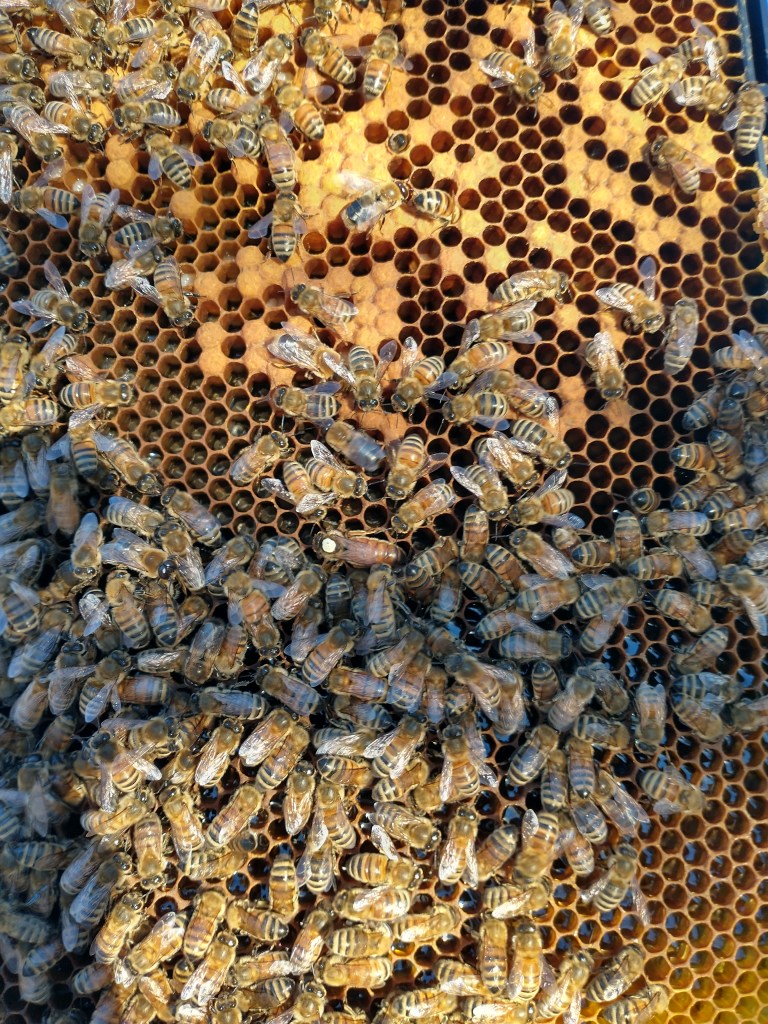

 I mentioned briefly in an earlier post that my beehive lost its queen after a Formic Pro treatment. I had suspected for a few weeks prior that the queen was getting weak, but as it’s my first year, I wasn’t sure if she was slowing down because it was summer dearth or if it was a problem. The hive had made moves to replace her before, and I thwarted them. Because she was unmarked, I did not know how old she was. Looking back, I should have either requeened the hive earlier in the summer or let them requeen themselves. When I removed the Formic strips and did a hive inspection in the last week of September, I found many supersedure cells. I stopped counting at 12. That late in the season, however, it was too late for them to raise a new queen and get her mated. Thanks to the advice of a couple of other local beekeepers on Instagram (Thank you!), I moved quickly to find a new mated queen. I couldn’t find one locally anymore, so I was able to get one shipped from California. Thankfully, she arrived safely.
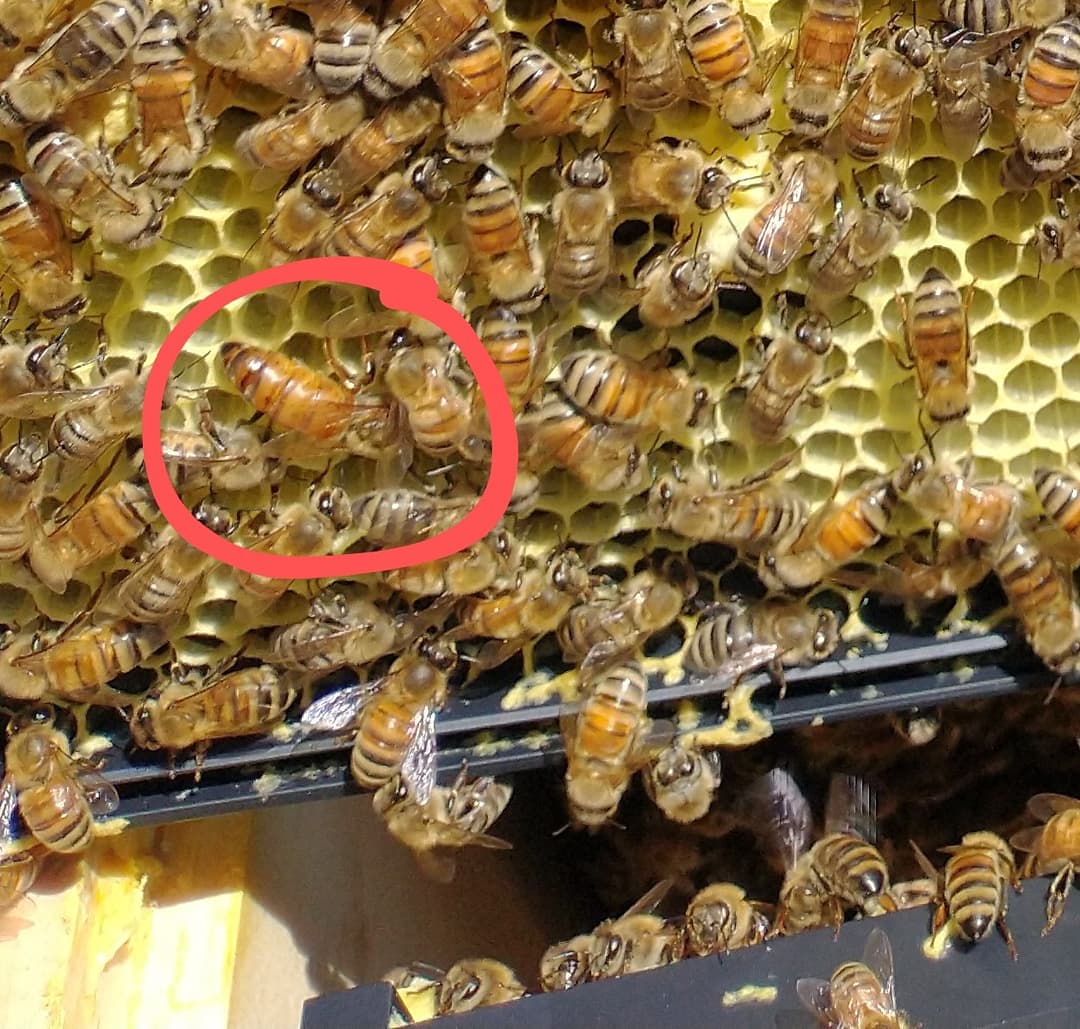

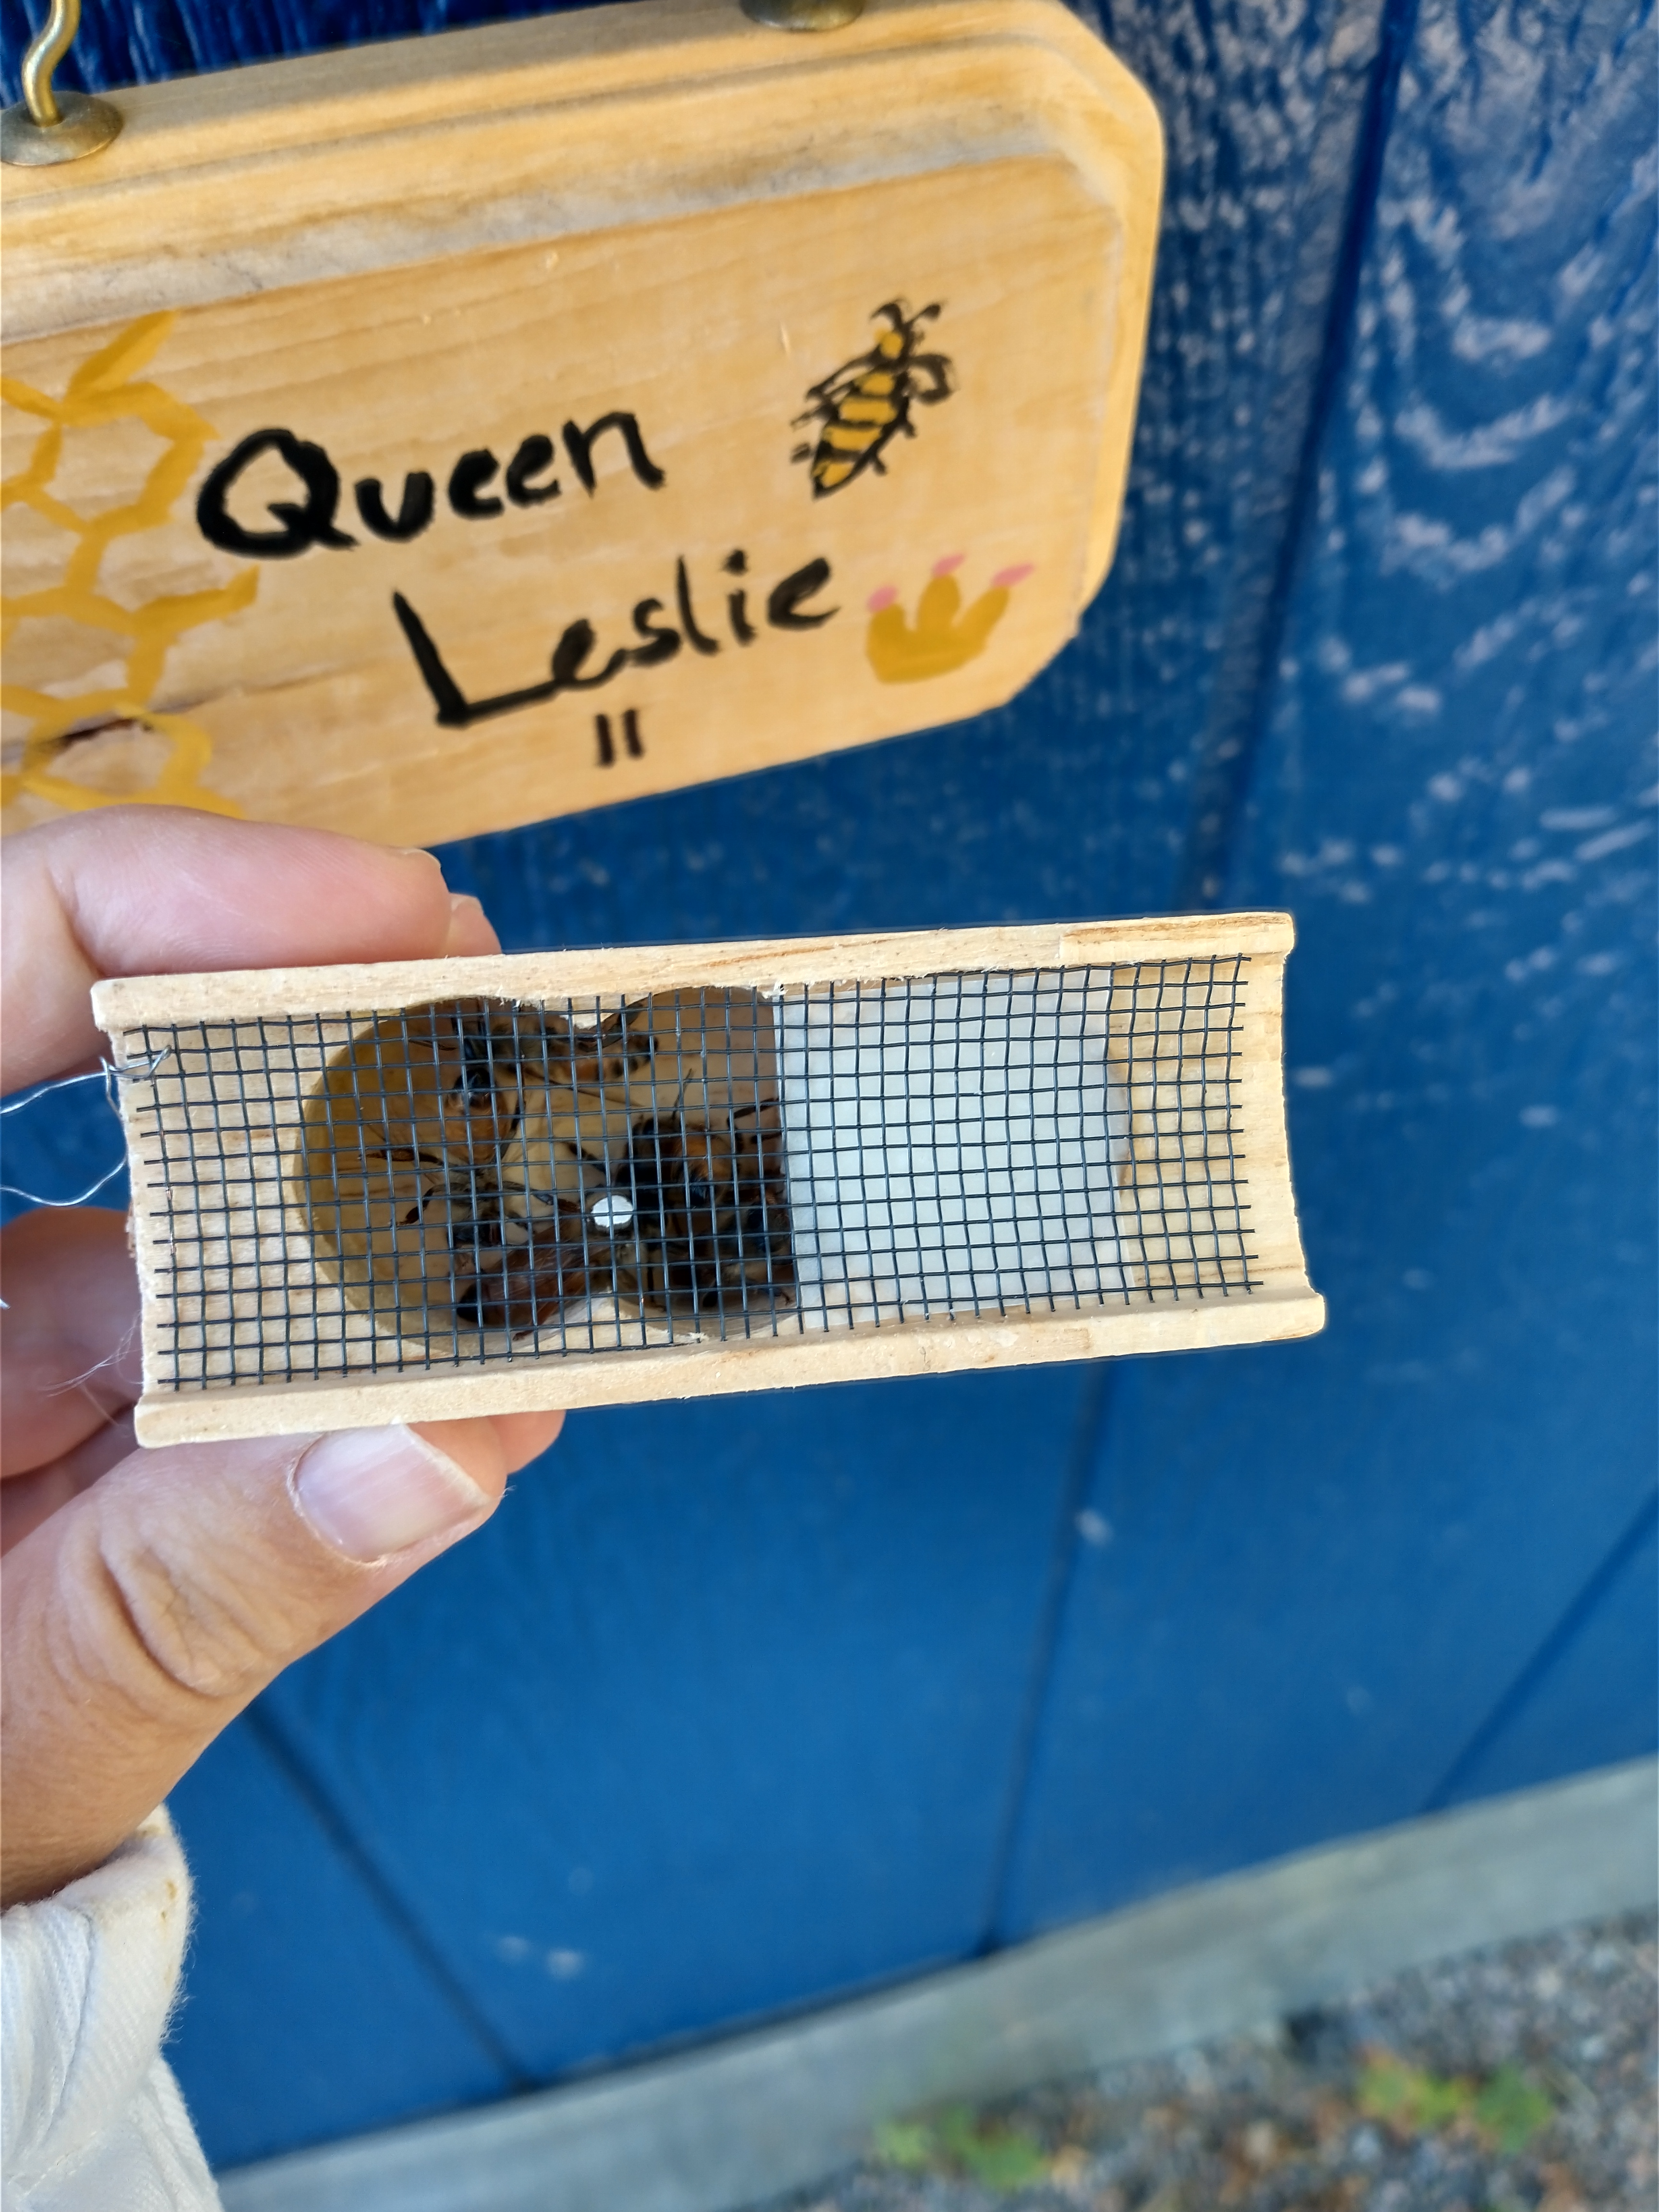
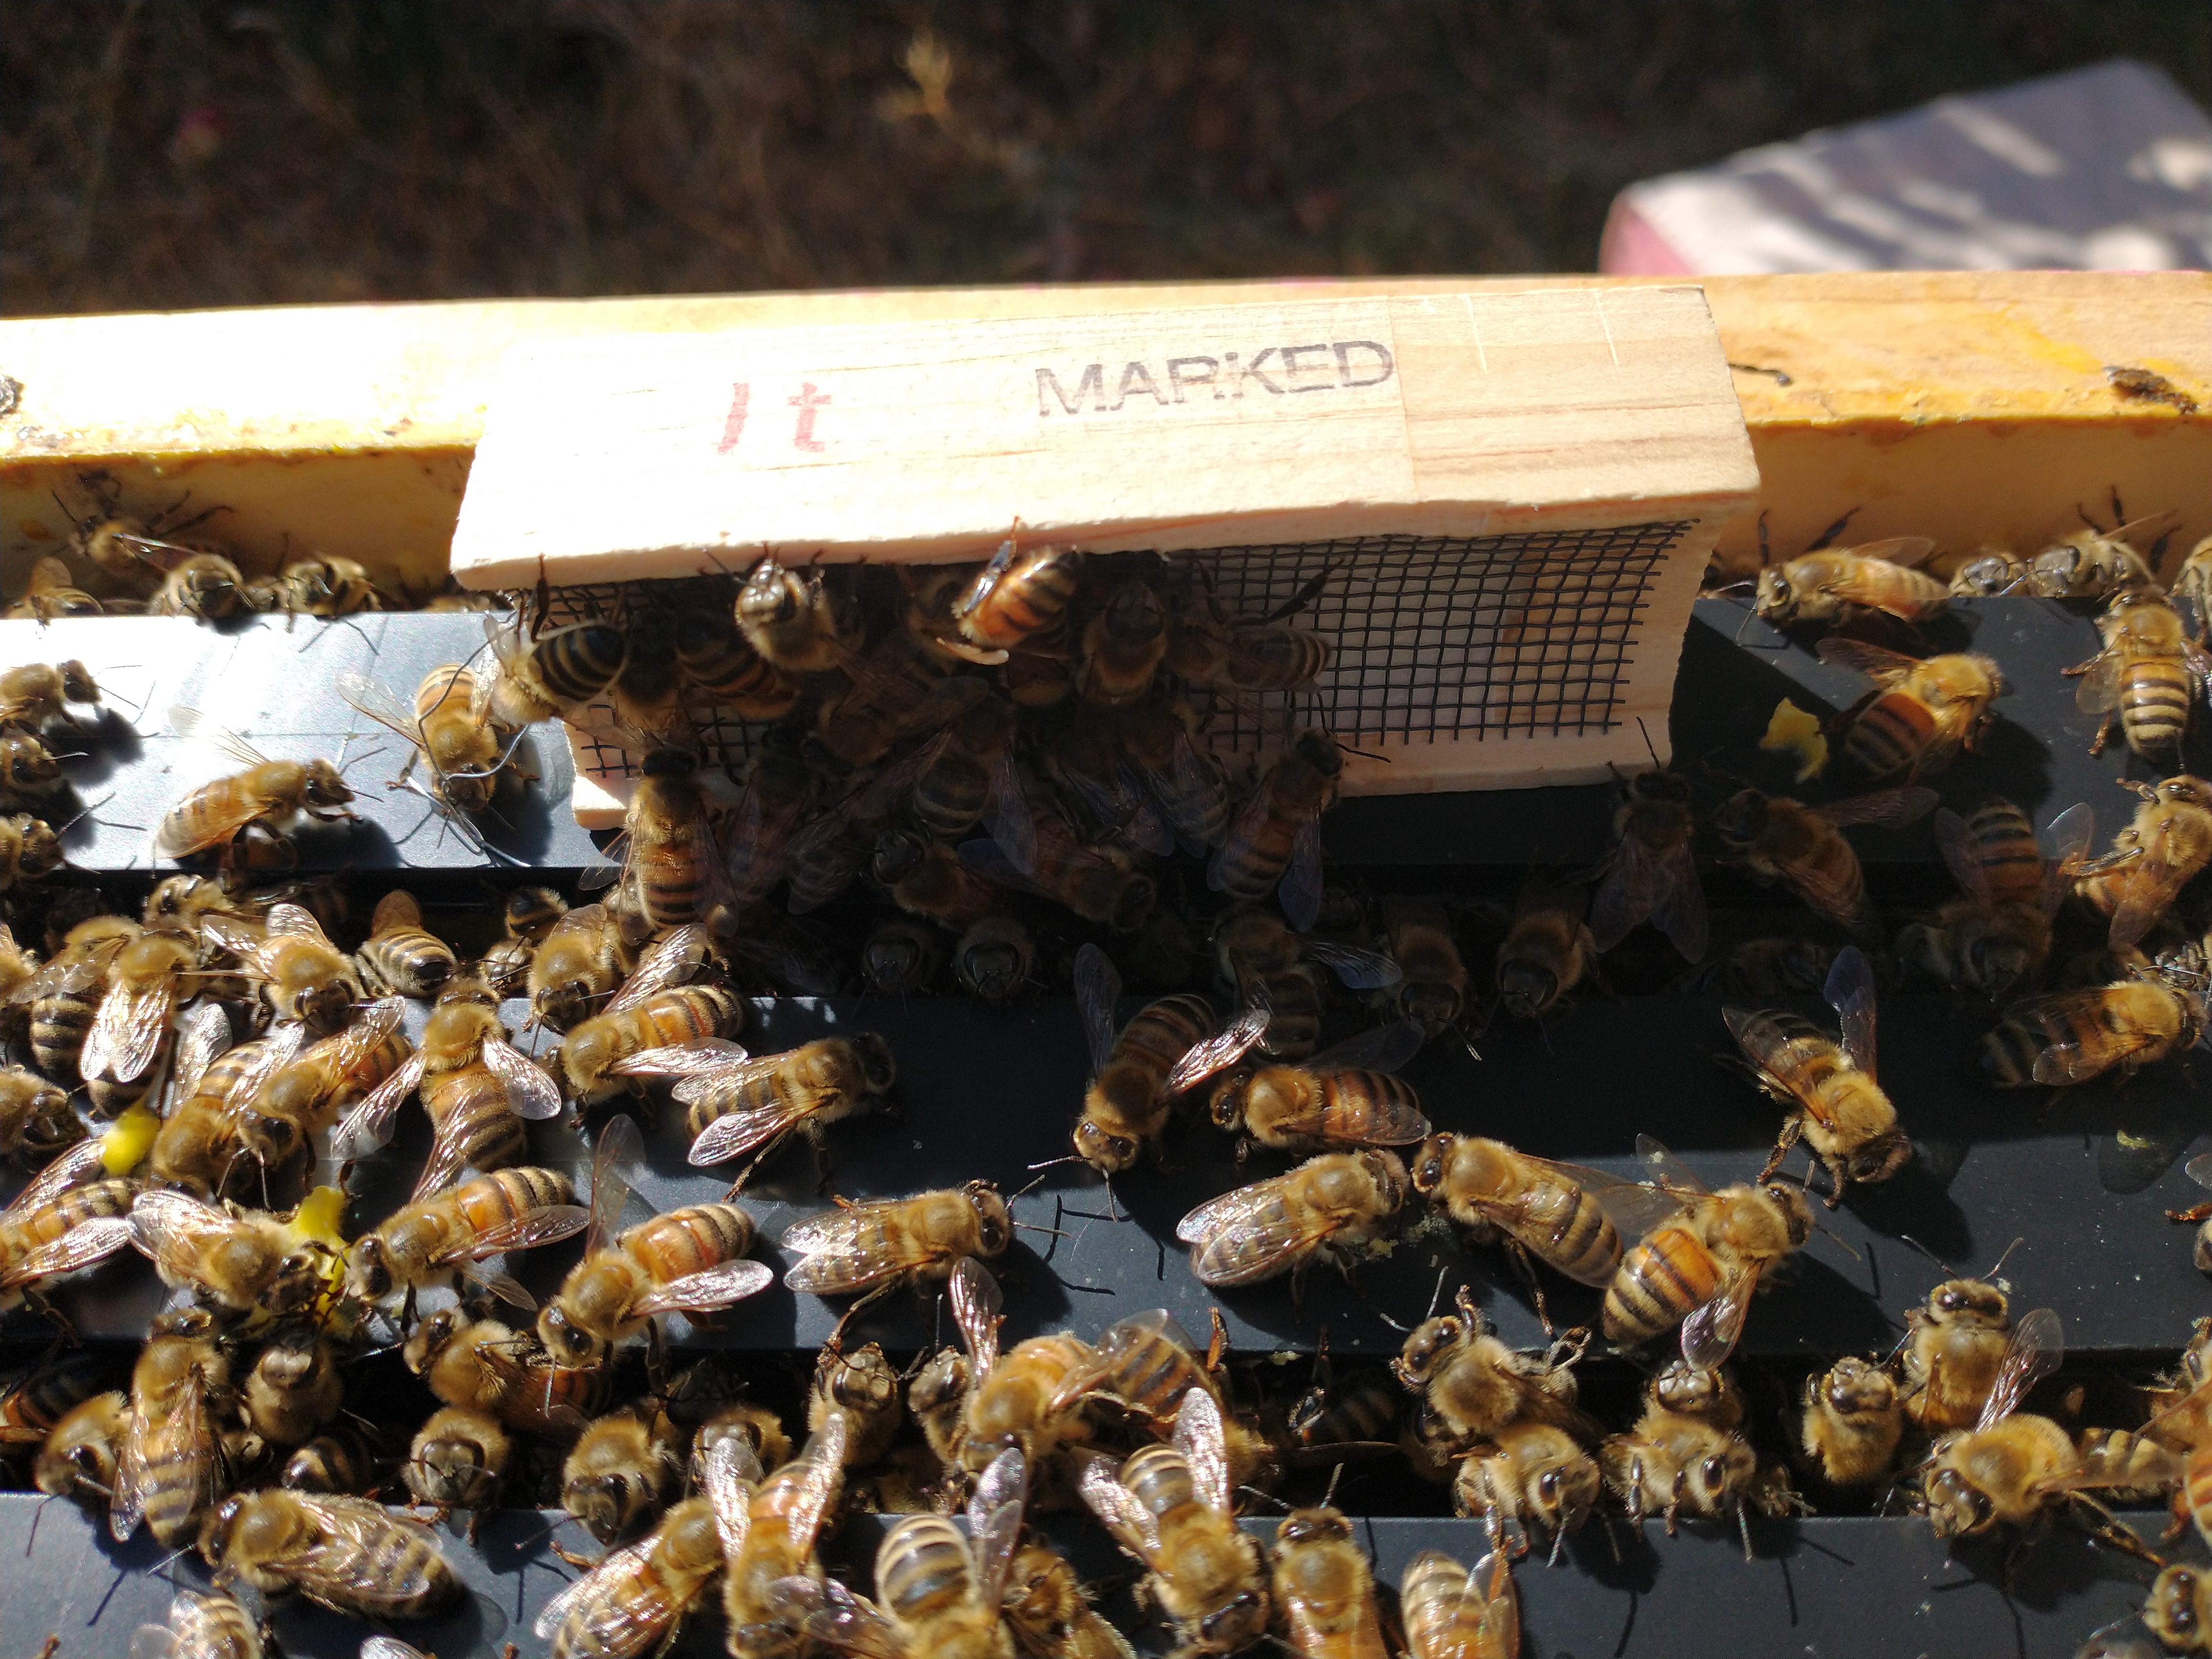 By the time Queen Leslie II arrived, I was as confident as I could be that Queen Leslie I was no longer in the hive. Even still, I spent some time observing the bees’ attitude toward their new queen before I left her in the hive. When you order a new queen, she comes in a little cage with a few attendant bees who are there to care for her. One end of the cage has fondant for the bees to eat and the other has a candy plug that the bees will gradually eat through to release her into the hive. This slow-release mechanism allows the queen’s pheromones to circulate through the hive before she is loose, helping the hive to accept her as their queen, and not immediately
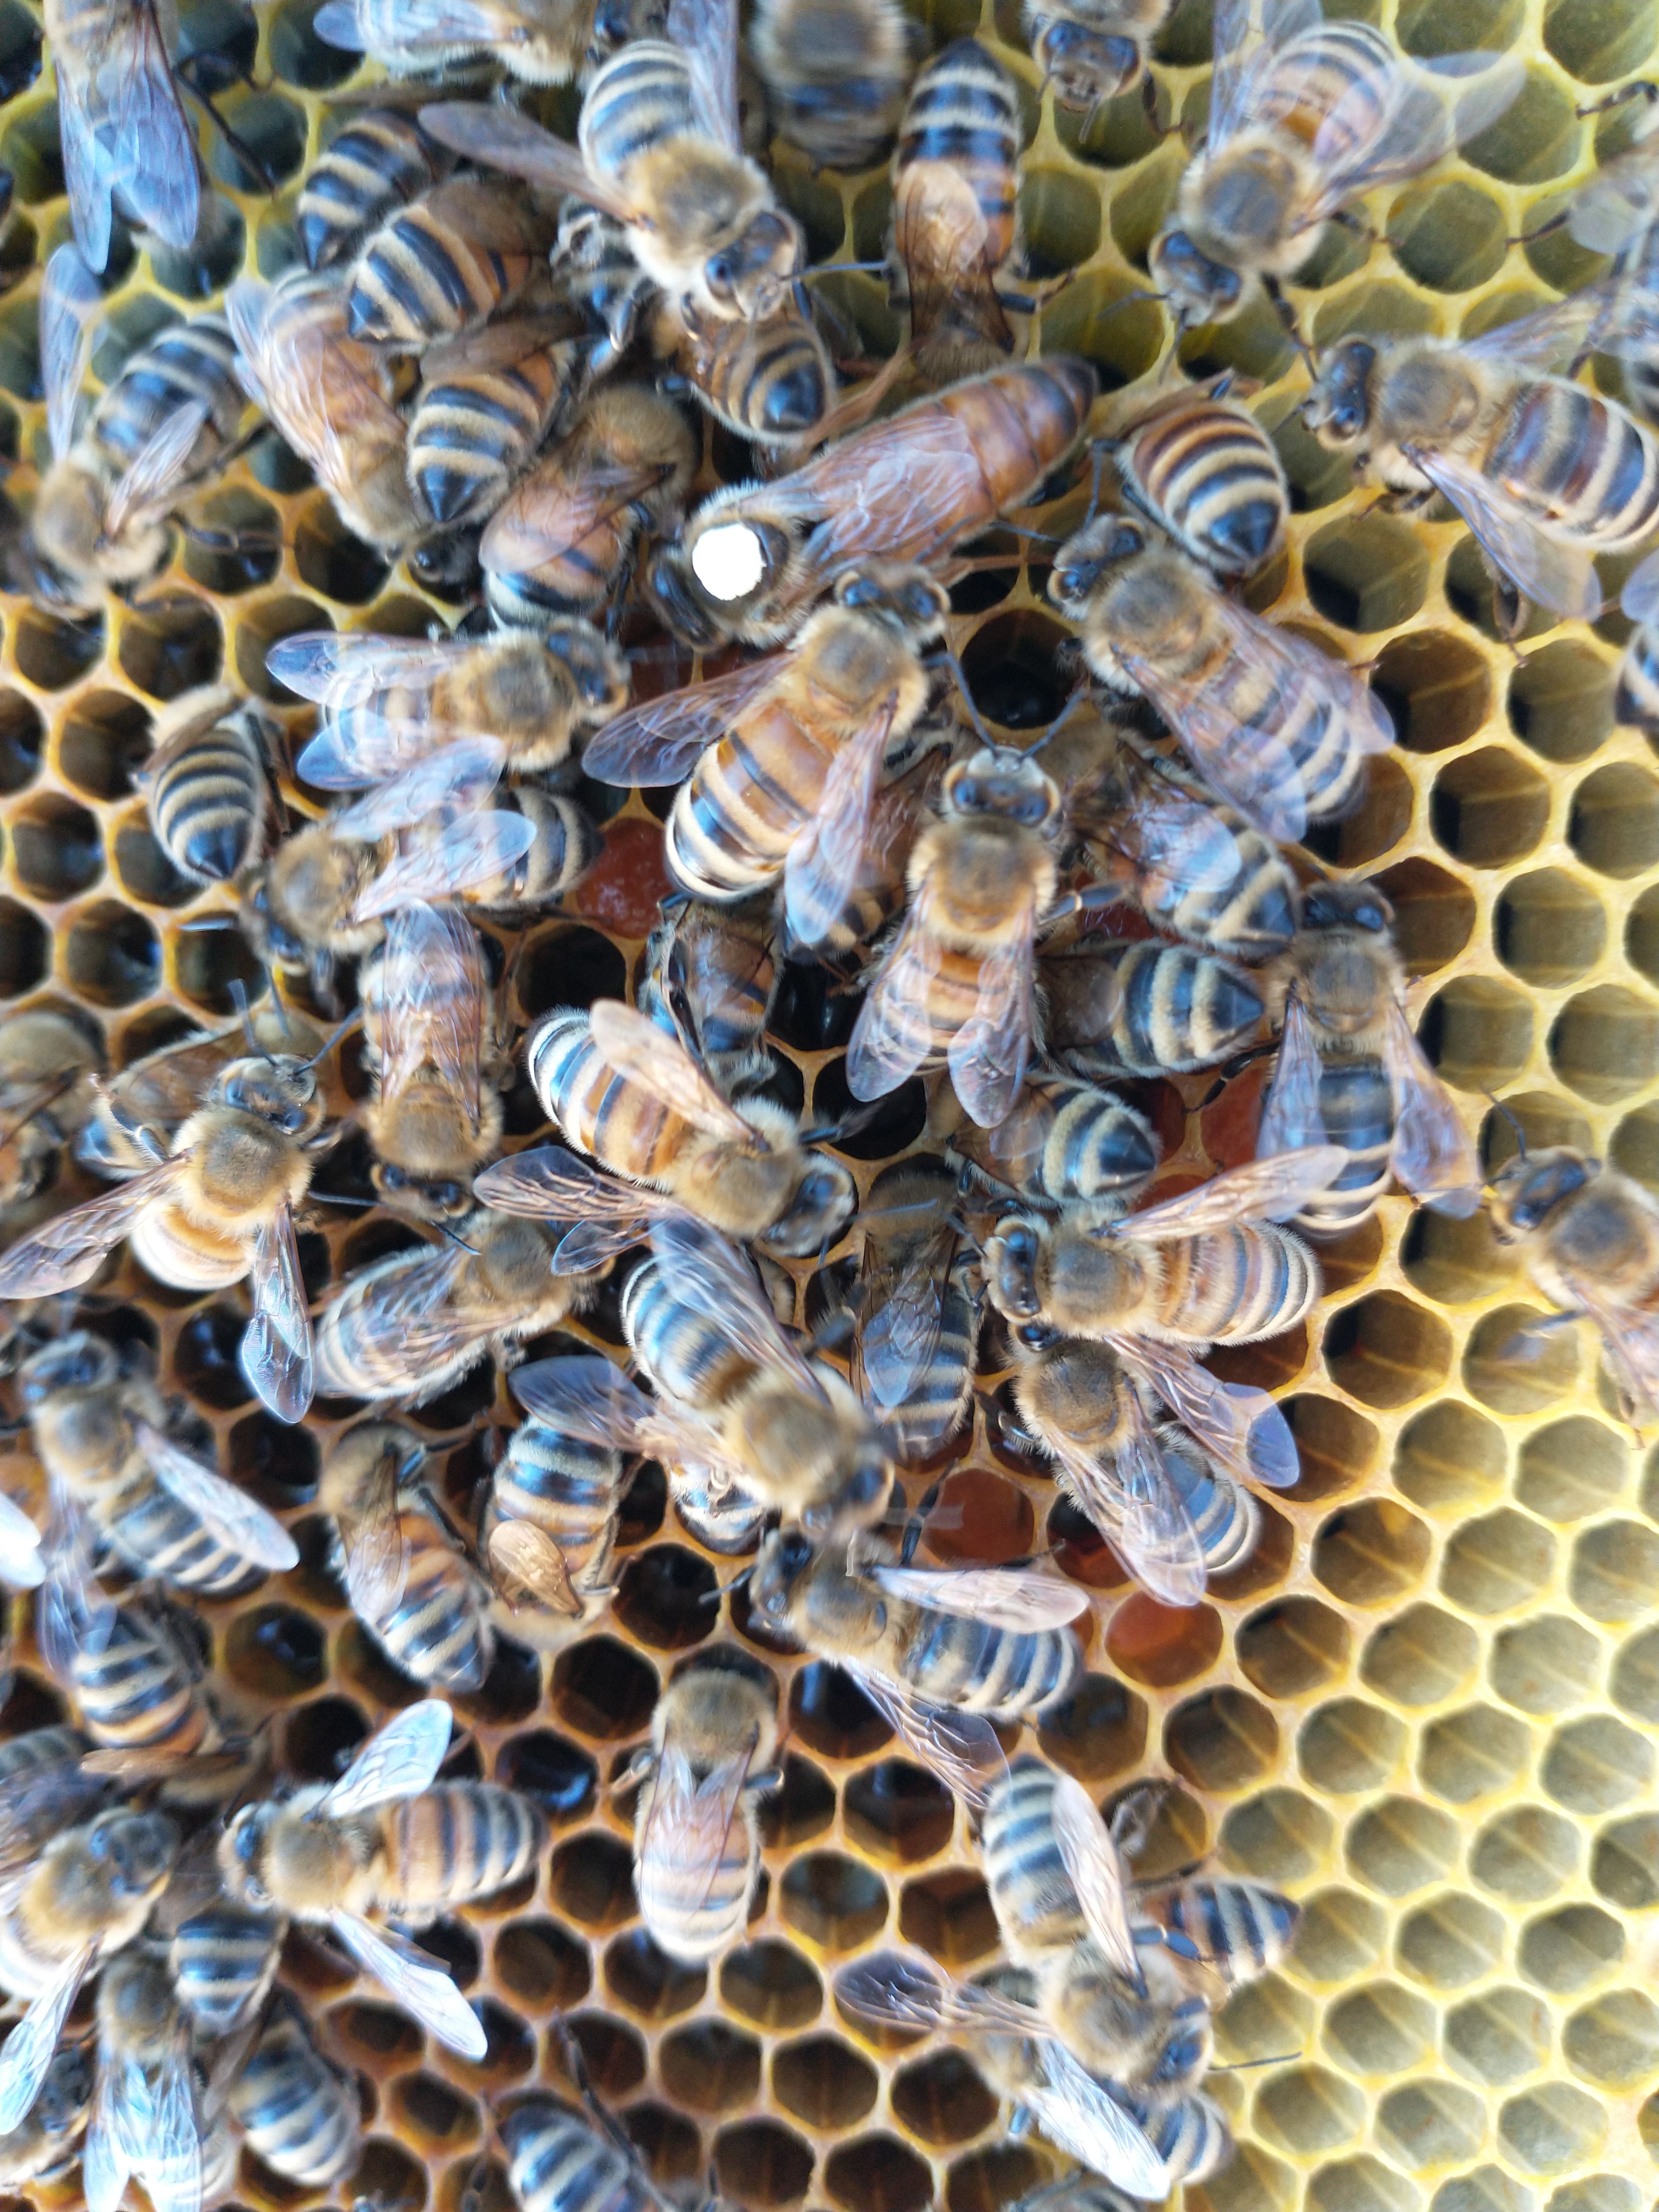
 It is not unusual for hives to try to replace a new queen. During that first hive inspection after installing her majesty, I again found supersedure cells. I cut them out, and scolded my workers a bit. During the first weekend of November, I was doing a hive inspection on an unseasonable 70-degree day, and found a swarm cell—with a larva in it—on the bottom of one frame. That there was only one, and that it was there so late in the season was confusing, and frustrating to me. Before I could even decide what to do, I accidentally smashed it while moving the box it was in. My latest, and last, hive inspection showed no signs of them trying to replace Queen Leslie II, who is still laying like a champ. I expect that as the temperature drops, she will slow down. In the meantime, it has been an absolute treat to have a marked queen. I can always find the queen now and I am delighted every time I see her.
 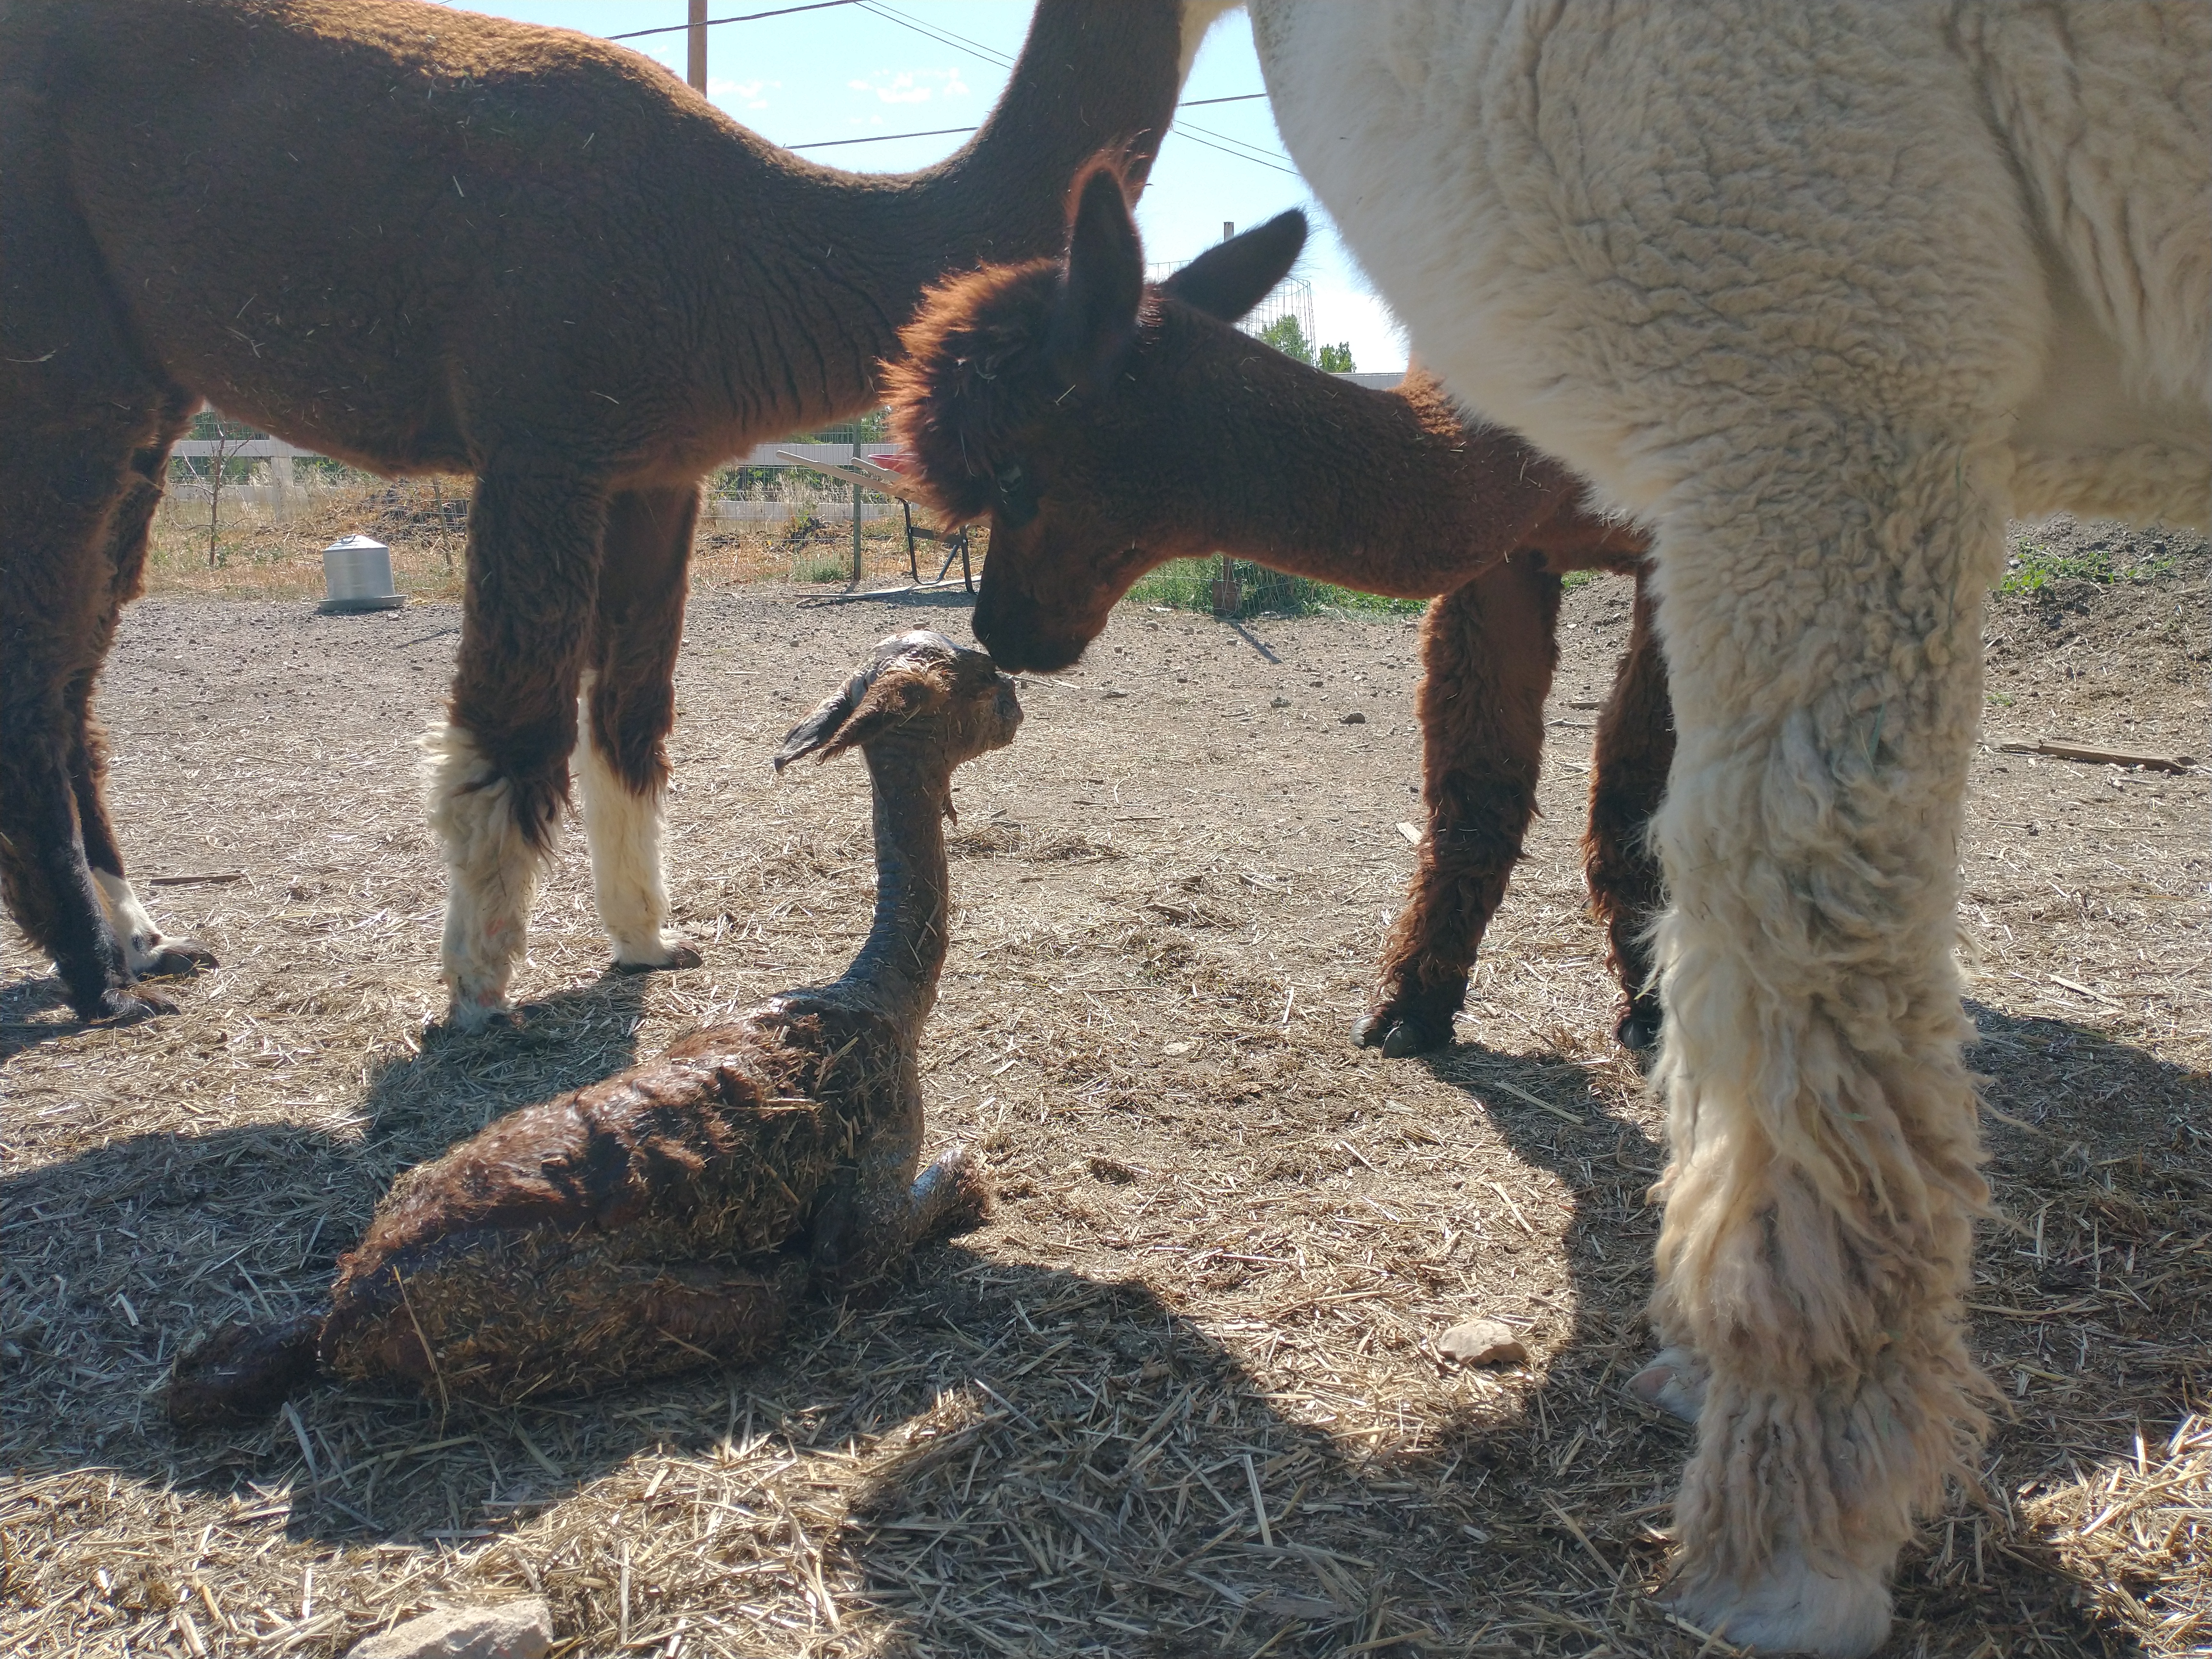 Our newest alpaca, Luna, is two months old today. She’s growing so fast and has more than doubled her birth weight. Miss Firecracker delivered her in an uncomplicated birth, thank goodness! You can watch our video about the birth at our
 ")
")
")
")


 Brush the Alpacas Before Shearing Them
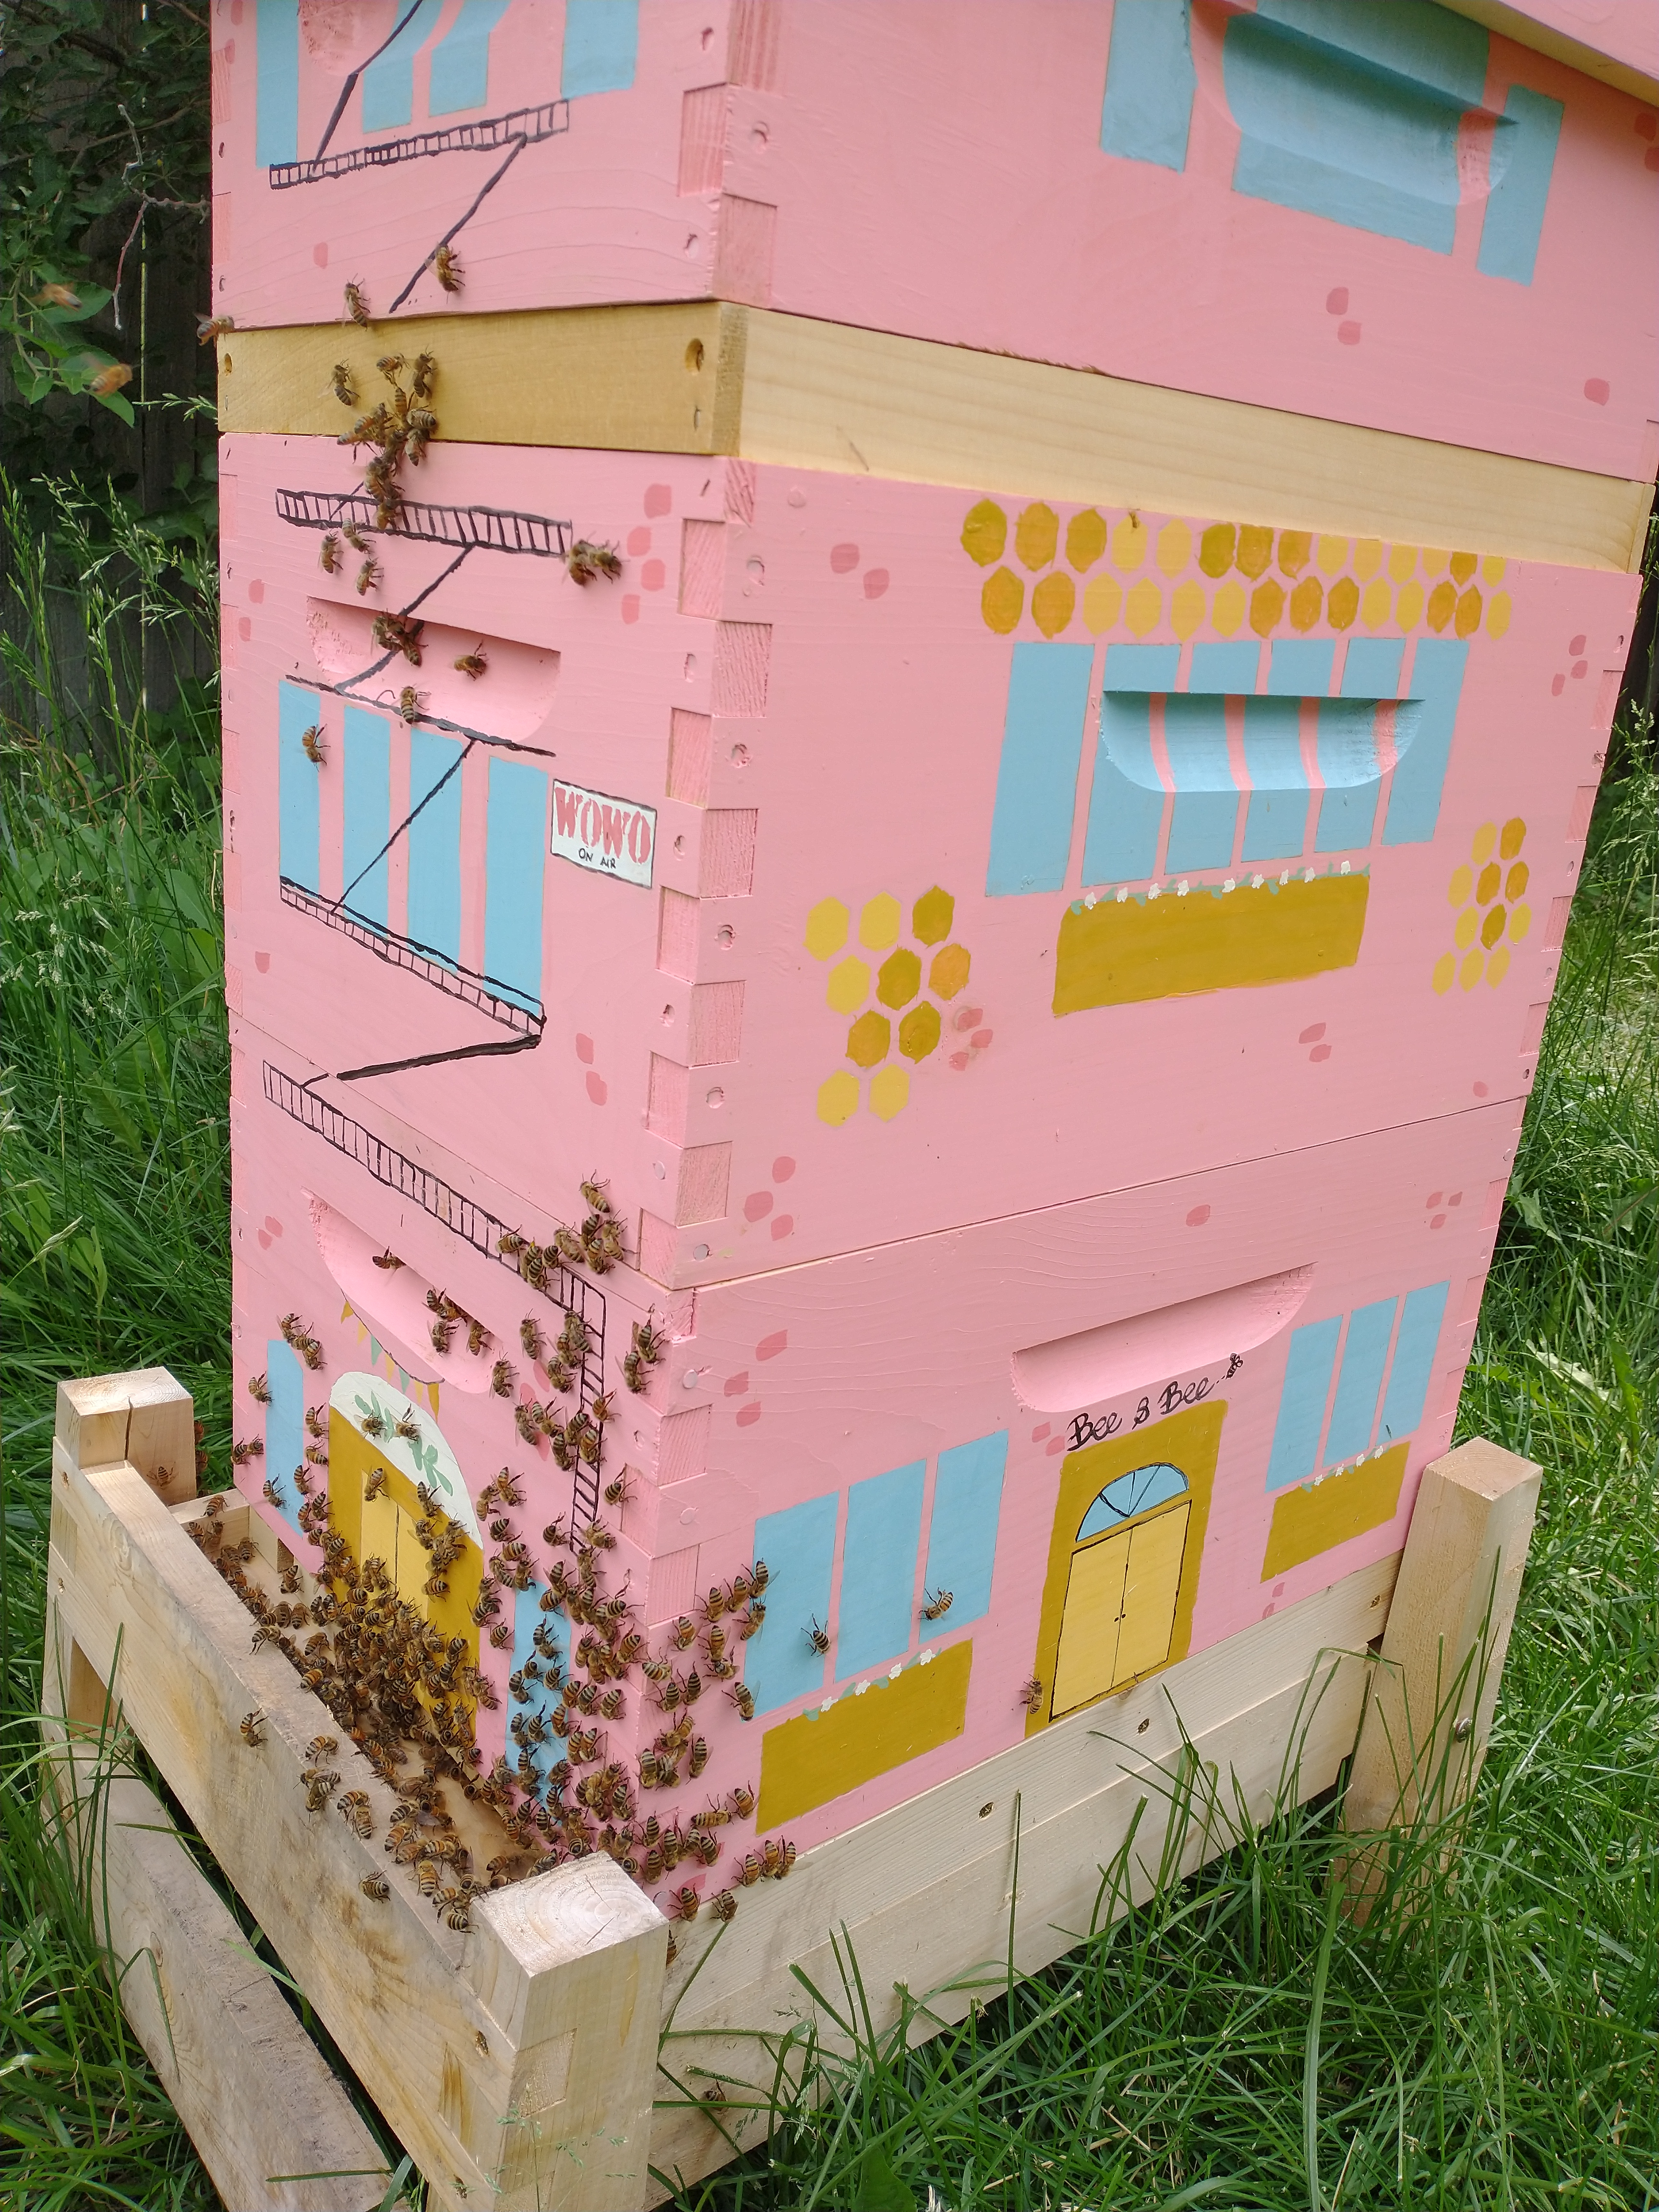 One of the biggest disappointments we had this year had to do with the beehive. Kasey keeps our bees and this is her first year. She got the bees on May 2nd and now wishes that she had immediately tested the bees for mites and treated them, but she was new and nervous about it and it took a few weeks to get used to working with them before she was ready to check for mites. She did so the third week of May and the mite count was really high. If she had understood her options better, she probably would have used Formic Pro, but she didn’t understand that the temperature restrictions were just for the first three days. Knowing that it would soon be really hot, she instead used Apivar, adding it May 25 and removing it on July 20th.
  The garden grew SO. MUCH. BETTER. this year overall. We grew a delicious assortment of winter squash and pumpkins, patty pan squash, zucchini, greens, some tiny carrots, green beans. The Harvest Moon Squash was a variety we’d never tried before and it was delicious when stuffed and baked.
  When we cleaned out the barn, it produced a giant mound of old, old horse manure. We were able to give a lot of it away for people to compost, but Kasey also used a lot to create a base layer for flowerbeds around the edge of the horse run. The plan was to grow wildflowers there to support pollinators. Her dream is to have lush perennial wildflower garden that takes not that much maintenance. She planted lavender, sunflowers, apache plume, Veronicas, and cone flowers there. The lavender was really the only thing that grew. Everything else scorched. She needs to test the soil, but it seems like the soil is too hot. The plan is to mulch it over the winter to draw out some of the nitrogen, but it was a good lesson in checking soil PH.
  Now that summer dearth has settled in, I’ve had a lesson about honeybee psychology.
  I thought about the bees throughout my shift as a greeter at the Molly Brown House the next day, because I watched a single honeybee repeatedly fly around the front porch, where there were no plants, in search of nectar (I guess?). Bees checking and rechecking unusual places is one sign that dearth has set in. Later that night, I did some more research, deciding whether I needed 1:1 or 2:1 syrup for the hive and I asked Julio to make it for me. By the time our baby was asleep, it was almost 8:00 and, although the sun hadn’t set, it was probably too late to go into the hive. It’s fine, I thought, and besides, I didn’t even have to take off the inner cover to put the feeder in place.
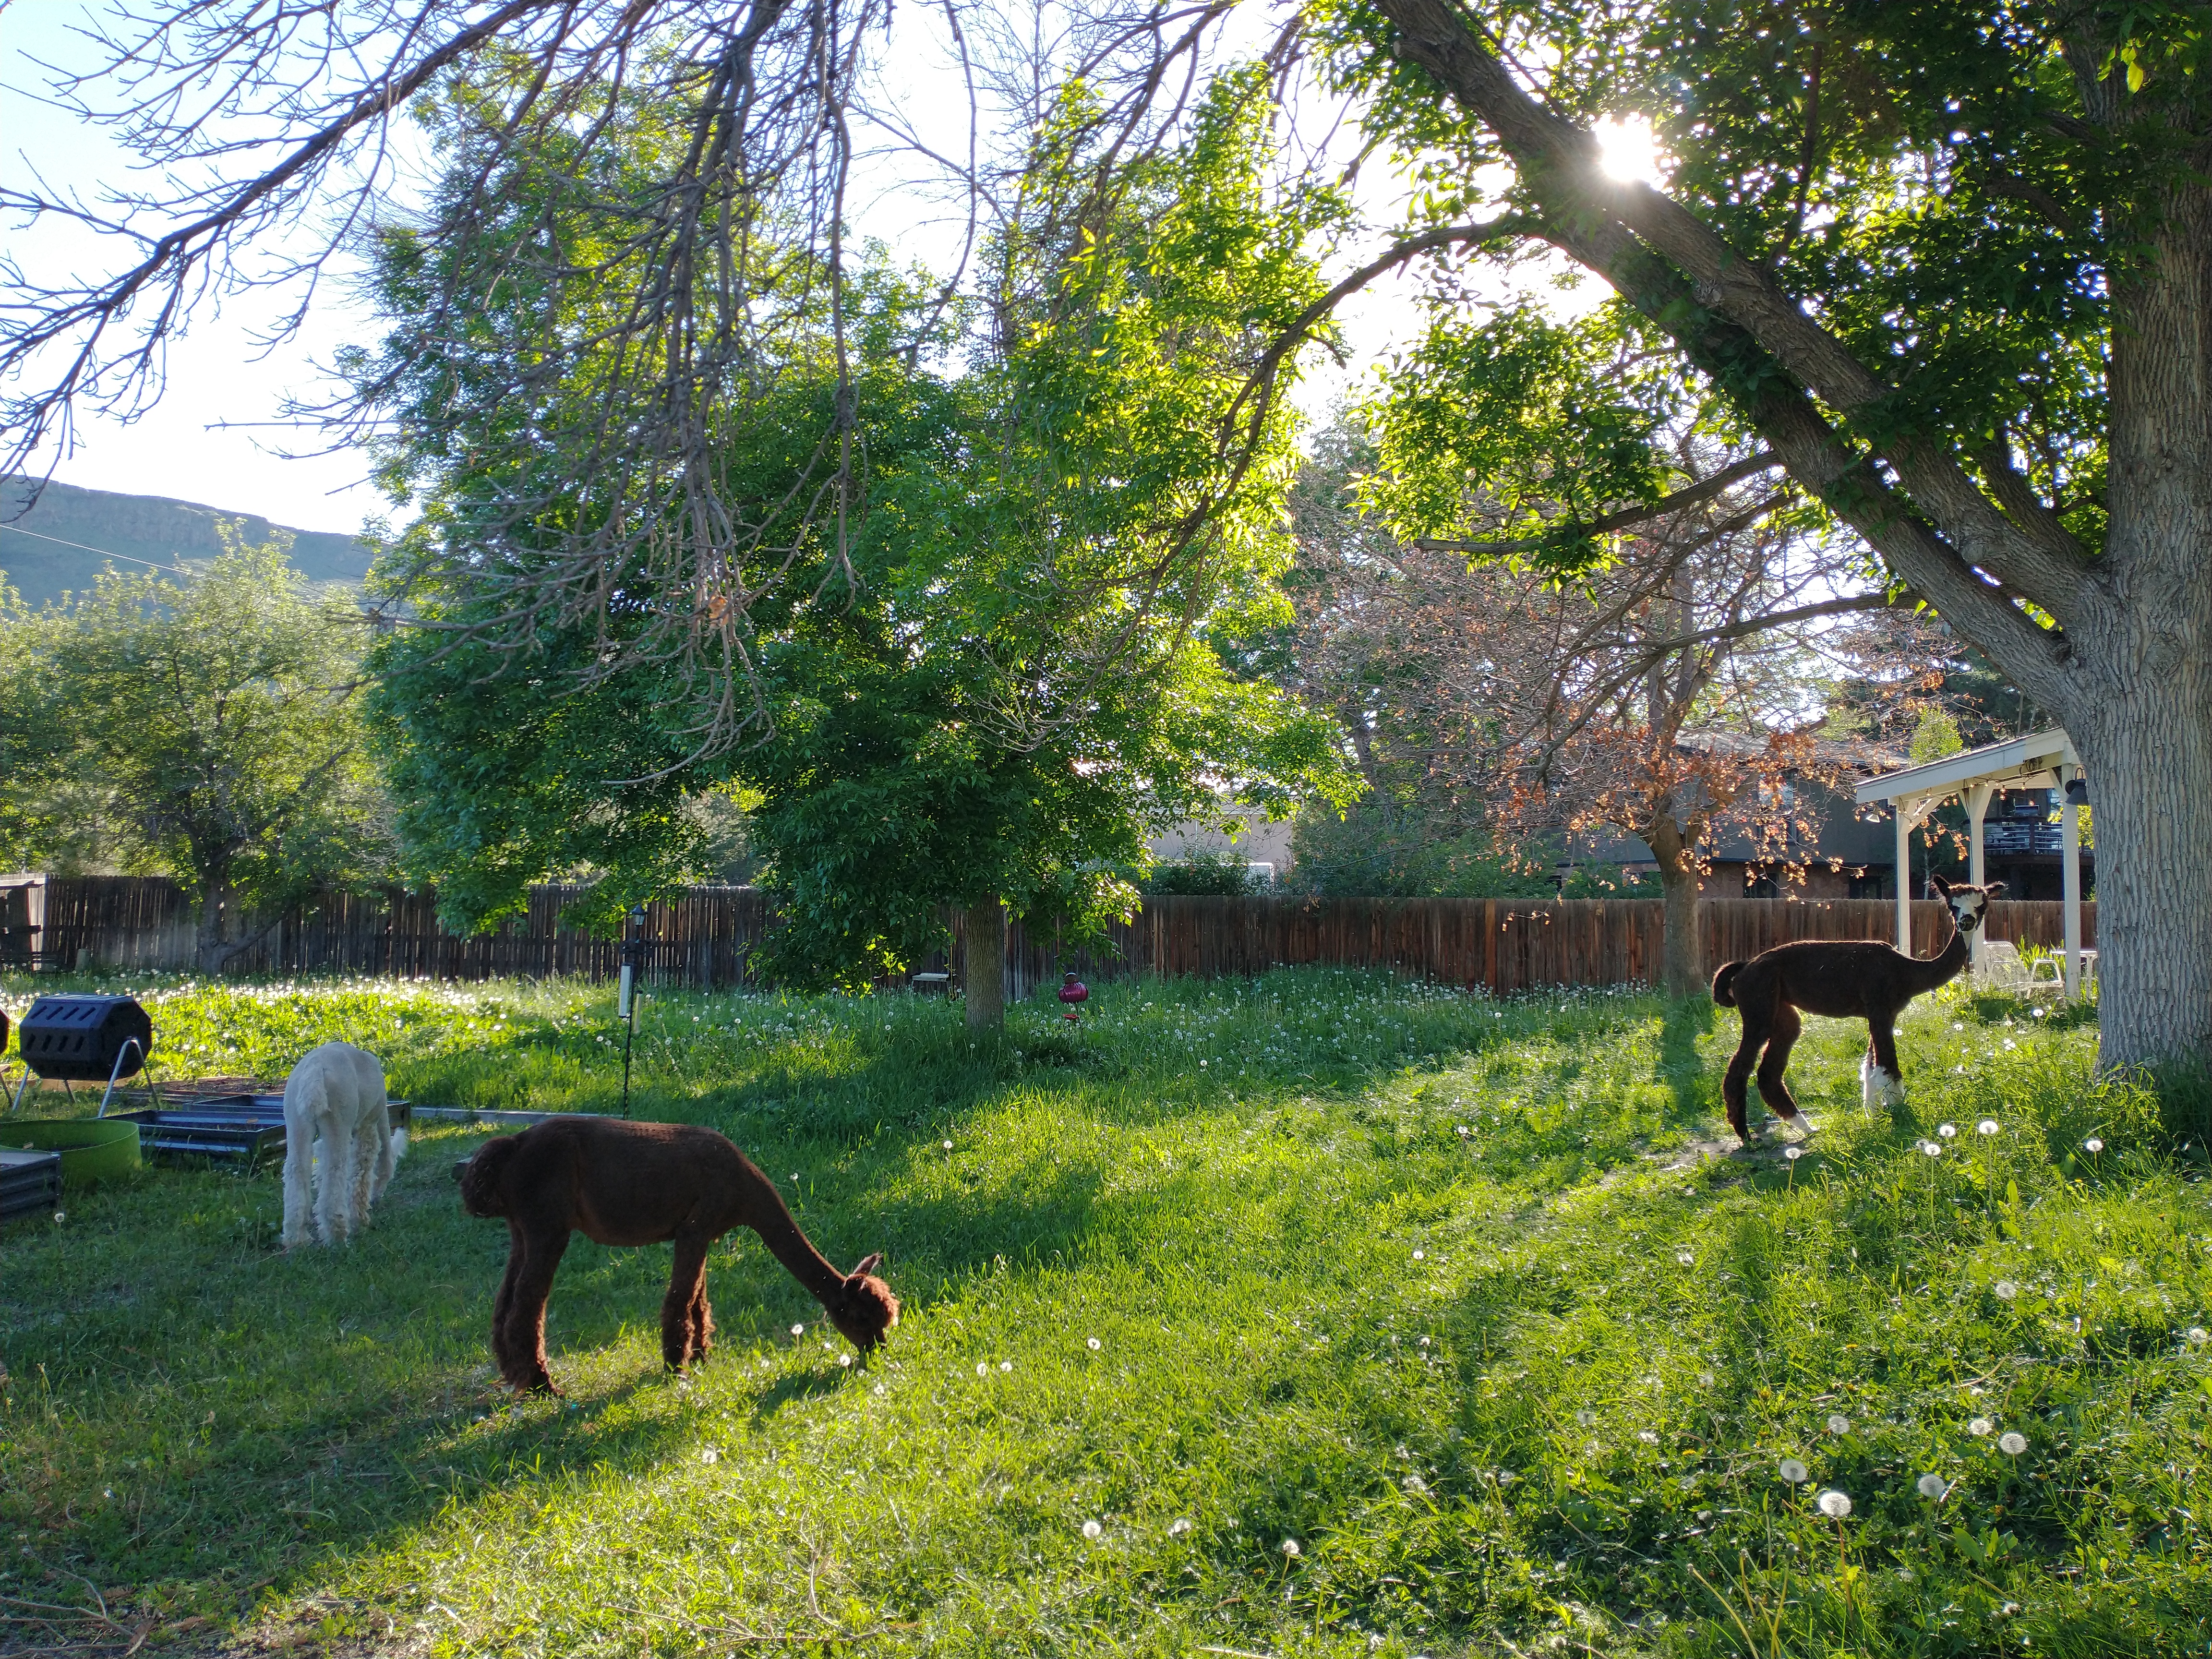
 There’s a lesson to be taken from my garden this year about being patient. First there were the seedlings that sprouted randomly in the containers I dumped my soil from failed seed starting into. The mystery seedlings are still going strong. Then, in the patio garden, I had some squash seeds that I didn’t think had germinated, so I did a second pass and now I have a crowded, random batch of plants. I will probably have to move some once they get bigger.
I am very proud of how tidy the rows of greens are. I can be a bit of a
There’s a lesson to be taken from my garden this year about being patient. First there were the seedlings that sprouted randomly in the containers I dumped my soil from failed seed starting into. The mystery seedlings are still going strong. Then, in the patio garden, I had some squash seeds that I didn’t think had germinated, so I did a second pass and now I have a crowded, random batch of plants. I will probably have to move some once they get bigger.
I am very proud of how tidy the rows of greens are. I can be a bit of a  The corn is growing! Last year the seeds did not germinate, so I am very excited. This Indiana girl is hoping to see it knee high by the 4th of July. Last week, I planted a second type of sweet corn and some more beans to fill in gaps where seeds didn’t start.
It has been so wet this year, that mushrooms have come up in a few places in the garden. It was one item on the long list of things we’ve had to check to see if they are toxic to alpacas now that we let the girls graze the backyard. (On that list, the Columbines, poppies, and, yes, the mushrooms.)
I planted three packets of sunflower seeds and they’re starting to pop up in a lot of borders and fence lines. I’m feeling very protective of them and managed to chase Clementine away from one just in time yesterday.
The corn is growing! Last year the seeds did not germinate, so I am very excited. This Indiana girl is hoping to see it knee high by the 4th of July. Last week, I planted a second type of sweet corn and some more beans to fill in gaps where seeds didn’t start.
It has been so wet this year, that mushrooms have come up in a few places in the garden. It was one item on the long list of things we’ve had to check to see if they are toxic to alpacas now that we let the girls graze the backyard. (On that list, the Columbines, poppies, and, yes, the mushrooms.)
I planted three packets of sunflower seeds and they’re starting to pop up in a lot of borders and fence lines. I’m feeling very protective of them and managed to chase Clementine away from one just in time yesterday.


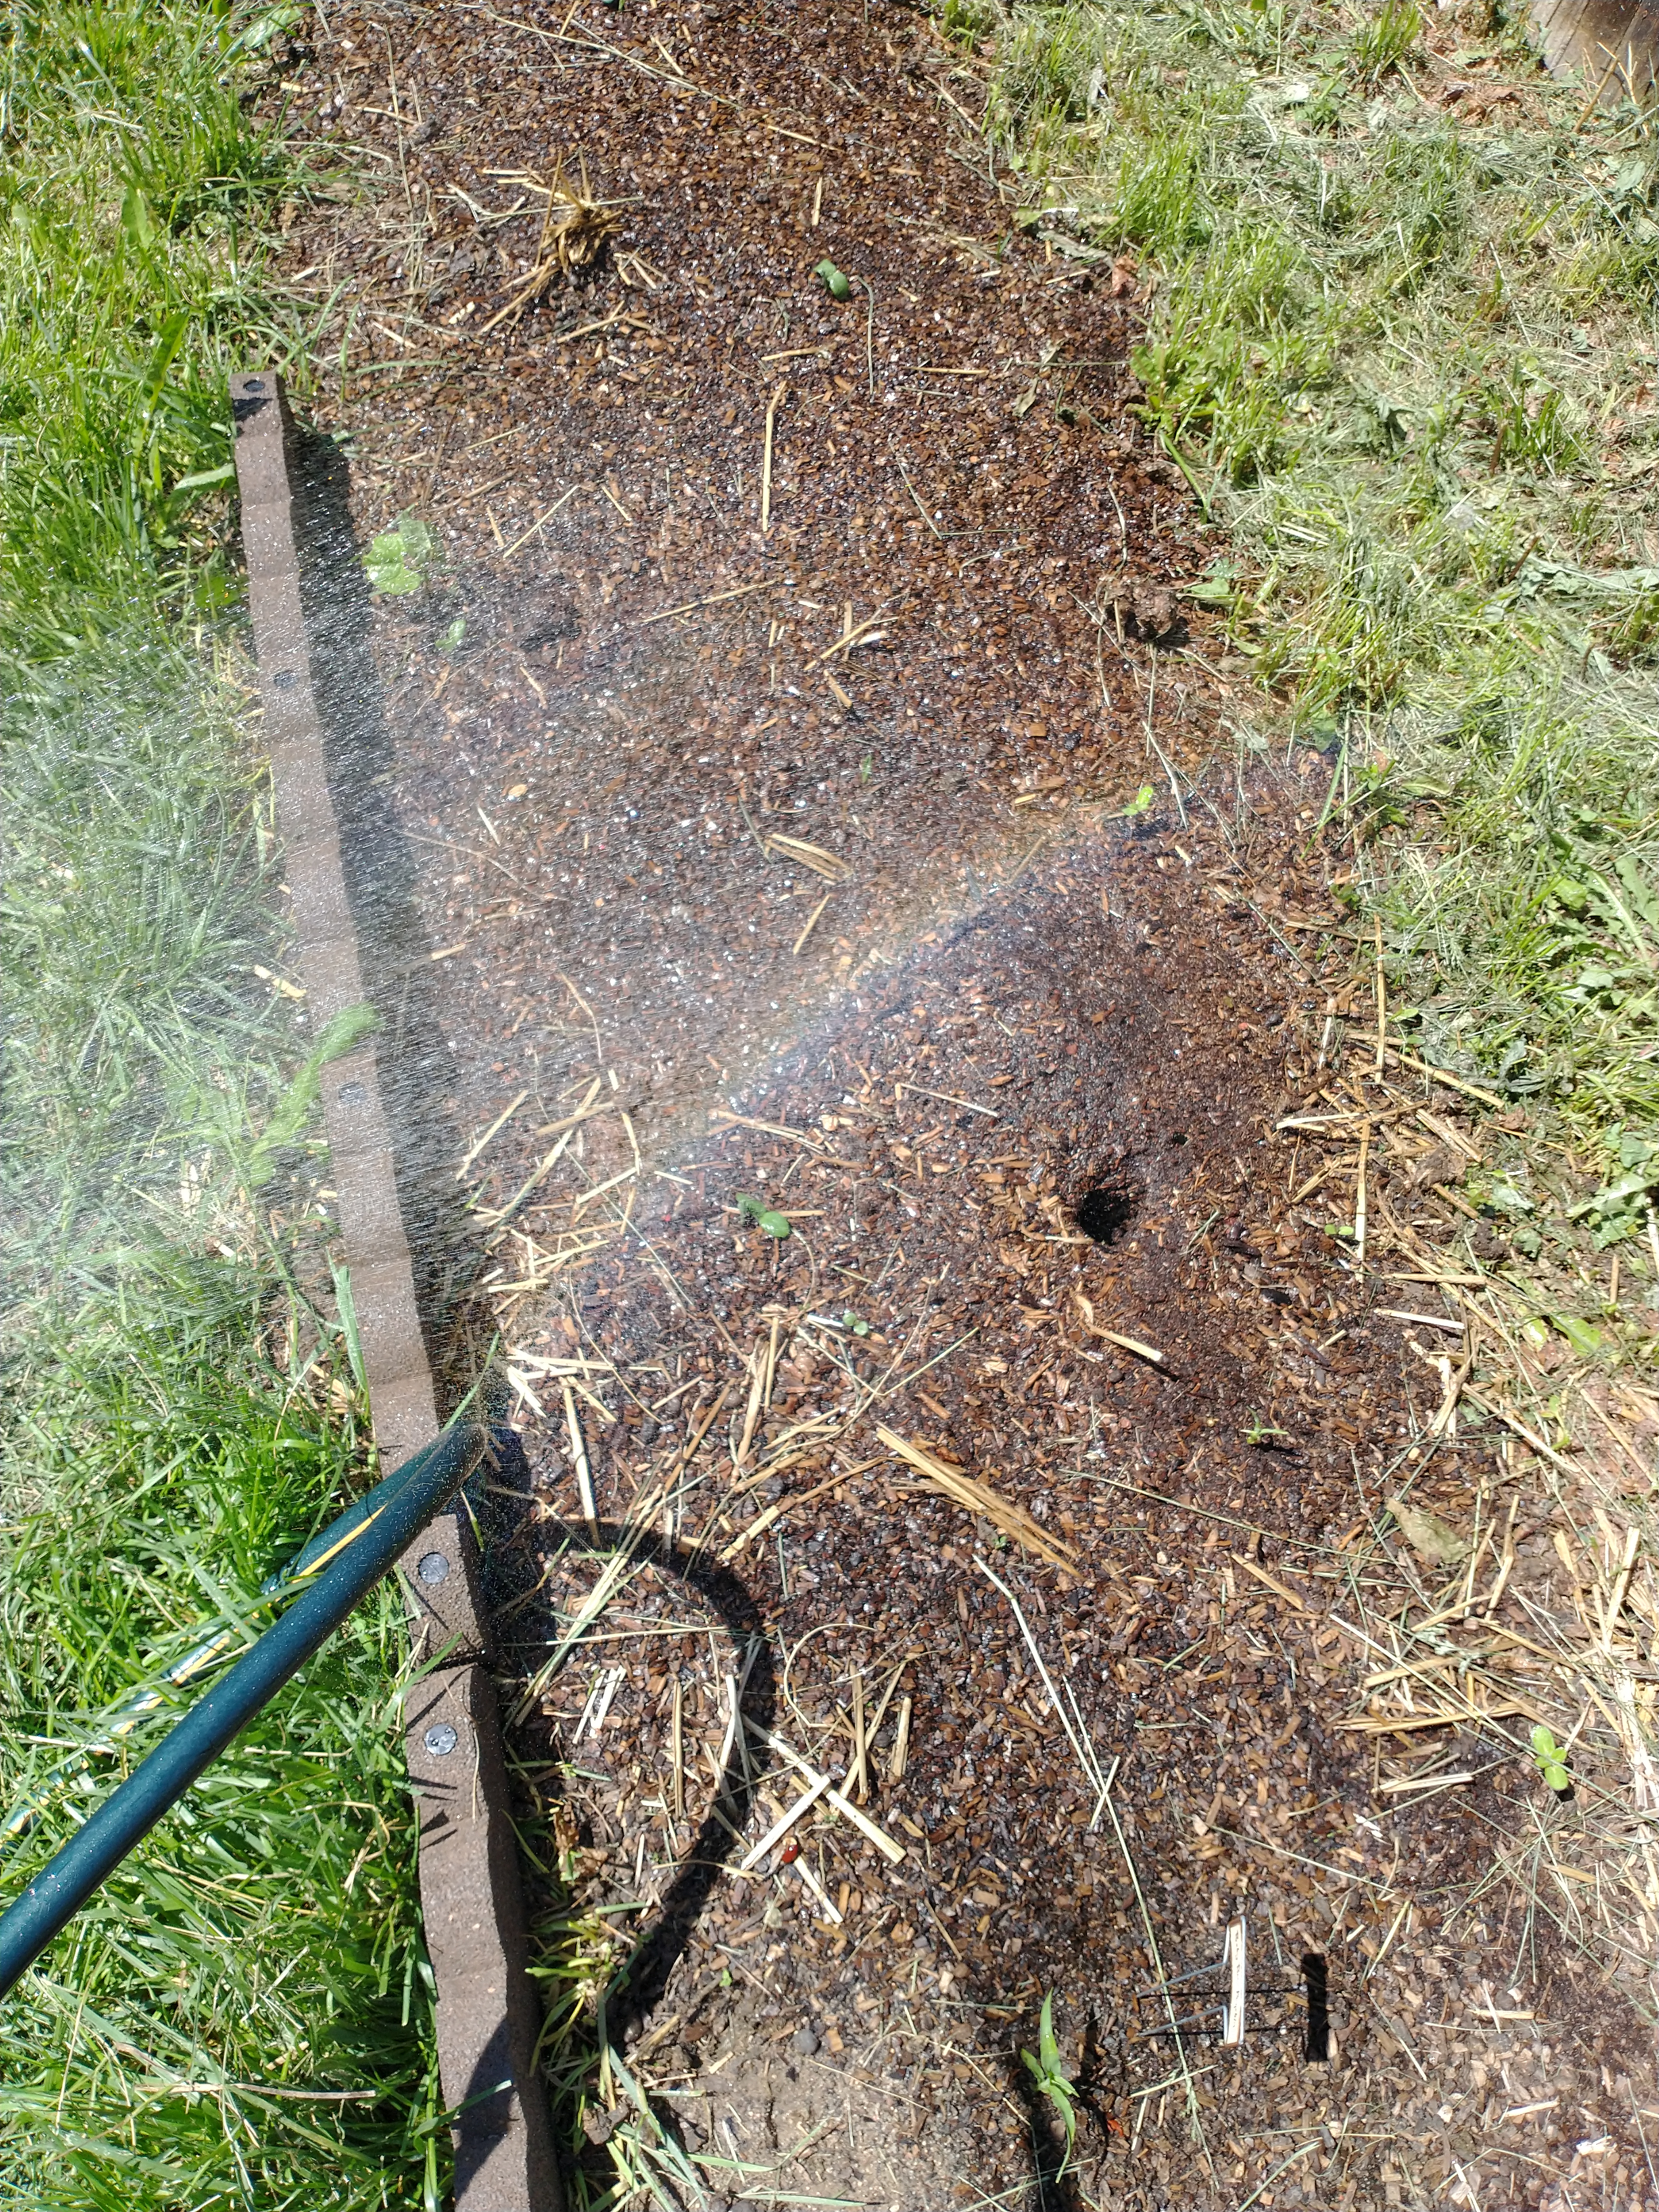 The rabbits have dug the entrance from their warren into our pumpkin patch again. I filled it in again. I keep seeing the snake by the raised pumpkin beds. I spent some time on a website about Colorado snakes yesterday. I think it is either a garter snake or an Eastern racer. Either way, it poses no threat to anything unless in the unlikely event it decides to climb into the beehive.
I spent some time this morning on my own and then with my little helper watering, weeding, and doing succession plantings or “try again” plantings of almost everything, including greens, herbs, corn, beans, cucumbers, and several types of pumpkin. The pumpkin patch is starting to show lots of growth, so hopefully we will see you in October! -Kasey
The rabbits have dug the entrance from their warren into our pumpkin patch again. I filled it in again. I keep seeing the snake by the raised pumpkin beds. I spent some time on a website about Colorado snakes yesterday. I think it is either a garter snake or an Eastern racer. Either way, it poses no threat to anything unless in the unlikely event it decides to climb into the beehive.
I spent some time this morning on my own and then with my little helper watering, weeding, and doing succession plantings or “try again” plantings of almost everything, including greens, herbs, corn, beans, cucumbers, and several types of pumpkin. The pumpkin patch is starting to show lots of growth, so hopefully we will see you in October! -Kasey
